 Stephen Walton
If you enjoy taking wildlife and nature photographs, we can give you a helping hand to make those photos better. Our 10 amazing nature photography tips will help any beginner or amateur shooter take stronger photos.
Our 10 nature photography tips are accessible for any photographer. Whether you’re a beginner who enjoys a weekend woodland walk, or a seasoned amateur we can still help. Our tips for nature photography can be used with any DSLR or mirrorless camera and a few other accessories.
Even if you like to capture the outdoor animals, we’ve got a few tips for wildlife photography settings too. And it’s not just the photography – we’ve got photo editing tips for nature shots too, just keep scrolling to find out what they are.

The art of capturing natural outdoor environments including woodlands, wildlife, park areas and forests. You don’t need to be a professional photographer to get amazing photos of nature, it’s actually quite easy – once you know-how.
Let’s get on with our tips to show you how to take good photos of nature.
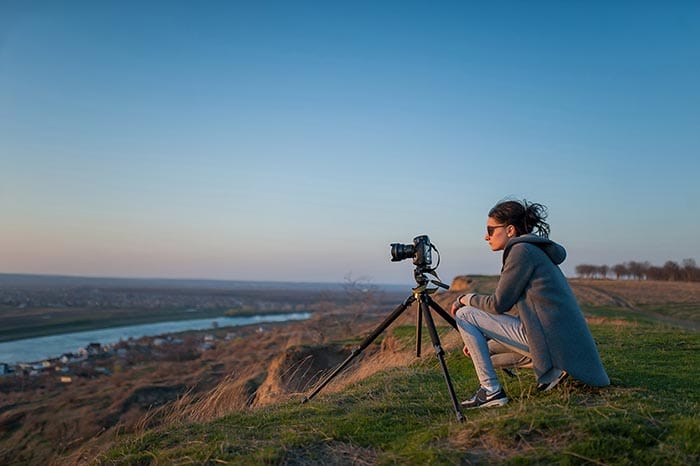
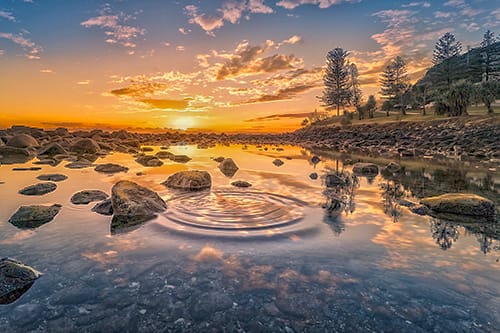
The first nature photography tips for beginners is to make sure you’re shooting at the right time. A general rule for nature and landscape photography is go out for the golden hour.
The golden hour typically starts just after sunrise and before sunset. It’s not always 60 minutes long and doesn’t occur every day. Check your local weather reports before you head out.
Apps and websites like the Photographer’s Ephemeris and Photopills are helpful for this.
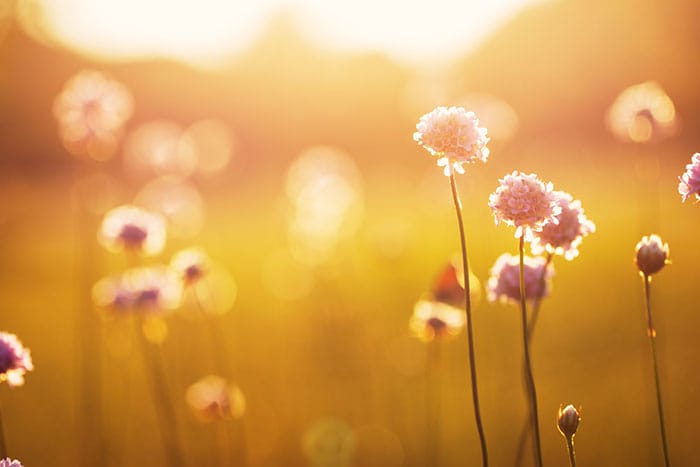
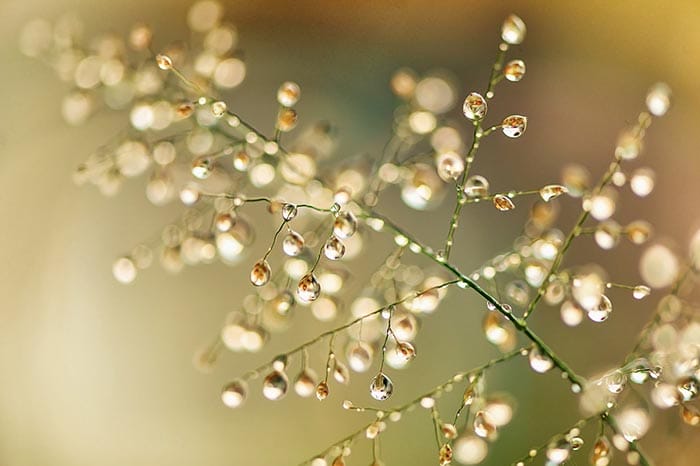
The golden hour produces warm coloured light that can pierce through the heavy canopy of a woodland or bathe the morning dew in soft orange tones to add atmosphere.
If you use a DSLR or Mirrorless camera you’ll be able to attach lens filters on the front. Get a Grad ND (graduated neutral density) filter for your main lens.
The Grad ND will help darken the skies when shooting in the golden hour while not darkening the exposure in the lower half of the shot.
This nature photography idea for beginners isn’t mandatory as it depends on what you’re shooting. If you do like to include big skies and low angle photos then consider getting a Grad ND filter for your lens.
Read more about landscape photography and lens filters here.
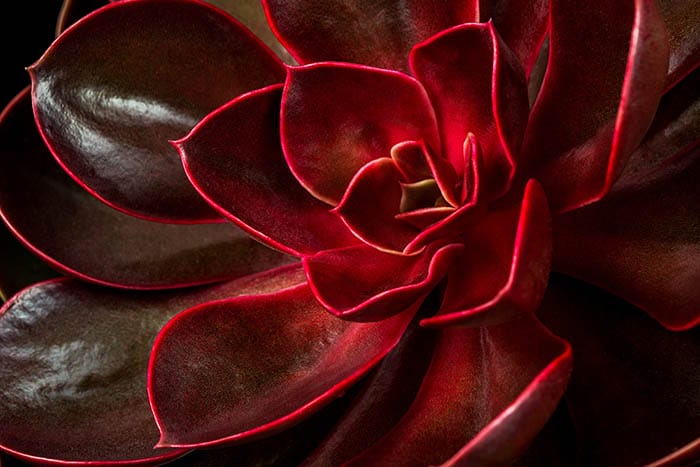
Whilst you don’t need to have a macro lens as a beginner for nature photography the benefits are worth considering at least. A quality 1:1 macro prime lens can help you capture the detail in insects, florals, spider webs and other woodland foliage.
Don’t expect one big zoom lens to do it all. If you want to capture tiny details then look for a lens with a minimum focal distance of around 15cm-25cm. This will allow you to get close in enough to capture something unique.
Other standard primes and zoom lenses won’t compare as well. It’s a specialised lens designed for photographing small objects up close or revealing fine details of bigger objects.
When you get home, think about how you can enhance your nature photographs further.
Whether you’re using Photoshop, Lightroom, Affinity Photo or something else to edit your nature photos then consider the same adjustments.
Always raise contrast – especially if it’s been a misty morning. Mist and fog reduces contrast of colours naturally. Don’t push the adjustment too much, it’s important to retain some of the atmospheres whilst making it visually dramatic. The dehaze slider in Lightroom is perfect for this.
Raise the shadows– Cameras don’t have the dynamic range of our eyes. Because of this we generally need to raise the shadows of your nature photographs to reveal hiddens detail. This is very important if you’re shooting in dense woodland where light is low.
Add in a graduated filter mask if you don’t have a Grad ND filter. It fakes a similar effect but you will need to consider this when shooting. It’s best to expose the foreground and main subject firstly – this may make the sky a little too bright initially. But when it comes to editing, drag down a graduated mask over the sky to darken it.
While some may think presets are lazy we need to point out that this nature photography tip is just the first step. Editing presents shouldn’t be used as a one-click solution.
If you’re a beginner in nature photography then look out for presets online for your chosen editing software. They can help you establish a particular ‘look’ and standardise this across a number of images – providing they are shot similarly.
Once you’ve applied a preset, look at the image and make further adjustments based on your desired look. Using presets as a one-click solution runs the risk of your images falling into the white noise of an ‘Instagram trend’ and not establishing your true ability as a photographer.
If you want to capture extraordinary pictures of nature then put away your flash. Whether it’s a pop up or off-camera flash you tend to use then turn it off or leave it at home.
The wonderful thing about nature photography is that you’ll always have some amount of light around you. Using a single flash will leave a heavy shadow around your subject which can create heavy contrast where you may not want.
Use natural light instead. Shooting at the right times (golden hour) is a better option than artificial light.
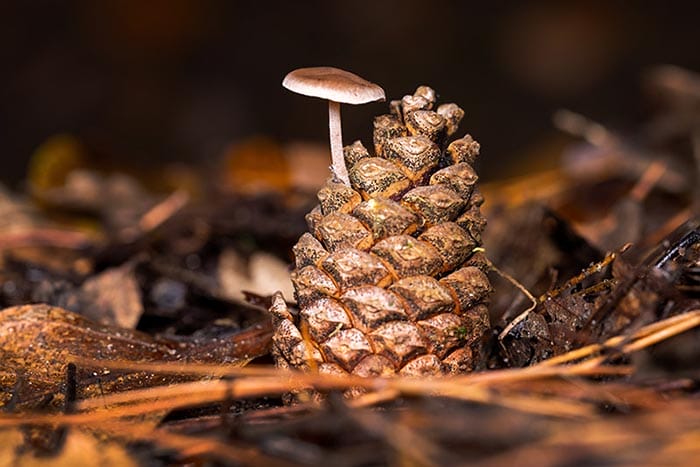
As well as looking forward to your nature photography background, take a moment to look down at your feet too.
Small (and interesting) woodland subjects may be right where you’re standing. Pine cones, tree stumps, bracken, fern, flowers, long grass and mushrooms for example are all perfect subjects.
Either shoot at 90 degrees like a flat lay looking down to the subject or rest your camera on the floor and shoot at the same level of the item. This type of perspective will make your shot more interesting from a simple standing point of view.
Don’t worry we’ve not forgotten the all-important camera settings in our outdoor photographer tips for beginners.
When you’re outdoors shooting in natural light the conditions can change quickly. With that in mind shooting in aperture priority mode (A/Av) means you only need to concentrate on changing the F/stop. In aperture priority mode the camera will automatically adjust the shutter speed and ISO.
This is a useful camera mode for beginners in nature photography until you feel ready to shoot in full manual.
It’s not just all leaves and flowers though, there are more types of nature photography than foliage.
Firstly, it’s an ideal way to show off more of the natural atmosphere of your location. And secondly, it’s a great way of expanding your photography ability.
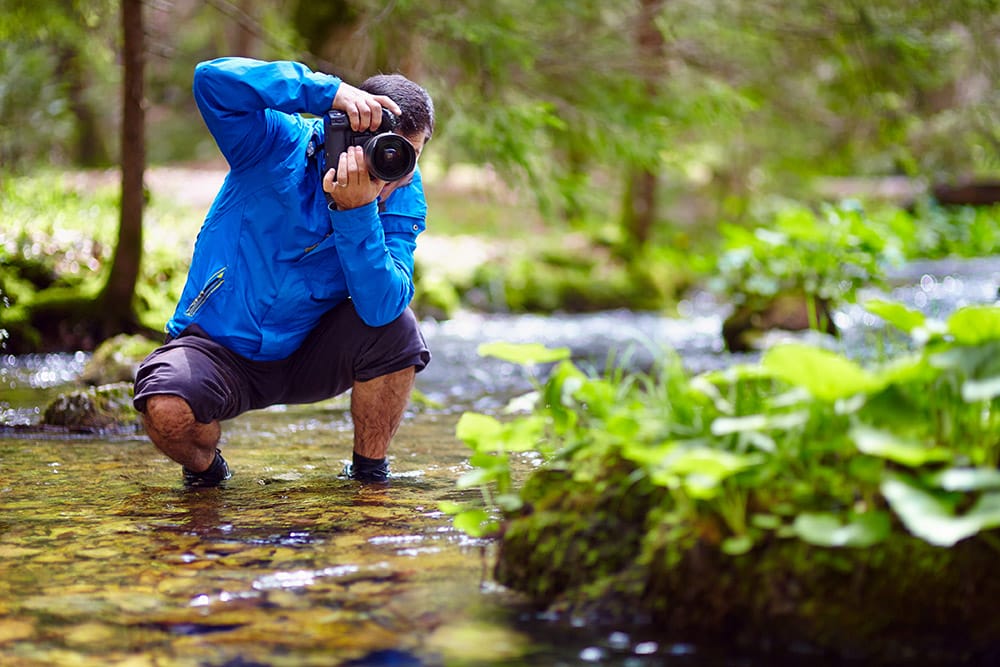
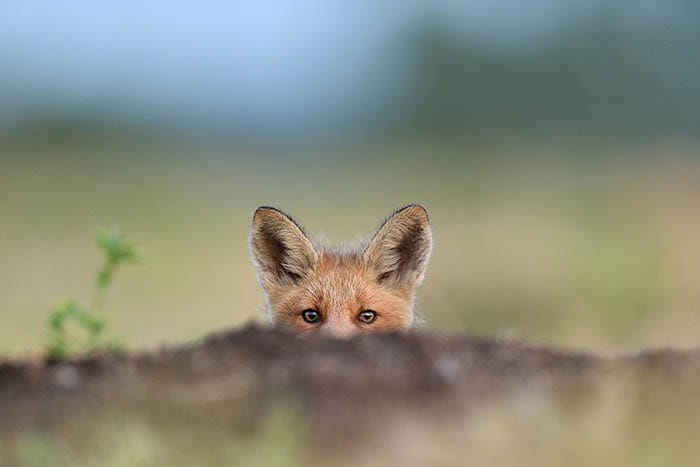
When you’re out wandering the woodlands and fields look out for birds, squirrels, rabbits, foxes and other native wildlife. Photographing animals requires different camera settings entirely.
If you want more wildlife photography tips for beginners then hit the link below for something special…
Simple landscape photography means shooting in a single shot drive mode.
This may be fine 99% of the time there may be better alternatives depending on your situation. If you’ve got a camera with a HDR mode it’ll automatically increase the dynamic range of your image.
You won’t need to change the way you shoot that often as everything happens in camera. Simply set the exposure and make sure the exposure dial stays at 0.
The camera will take a version of the same shot at different exposures (all at the same time) and blend them together to give a final result with more detail in the shadows and highlights.
HDR will make landscapes look more dramatic and detailed in comparison to a single-shot approach. It’s best to use HDR mode when dealing with awkward lighting (bright sunshine with dark clouds).
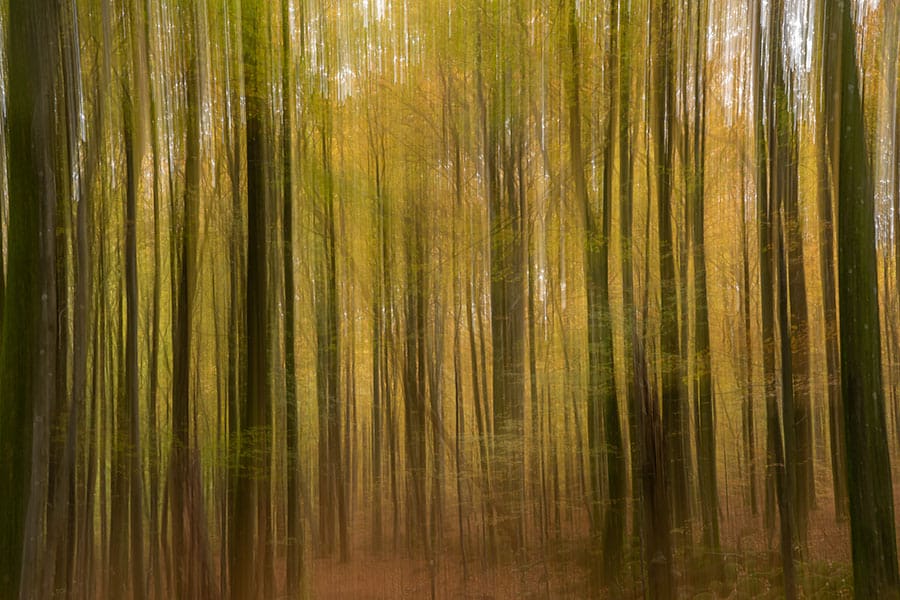
While we’ve looked at some simple nature photography ideas you may want more. If you’d like to push your nature photography further, consider some more advanced techniques.
All you need is a zoom lens – it’s that easy! Set your camera to either manual or shutter priority mode (S/Tv) and set the speed to around 1/15th.
Zoom in on your scene and as soon as you take the shot twist the lens barrel to zoom out. There will be an amount of camera shake but the final shot is meant to look blurred to some degree.
It should look like a blurry tunnel-eye view of the scene with motion lines travelling towards the subject like a wormhole.

ICM stands for Intentional Camera Movement/Motion. It is the art of tilting the camera up or down during exposure.
Similarly, as a zoom burst, set the camera to manual or shutter mode (S/Tv) and pop the camera on a tripod. Ideally a pan handle tripod will help you get the smoothest motion. Next, set the shutter speed to 1/30th initially and loosen the vertical tilt to the tripod.
Then quickly tilt the camera up or down during the exposure. You may need a few practise runs. The final shot should drag the subject across the frame elongating it. In nature photography it works great on a grouping of trees.
It’s worthwhile doing your own research for nature photoshoot ideas too. Check out our Pinterest channel for inspiration. You don’t need qualifications or much specialised kit to get into nature photography – just a willingness to get up early!
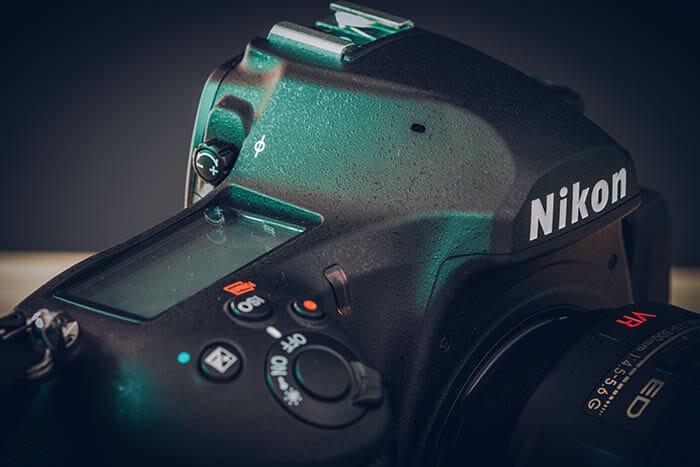
There isn’t any particular camera you need for nature photography. Any DSLR or Mirrorless camera will have enough functionality to help you achieve great shots. You will be able to take great nature photos on an iPhone too.
Though you may have some limitations if you want to zoom in or try more advanced techniques. But to get decent compositions outdoors you don’t need much more than a camera phone.
Much like there isn’t an ideal camera, there isn’t one ideal lens. There are a number of different lenses that will help you.
A macro lens between 30mm-100mm will be great for close up subjects. A standard fast 50mm prime lens will cope with most of the compositions you’ll look to take.
But as with nature there’ll always be shots that seem just too far away. In that instance a decent zoom between 70-200mm will help if you want to take wildlife photographs too.
Hopefully our 10 tips for nature photography will have already given you a good understanding of how to take good nature photos. But remember that choosing the right time to go and paying attention to what’s on the floor (as well as what’s in front of you) will help you further.
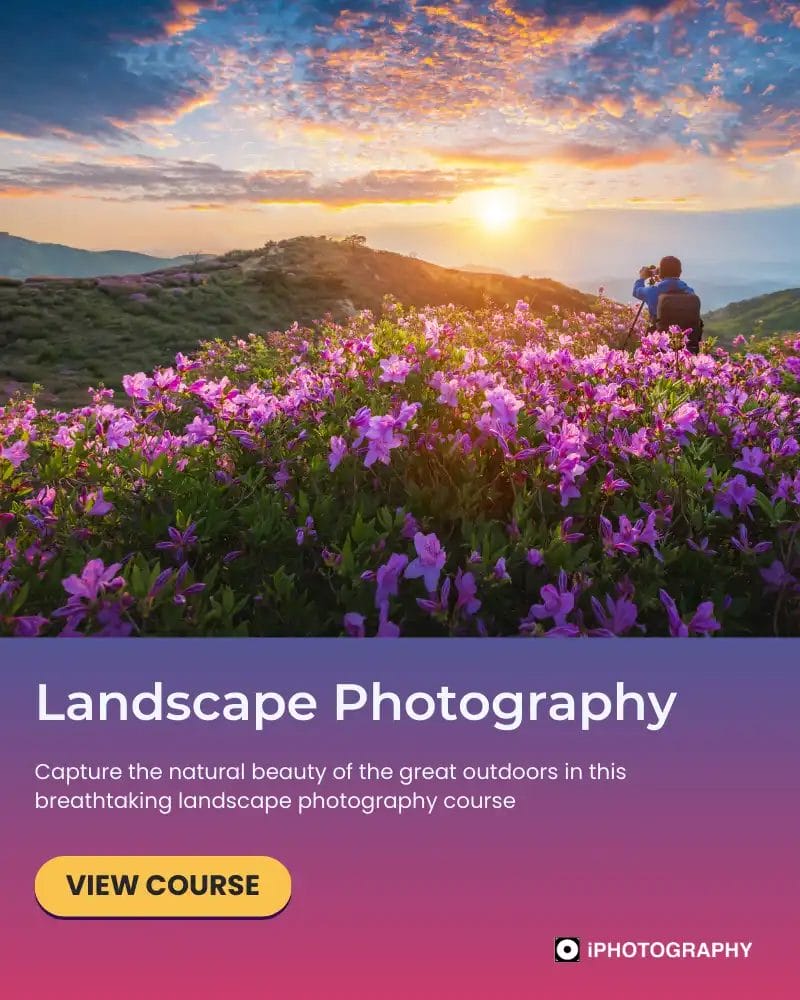
If you want to learn more about photographing in the great outdoors then take a peek at our landscape course. Over 15 modules you’ll learn how to photograph hills, valleys, lakes, waterfalls and woodlands led by a professional instructor.
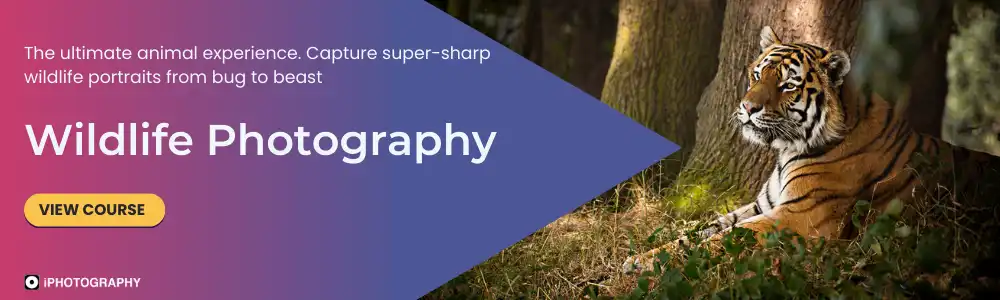
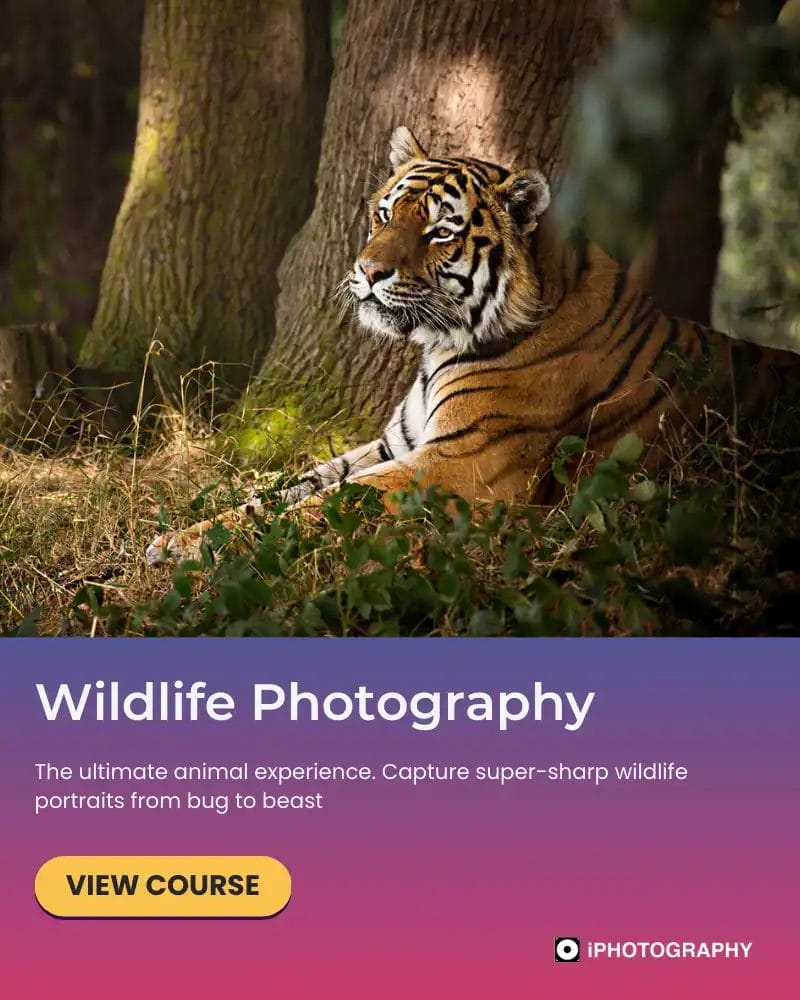
But if you prefer photographing animals then our wildlife photography course will be better for you. Your course instructor leads you through how to photograph local, native and exotic wildlife.
There aren’t any professional bodies to be a part of that will automatically make you a professional nature photographer. We’ve seen incredible nature photographers who are still amateurs and some average professionals – it’s not about income, it’s about your ability.
If you want to become a nature photographer then practise, learn, grow and repeat. To become great at anything it takes time. Set aside time every week to go out to local parks, woodlands or forests to find something new.
Nature photography takes patience and dedication to be up early and not dismayed by bad weather. If you can overcome little hurdles like this and you enjoy being outdoors then there’s a good chance you can become a nature photographer over time.
As we wrap up our nature photography tips then let’s summarise this article with 5 final thoughts.
1. Use a macro lens for the best quality but a wide-ranging zoom allows you to capture trees as well as amazing flower shots.
2. Don’t use a flash – instead get out in the early mornings when the sky is clear to get the striking light as it angles through the forests, woodlands and parks.
3. Keep reminding yourself of the flowers and plant life blooming right now. Go looking for these items wherever you can for topical shots.
4. Look for contrasts in textures with nature photos – hard against soft, large next to small, bright next to dark. The arrangement is really important unless you’re shooting the objects in place.
5. Go slow, it’s not a race to get the best shot first. Nature photographers can spend hours walking through a location to find the most interesting elements illuminated by the best light.
Whether you’re a beginner or have been snapping photos for years and use these tips for nature photography, there are always things to learn about nature photography with our Landscape Photography Course.

Discover the BEST way on how to clean a camera sensor using swaps, rocket blowers and pencil brushes to give your shots a dust-free finish!

Capture the magic of the night with our beginner’s guide to night photography. Learn tips and techniques for stunning results.

Master the art of solar eclipse photography with expert tips on equipment, settings, and precautions for stunning celestial images.
Learn the basics of photography – fast – with our FREE 60-Second Photographer online course. Each class is short and sharp with simple, actionable steps that give you immediate results.
x 30 lessons

© iPhotography™
Become a confident and competent photographer in less than 30 minutes!
Before you leave, make sure you’ve secured your FREE online photography course (worth £29.99)
Each class is just 60-seconds or less making it the fastest and easiest way to learn photography!