 Stephen Walton
Miniature photography (or toy photography as it’s sometimes called) is a brilliant home project that you can practise your camera skills with and have a little bit of fun in the process.
In this miniature photography tutorial, I’ll look at where to buy miniature figures for photography, ideas for setting up your scene to make it look realistic and those all-important miniature photography camera settings.
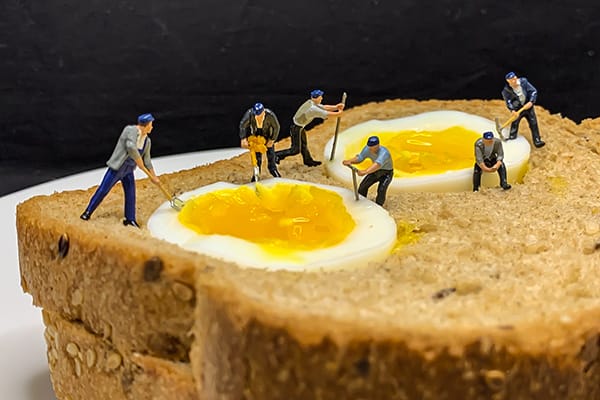
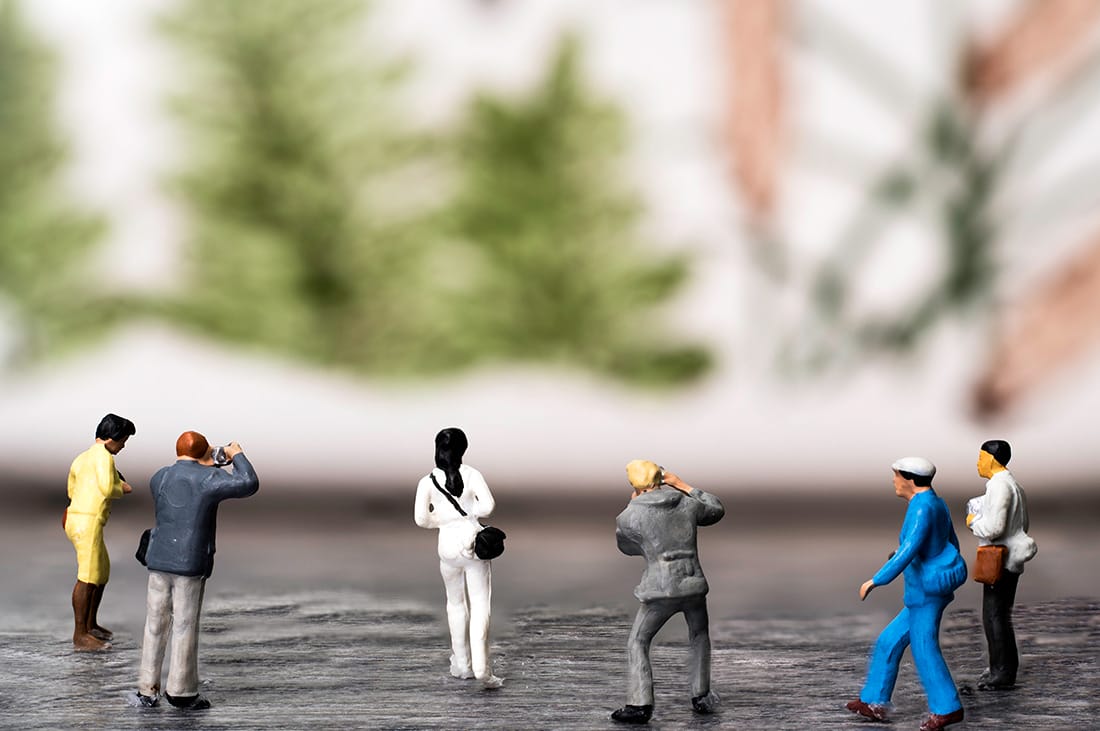
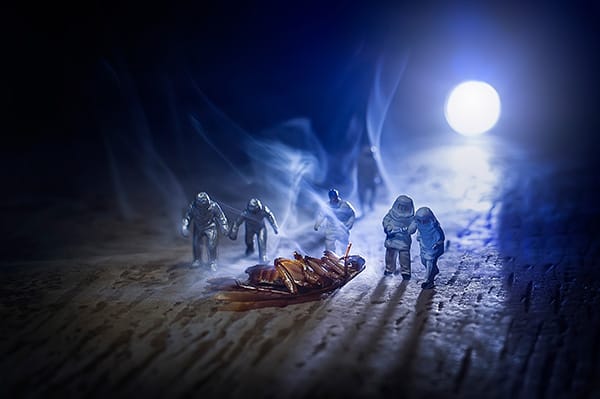
Miniature figure photography is the art of capturing small scale figurines such as Lego people, Warhammer characters or other tiny toys.
Some toy photographers take time to create surrealist landscape dioramas around their main character(s) or an entirely abstract composition. You can just keep it simple when starting up with a white background though.
The idea behind miniature photography is to create a new world – a situation where fictional characters exist and a story that is taking place. The small world you create is only limited by your imagination.
There are no rules in how realistic it needs to be or how accurate to life it should be either. It’s a wonderful area of photography where all the rules go out the window and you can’t be wrong.
The best thing about miniature figure photography is that you don’t need too much in the way of equipment to get started. Over time you can make your shots more complex, realistic or conceptual which will require more props but when you are a beginner keep it simple.
Miniature photography doesn’t just stop with character figures, it can be expanded to cover larger Hornby train sets and bigger Lego builds too if you really get into this type of photography.
So where to buy miniature figures for photography? Well a quick trip to the local toy, hobby, model or craft store should get you to the right place.
There are dedicated model figurine sellers such as Games Workshop in the UK who sell everything you need to build your scene.
If you want to create a realistic diorama for your characters to sit within, consider purchasing backdrops, surfaces like grass or rocks as well as trees, houses and fences. It’s easy to go crazy which is why it’s best to make a plan on what you want to create first.
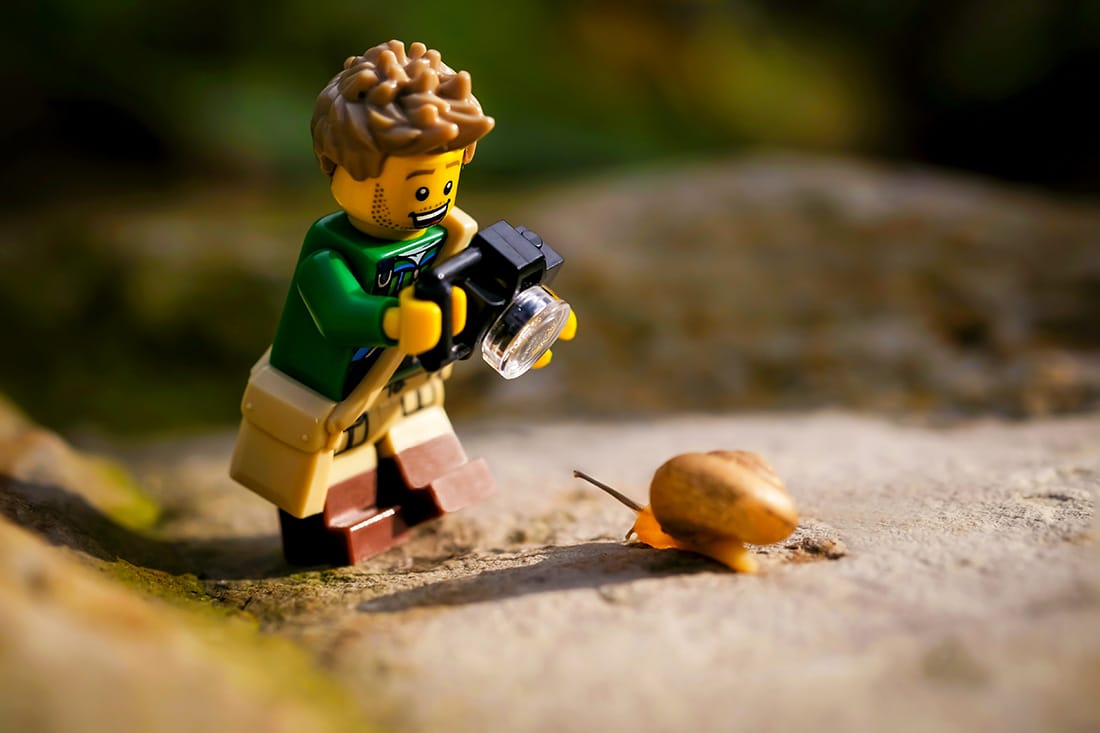
If you can’t get to the shops for your miniature photography toys jump on Amazon or Ebay and search for ‘miniature model characters’. Companies like Preiser and Noch have been making figures like this for years and produce a range of characters like builders, doctors, farmers, families and even photographers!
Try to get some ‘everyday’ characters that aren’t doing specific actions that you can use in the background of multiple scenes so you aren’t limiting yourself as to what the story is about each time.
If you have young children or still have your toys from when you were younger then raid your Lego box. Lego minifigs are relatively easy to find online too but given the rising popularity of Lego the prices are soaring even for individual figures.
If you are using miniature Lego figures for photography then get a baseboard too to help them stand up. You can cover it up with sand, grass or gravel to make the scene look more authentic, but it’ll mean they won’t fall over as easily.
Once you’ve got all of your figures, scenery and other props together, then its time to start building everything together to create a scene.
There are a couple of ways to do this depending on the look and budget you have. Either you could;
● Use a light tent
● Use a plain white background
● Shoot outdoors
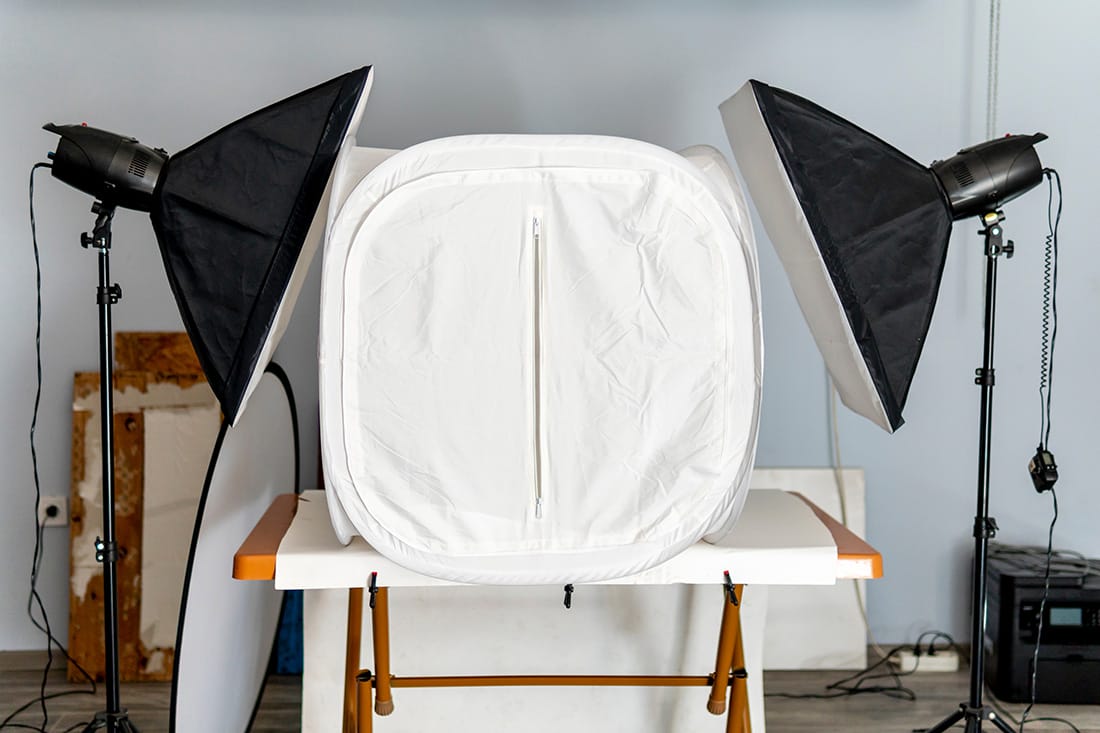
A light tent / light box / mini photo studio can be used for a range of purposes in photography so it’s useful to have one stored away with your camera gear.
Most light tents come with a few coloured backgrounds (red, blue, black and white) which are interchangeable to suit the shot. Look for a light tent with either built in LED strips at the top or ones that come with LED ring lights (or panels) to help you illuminate the scene. Having more than one light will give you greater flexibility to reduce shadows and create a greater sense of 3D shape with your figurine.
If you can control the brightness levels of these lights and change the white balance of them even better.
When setting up your shot it’s best to work back to front so you don’t knock any scenery over when reaching in to arrange items.
Choose your background first and then your surface material. It could be sand, a piece of AstroTurf, gravel or something else. Once the background and surface are set up then it’s time to add the scenery.
Consider how realistic you want it to look. To do this accurately I’d recommend setting up the camera and framing up the shot (don’t worry about the camera settings just yet). Use the live view on the camera to see how everything looks and what is falling out of frame.
Because everything is so tiny and fiddly (if you have large hands) I would suggest using a pair of tweezers to place the miniature figures and scenery. It gives you that surgical precision without your fingers knocking things over or leaving marks on the surface.
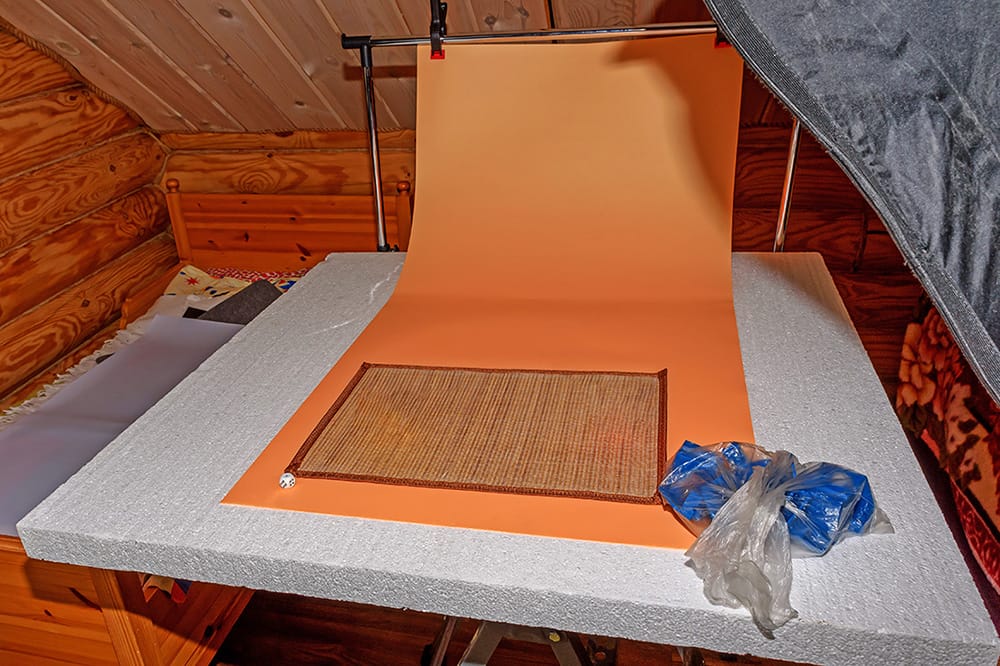
If you’d prefer to keep the budget low and the shot simpler then just use a white wall or a plain piece of A1 sized card as your backgrounds for miniature photography. Push a table up against the wall and attach your card to it letting the rest trail on to the table to create an infinity curve as your miniature figures background.
When it comes to lighting you need it to be even as I said earlier. The best way to achieve this is with lamps – specifically, daylight bulbs. Daylight bulbs provide a neutral-coloured light, not too yellow, not too blue, but just right for taking pictures of models.
LED ring/panel lights should let you change the colour temperature to get it to daylight balanced which is around 5500-6500K.
Position your two lights in front and slightly to either side of the miniature figures. Remember, you’re lighting the miniature, not the background. Don’t worry about getting a solid white background, especially if it would cast an unflattering light on the miniature.
But do consider the background and surface if you are including a terrain texture in a light tent or outdoors as this is important to the story.
If you want to get even more adventurous (but keep the budget low) how about staging a scene using the bathroom sink or tub? It’s a safe and less messy way to create a water scene. Use coloured gels to cover your lights to tint the water blue.
The last thing you should place into your scene is your main figures regardless of where you’re shooting. Once you’ve set up the scene you can choose their positions more accurately to start telling the story.
The biggest difference to shooting miniature photography outdoors is that you’ll have to contend with the sunshine and wind. If you are finding that you’re trying to block the sun with your body or screen constantly or the scenery is being blown over regularly then it’s better just to work outdoors.
In honesty, there aren’t too many added advantages to shooting miniature photography outdoors unless you can’t bring one of the important subjects you want to feature indoors.
Always keep in mind the position and angle of the camera when setting the scene. By strategically placing it and setting the angle, you avoid unwanted background and foreground elements from appearing in the final photo.
It’s a good thing to get down to a low angle to shoot. This helps the miniatures look larger than they actually are.
Any DSLR or Mirrorless camera will have the manual settings to get you shooting miniature photography so don’t get too hung up on what type of body you need. The lens is more important. Having a good zoom lens, covering from 35mm-85mm should be adequate for this small-scale photography.
A prime lens may not be suitable if you are limited on space and need to adjust positions slightly. But with that said a 60mm macro lens could be a good all-around choice if you do have space around you as the macro element will increase the level of detail compared to a zoom lens.
Small apertures typically offer a greater front to back depth of sharpness providing you focus on the right place.
This means you need to select an aperture around F/16 to F/32. This will make your shot darker so compensate by slowing down the shutter speed (and keep it on a tripod if you go slower than 1/125th) and raise the ISO incrementally until your exposure scale hits 0.
If you do have to use a shutter speed slower than 1/125th then you run the risk of incurring camera shake when you trigger the shutter button. To get around this use a shutter release cable, 2-second timer or a remote trigger app on your phone.
Some miniature photographers choose to bracket their toy shots to get a greater dynamic range. Either through using AEB or HDR tools in camera you can do the same. Try shooting 3-5 shots each at a different F/stop. Shoot one at a balanced exposure level (0EV) and then one below (-1EV) and one above (+1EV).
Take all the final shots and composite them together in Lightroom or Photoshop.
One of the best things about miniature photography is that there’s no limit to creative possibilities. Miniature photography artists are some of the most creative minds in the industry. Being able to create a whole world from their imagination is truly mind blowing.
You can pack up your mini models and head out into nature or to the local beach for the perfect photo. If you prefer to practise at home, take a look around you for dozens, if not hundreds, of possibilities.
When starting out you may just be happy with photographing Lego figures on a white background to learn more about your camera – and that’s great – camera confidence is very important. But when you’re ready I’ve got some helpful miniature photography ideas to check out.

I’ve put together a list of 10 ideas and suggestions on how you could stage your miniature photography. Feel free to adapt and build on these suggestions. I’d love to see your miniature photography ideas.
Try out these ideas;
1. Place a figure and ladder against a white wall to make it look like they’re painting.
2. Sit a few figures on the rim of a mug so they can enjoy the view.
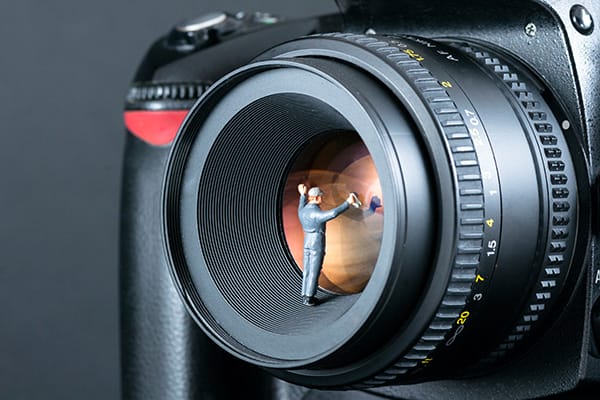
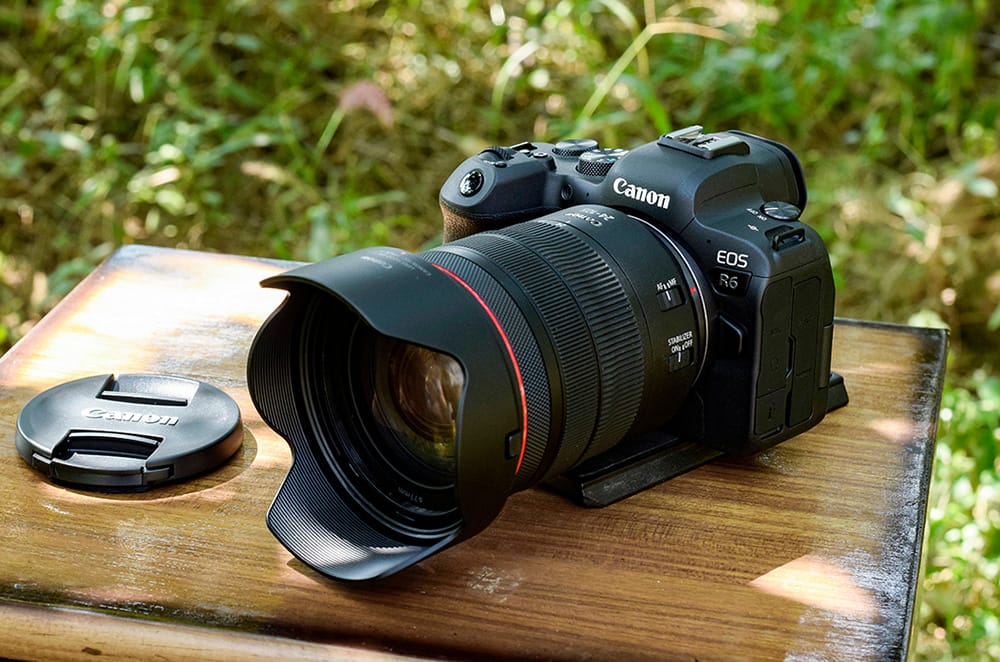
3. Set up construction workers exploring your camera and lenses.
4. Gather a group of characters to help finish a jigsaw puzzle.
5. Place a figure on a curled leaf floating on a puddle in the garden.
6. Stand a few characters in a line and place a little bus stop sign at the end.
7. Float a few swimmers in your morning coffee.
8. Arrange a few builders to work on a weed in the garden.
9. Add a few skiing characters to a bowl of ice cream.
10. Place snowboarding miniatures using the inside of half a coconut to shred.


Discover the BEST way on how to clean a camera sensor using swaps, rocket blowers and pencil brushes to give your shots a dust-free finish!

Capture the magic of the night with our beginner’s guide to night photography. Learn tips and techniques for stunning results.

Master the art of solar eclipse photography with expert tips on equipment, settings, and precautions for stunning celestial images.
Learn the basics of photography – fast – with our FREE 60-Second Photographer online course. Each class is short and sharp with simple, actionable steps that give you immediate results.
x 30 lessons

© iPhotography™
Become a confident and competent photographer in less than 30 minutes!
Before you leave, make sure you’ve secured your FREE online photography course (worth £29.99)
Each class is just 60-seconds or less making it the fastest and easiest way to learn photography!