 Stephen Walton
Shooting low light portraits is a great challenge to beginner and seasoned photographers. Knowing how to shoot portraits in low light requires a keen understanding of light quality and how to master exposure in-camera to retain as much detail as possible.
We’ve got a list of 10 tips for shooting portraits in low light to help you create atmospheric and dramatic photos. It may be a low light self-portrait, a photo of your loved one, friend or even your pet – either way, you’ll be able to use these low light portrait tips on a range of subjects.
If you find yourself shooting group portraits in low light then positioning is key. Spreading out your subjects will mean you require more light – which you may not have available.
Instead group your subjects closely together to fall in the main pool of light. Do your best to make this look natural at the same time. Think about the spread of the light and what posing shapes would fit best.
Use a wider aperture to gather enough light. Pay close attention to your histogram to make sure nothing is clipping. Follow the rule of thumb, to ensure you get an acceptable level of sharpness, that your F/stop should match the number of people in your group.
For example, if you have 8 people in your low light portrait, shoot at F/8, 4 people F/4 etc. This should help keep as many people as possible sharp given your posing arrangement.

It’s best to have full manual controls on your camera (ideally a DSLR or Mirrorless) when shooting in the dark.
The reason for this is that you may need to make small adjustments to aperture, shutter speed or ISO to get your desired exposure. Auto or semi-auto modes may overcompensate too much.
The order in which you adjust your camera settings is key to knowing how to take portraits in low light. Start off with your aperture, get that set to give you the right depth of field you need.
Secondly, adjust your shutter speed. Anything slower than 1/60th get the camera on a tripod. Lastly, raise the ISO. If you’ve done an ISO test before you’ll already know what you max level before you’ll see digital noise.
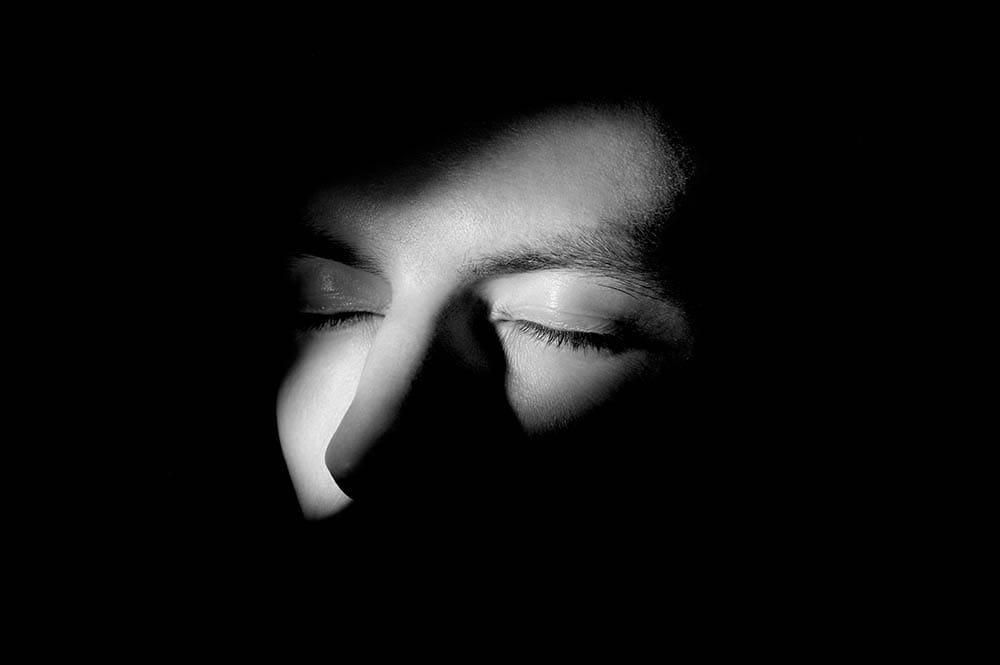
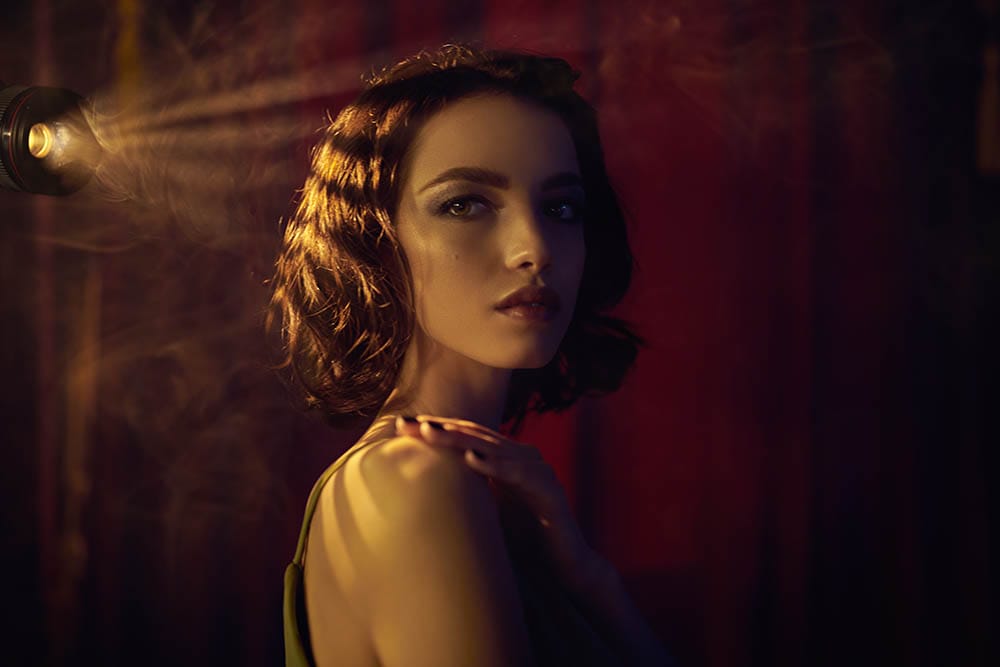
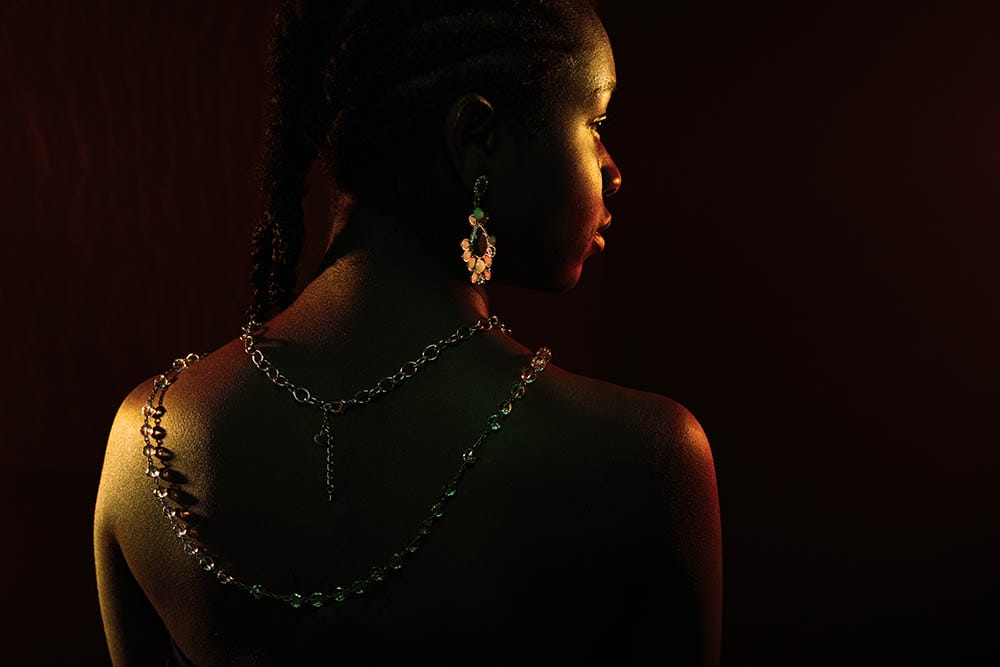
If you are shooting for women’s low light portraits always look to flatter your subject. Just because you’re in the dark doesn’t mean you can’t consider beautification. Soft light transitions more gradually across skin which is more flattering than hard light.
You can use a white or silver reflector to bounce light around a subject to create a more 3D outline to your subject.
Ask your subject to turn a shoulder towards the camera. This narrows the appearance of the body and pushes attention towards the face. It’s a quick, but effective way to flatter anyone in low light portraits.
Read more in our complete guide to photographing people here
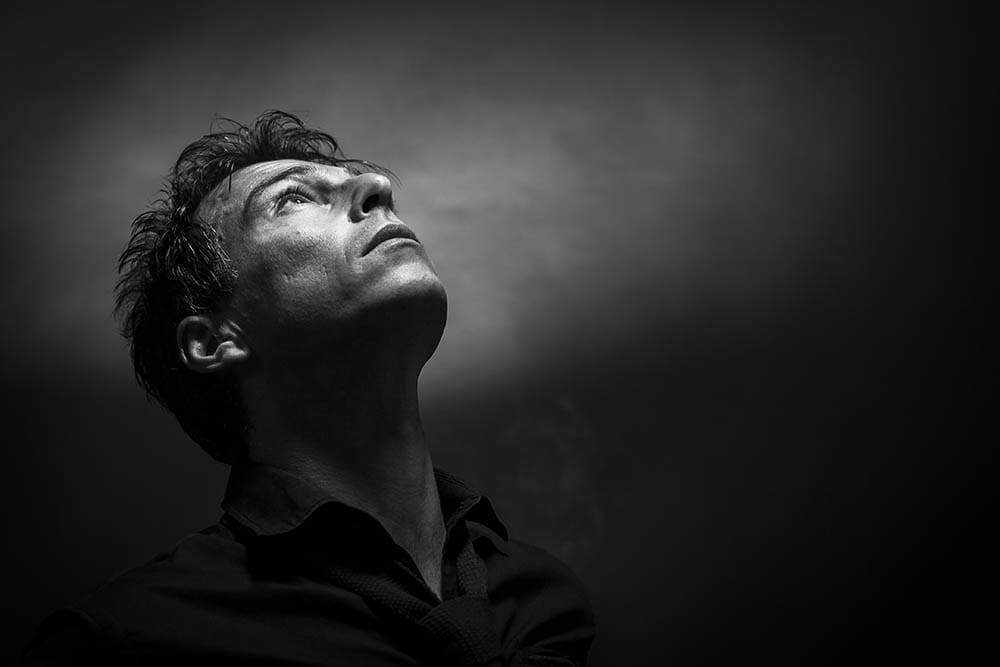
Alternatively, if you want your photos to look mysterious and foreboding then use hard light.
Fashion photographers shooting men’s low light portraits favour a hard light source (the sun, an off-camera flash etc) to create a division in the subject’s appearance. Having a fast transition from dark to light keeps audiences interested in the heavy contrast.
Make sure this type of lighting fits the narrative you are trying to tell. Portrait lighting setups such as split lighting is a very effective way of creating suspense in dark places.
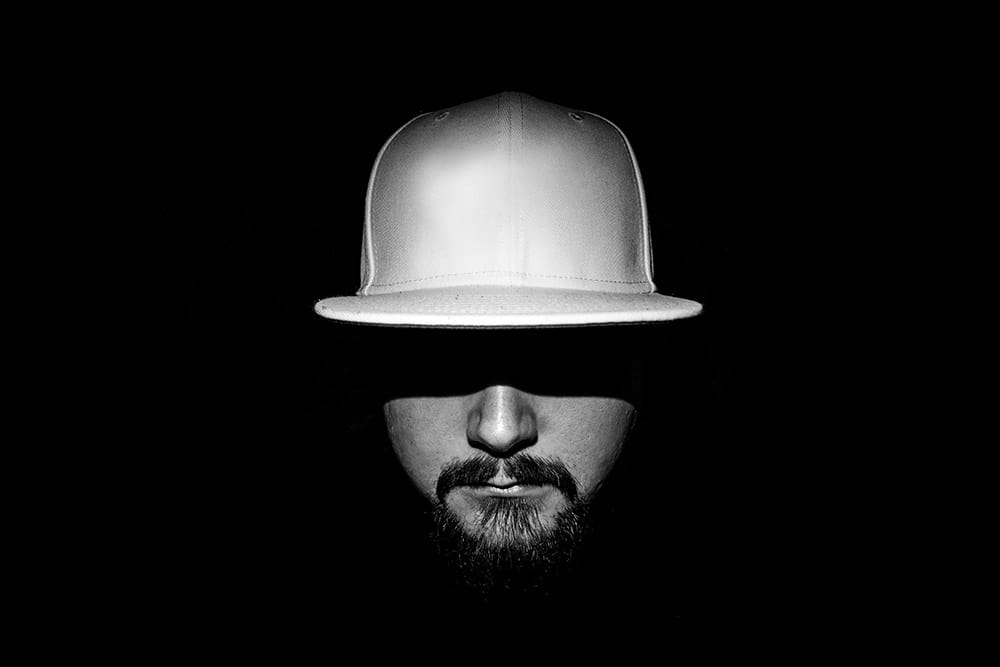
Position your subject close to a light source side on. Ask them to lower their chin but keep their eyes on the camera. Use a smaller aperture (F/8 for example) to increase the contrast in the light quality.
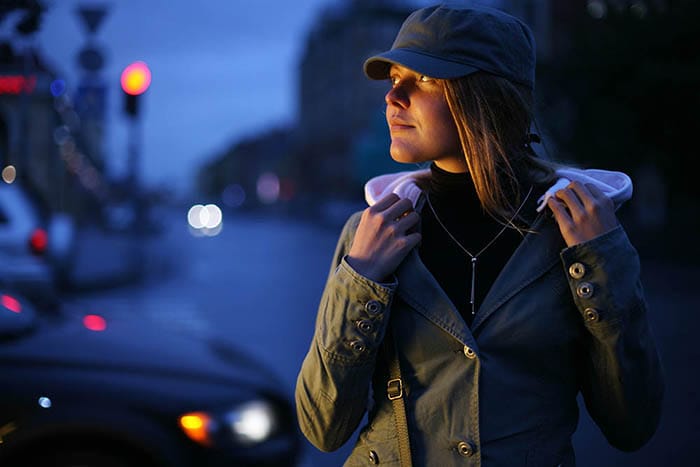
Hard light looks great for creating drama in dark environments. You can be shooting portraits outdoors in stormy weather or just after the sun has set. Either way, play around with the position of your subject.
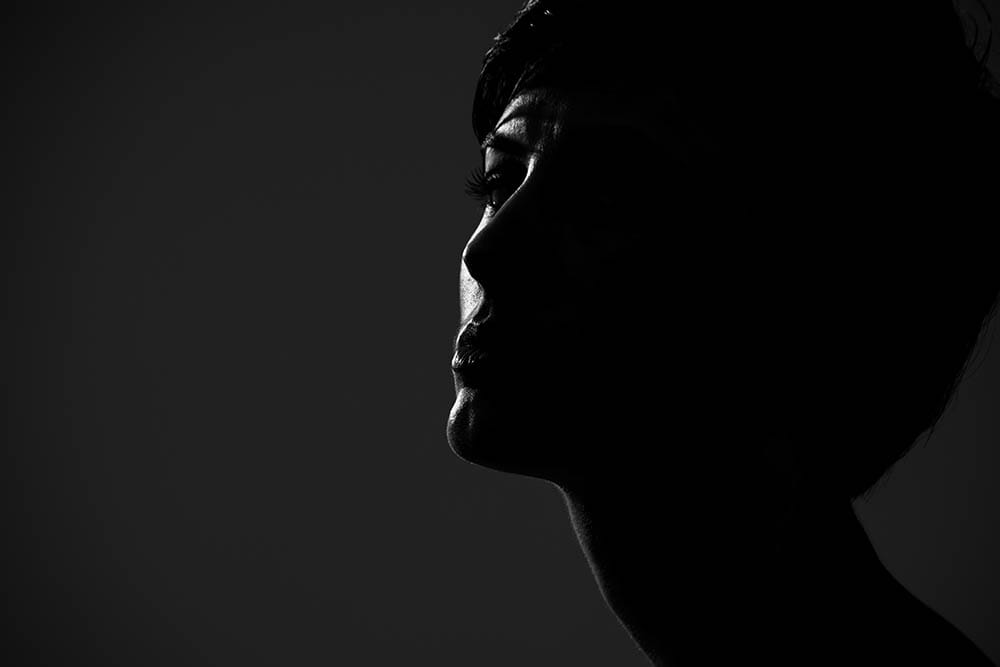
Stand them in between the camera position the light source to create a silhouette for example. Otherwise, place them directly underneath a street light to cast their face in darkness but their body in light. It’ll make them look mysterious but dramatic.
Dramatic low light portraits don’t take a lot of technical know-how, just a good observation of where light is falling and how that would translate to a portrait. If you’re ever in doubt – just try it out.
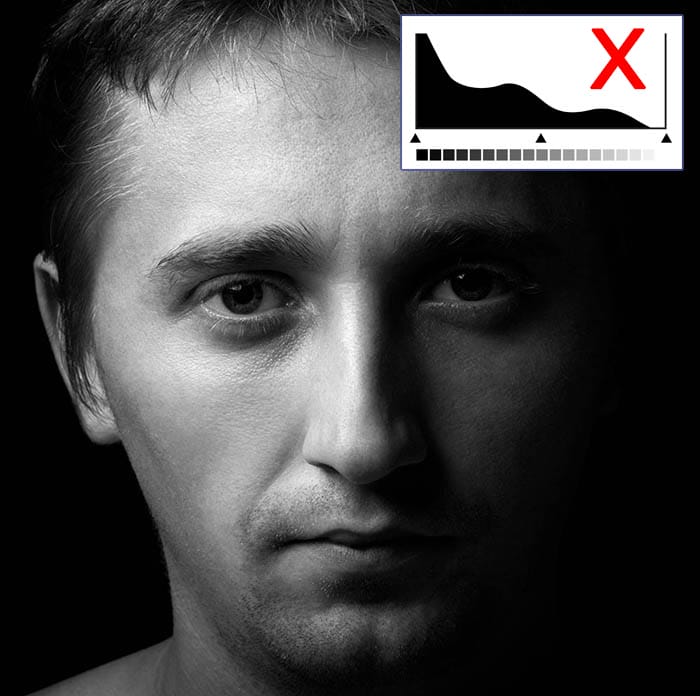
If you want to keep your shot looking as close to perfect in-camera then pay attention to your histogram.
The histogram will show you how many black pixels are in frame (even better if it gives you this information in a live simulation – but not all cameras have this). Avoid a large peak of pixels to the left of your histogram when dialling in your low light photo settings.
Look to get the majority of your exposure sitting towards the left of the graph but not the extreme edge. Leave yourself something to play with when it comes to editing.
When you are editing low light portraits don’t be tempted to lift the blacks too much. Raise the shadows instead, as they will have more detail than black pixels.
Keep your eye on any noisy areas in the darkness and use noise reduction tools, such as in Lightroom to draw it back.
If you’re editing your low light portraits in Photoshop (or any other software for that matter) we’ve got a little tip. By reducing contrast slightly it helps to brighten and exposure slightly too. This should help you avoid extreme low light portraits.
Experiment with different settings and editing techniques in low light portrait photography to find the ideal variant for you, and enjoy watching your skills grow!
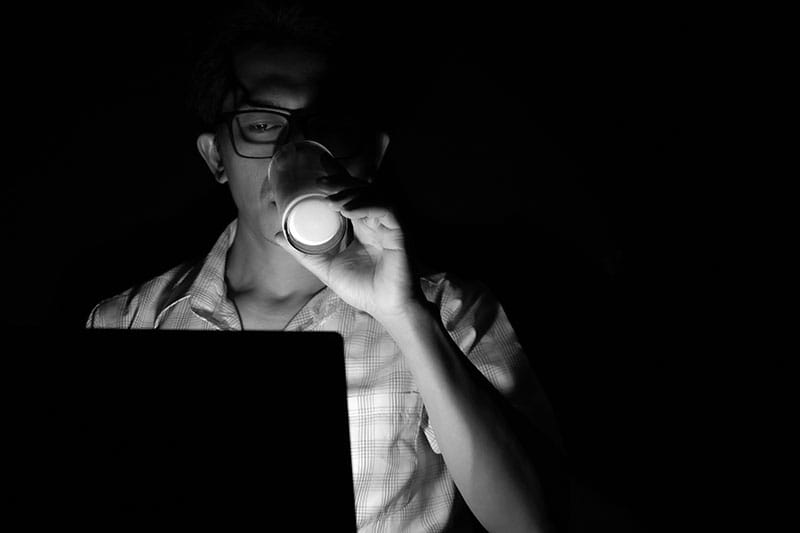
It’s a good idea, if you want to more clearly separate your subject from the background, then use a hair light with low key portraits. A hair (or backlight) is positioned at 45 degrees to the rear of the subject generally shining down on to them.
This could be natural light shining through a window or an LED panel. The effect will give a thin glowing outline to their body creating a clear separation between them and the background.
This is useful if your subject and background are both dark – it stops them blending together in the low light.
When should you go out and take your low light shots? Well it’s up to you as to how much of a challenge you want!
Low light portraits with ambient lighting look amazing when shot just after the sun has set during the golden hour. A little while after the sky will start to turn a cerulean blue. This blue hour tone makes low light portraits look cold and steely. It can be very atmospheric on its own.
Shooting down on the beach and using the moonlight to illuminate your subject can look very ethereal and romantic for couples.
Adjust the white balance on your camera if you want to warm the shot up, but shooting at twilight and blue hour can be very flattering.
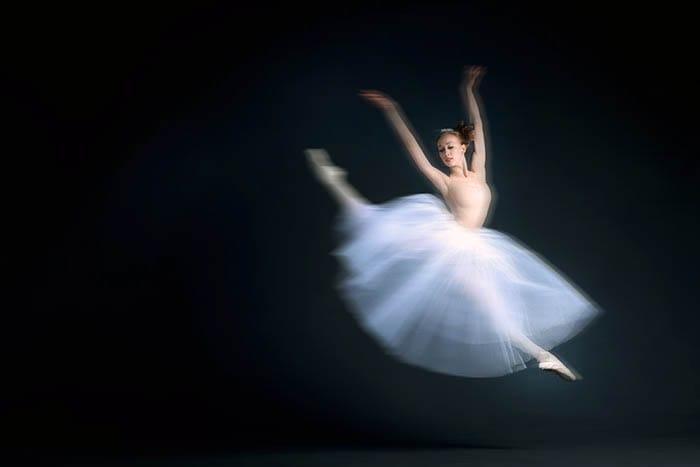
Firstly shooting portraits in low light should only be considered when the subject is going to be stationary. Asking your subject to move during exposure in the dark is only going to cause you a headache.
Freezing motion requires a fast shutter speed. This may mean you need to open your aperture to the widest point and raise the ISO beyond clean levels of noise. This is only going to degrade the quality of your overall image so capturing that frozen motion isn’t worth it.
Instead reserve action shots for brighter conditions. If you step away from portraits, experiment with a slower shutter speed to capture light trails of moving traffic for example. This way you can still shoot in low light without having to raise the ISO much.
You’ll need to experiment a bit to find the best aperture for low light portraits that gives you expected results in different lighting situations.
If you are shooting low light indoor flash portraits you won’t need to worry about colour temperature and just leave the white balance in auto.
Remember that with low light flash photography you’ll be using a hard light on your subject which can leave heavy shadows. If you don’t want that, bounce your light instead.
If it’s a pop-up flash get yourself a diffuser cap or bounce card to reflect the light off a ceiling. This will spread the light and soften it in turn. The same goes with an off-camera flash unit too.
But for low light portraits with no flash then remember to consider the colour temperature of the light source.
Old street lights tend to emit at lower Kelvin temperatures so you’ll need to adjust to using an incandescent white balance.
We’ve compiled a list of current Nikon lenses that offer fast apertures (wide apertures) suitable for shooting at night and in low light
● Nikon 35mm f/1.8
● Nikon Nikkor 50mm f/1.4
● Nikon 50mm F1.8
● Nikon 85mm f/1.8
● Sigma 70-200mm f/2.8
● Sigma 24-70mm f/2.8
Canon lenses with the larger apertures are the best for taking photos of dimly lit subjects. These include lenses that open up to maximum F/stops of F/2.0, F/1.8, F/1.4, and F/1.2
Here are some of the best Canon lenses available right now for low light photography.
● Canon EF 16-35mm f/2.8.
● Canon EF-S 17-55mm f/2.8
● Canon 24-70mm f/2.8
● Canon EF 50mm f/1.4
● Canon EF 85mm f/1.8
● Canon 70-200mm f/2.8
It all depends on 3 factors;
● How dim the light actually is where you are?
● How many people are in your shot?
● What you want the image to look like?
With these elements in mind you can pick whether you need a small or wider aperture. You will need to adjust your shutter speed and ISO to use desired F/stops instead of leaving it up to auto.
You don’t always need to use the widest aperture available if you’re willing to push your ISO up or slow your shutter speed.
There are other ways of brightening the exposure rather than just opening the aperture further – pay attention to the exposure triangle.

Discover the BEST way on how to clean a camera sensor using swaps, rocket blowers and pencil brushes to give your shots a dust-free finish!

Capture the magic of the night with our beginner’s guide to night photography. Learn tips and techniques for stunning results.

Master the art of solar eclipse photography with expert tips on equipment, settings, and precautions for stunning celestial images.
Learn the basics of photography – fast – with our FREE 60-Second Photographer online course. Each class is short and sharp with simple, actionable steps that give you immediate results.
x 30 lessons

© iPhotography™
Become a confident and competent photographer in less than 30 minutes!
Before you leave, make sure you’ve secured your FREE online photography course (worth £29.99)
Each class is just 60-seconds or less making it the fastest and easiest way to learn photography!