Rarely does one editor cover everything you need as a photographer – which is why we’re looking at the benefits of using Lightroom and Luminar together.
Lightroom and Luminar offer some similarities but not enough to draw a simple comparison. Instead, using both in your editing workflow can entirely transform your photography and raise it to a level unachievable by just using one alone.
It’s common practice amongst photographers to use 2 different pieces of editing software. Whether it’s Photoshop, Lightroom, Luminar, Pixlr X, Affinity Photo or something else, each has got its own USP and offers an alternative to enhance your creativity.
Let’s begin by looking at the 4 most helpful features of Lightroom for a photographer that you won’t find an equal to.

Firstly, it’s so important to keep your photographs filed in an orderly fashion. Having random images in random folders will only drive you crazy – this is where Lightroom excels. Allowing you to arrange images into collections for later use (and further updates) is a brilliant way to refer back to your favourite landscapes, B&Ws or portrait shots in just one click.
Secondly, unlike Photoshop, Lightroom is 100% a non-destructive editor. This means that any adjustments you make to your photo aren’t permanent until you export it.
If you mess up anywhere along the way you can readjust the changes without restarting. Whereas Photoshop caches all your editing steps, Lightroom doesn’t need to, meaning it’s a little less demanding on your computers RAM and CPU.

Thirdly, given that photographers rarely go out and just shoot 10-20 shots when playing with their camera having the ability to batch edit is a must. Being able to pick out 50 shots out of 200 and apply the exact same effect saves time and energy.
In Lightroom, you can highlight unsequenced photos using flags and add metatags for cataloguing. Wedding photographers love using Lightroom as they rush through their thumbnails, flag the ones they love and with a single click disregard all others.
Finally, Lightroom is unparalleled when it comes to its exporting and sharing options. Share your photos directly from the software to social media platforms. Create collages, borders and even export your photographs with your own personal photography watermark in the click of a button.
You can create and save exporting presets in Lightroom for different scenarios. Handy if you want a version for print and one for online which require different dimensions, sharpening and DPI.
Therefore, why would you still need Luminar if you’ve already got Lightroom? Here’s why…
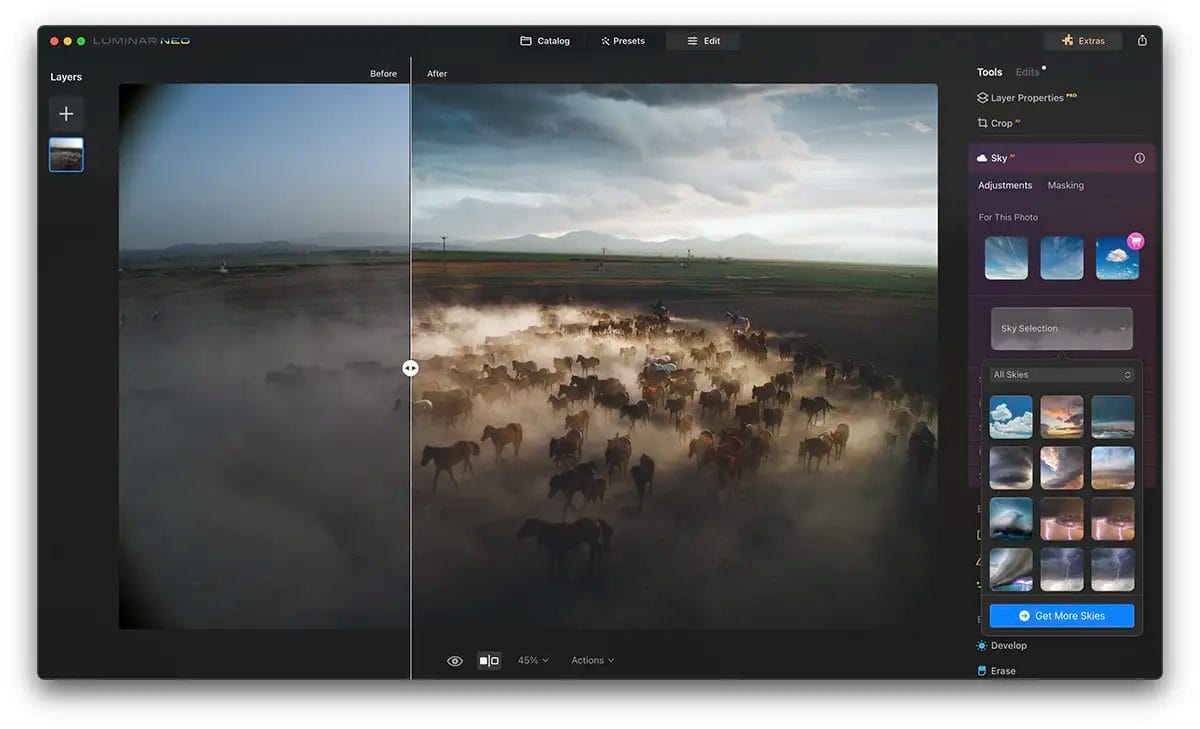
Probably the biggest game-changer in photo editing since Photoshop’s content-aware tool. Luminar’s augmented sky feature uses an incredible AI algorithm to generate photo-realistic sky replacements with amazing accuracy.
Choose from bright blue summery skies, dramatic sunsets, stary skies and many more. Lightroom users couldn’t do this at all. What an incredible tool it is if you struggle to get your sky exposed correctly.
Here’s another one click (or slide in this case) solution that does multiple adjustments at the same time – AI Enhancer.
This is Luminar’s Swiss-army knife for photographers you could say! Using the slider you can adjust the shadows, highlights, contrast, tone and saturation all at the same time. It’ll give you richer and more detailed results – another time saver.

Look Up Tables – if you didn’t already know. Luminar’s LUT tool allows you to apply customised colour grading effects to your photos. Us Luminar’s built-in LUTs, make your own or buy some.
The benefit of having Lightroom and Luminar is that LR’s preset files are cross-compatible (using a convertor) with Luminar. Therefore, you can transport your favourite colour styles onto your AI-enhanced photographs.
This is one for you Instagrammers and influencers out there. If you love a quick tweak, filter or special effect on your photos then Luminar’s built-in look tool will be your best bud.
Apply an individual ‘look’ to your image or adjustment layer for creative results. Access the Luminar store to purchase more looks or create a collection of your own to use again and again.
After all that you’ll see why having, two editors will only be a positive to your photography. Whilst Lightroom is available on a monthly subscription from Adobe, Luminar is just a one-off payment for life.
To join, either our Lightroom or Luminar training courses, then use the link below to sign up today. Two perfectly designed courses for beginners by professional photographers and official Luminar ambassadors.
If you use two different photo editors like Lightroom and Luminar then let us know your experiences. What do you like about each? We’d love to hear from you.
Experience the world of photo editing AI with Luminar and get $10 USD OFF 12 and 24-month plans when you enter the promo code ‘iPhotography’.
(iPhotography may make small commissions from links in this article.)
Discover the BEST way on how to clean a camera sensor using swaps, rocket blowers and pencil brushes to give your shots a dust-free finish!
Capture the magic of the night with our beginner’s guide to night photography. Learn tips and techniques for stunning results.
Master the art of solar eclipse photography with expert tips on equipment, settings, and precautions for stunning celestial images.
Learn the basics of photography – fast – with our FREE 60-Second Photographer online course. Each class is short and sharp with simple, actionable steps that give you immediate results.
x 30 lessons

© iPhotography™
Become a confident and competent photographer in less than 30 minutes!
Before you leave, make sure you’ve secured your FREE online photography course (worth £29.99)
Each class is just 60-seconds or less making it the fastest and easiest way to learn photography!