 Stephen Walton
Gone are the days when cameras were loaded with black and white infrared film to shoot invisible light waves. Hours were lost in the post-processing phase to create unique views – but it’s all changed in the modern world.
Digital infrared photography offers a path into a world you’ll never see naturally.
In this infrared photography tutorial, we are weaving in between the light waves and pushing the limitations of photons to understand how to capture these awe-inspiring photographs.
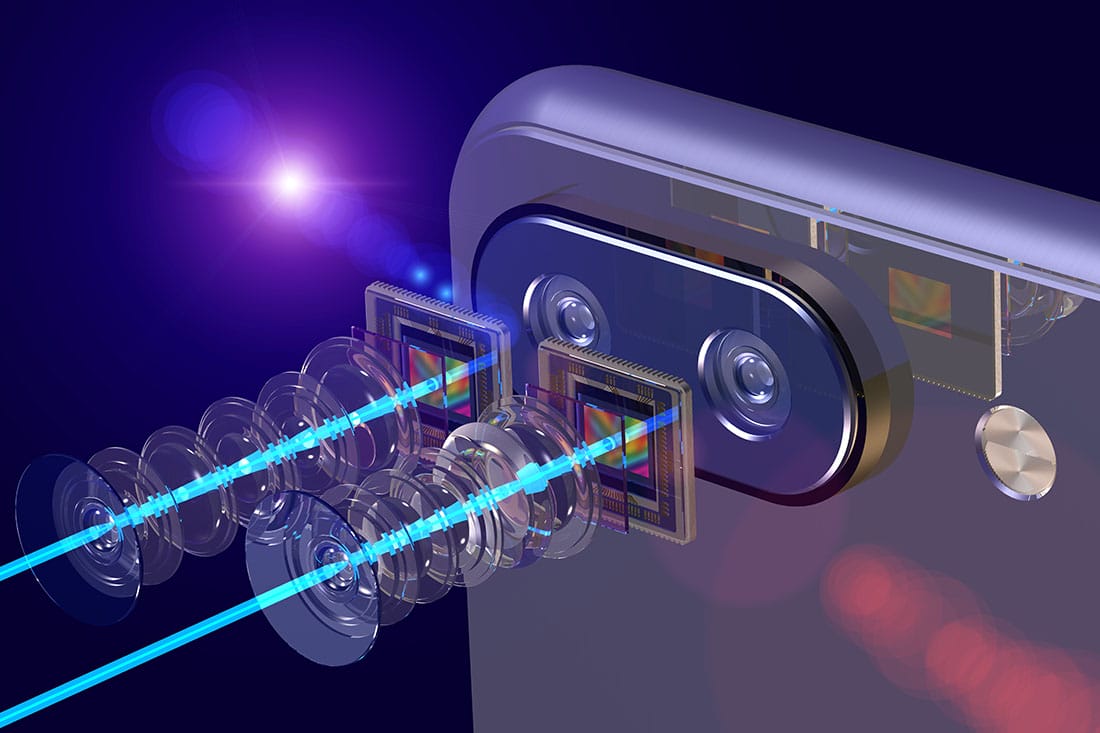
Infrared light sits at the furthest end of the light spectrum. Infrared light waves are longer than visible light which is why we don’t see it naturally.
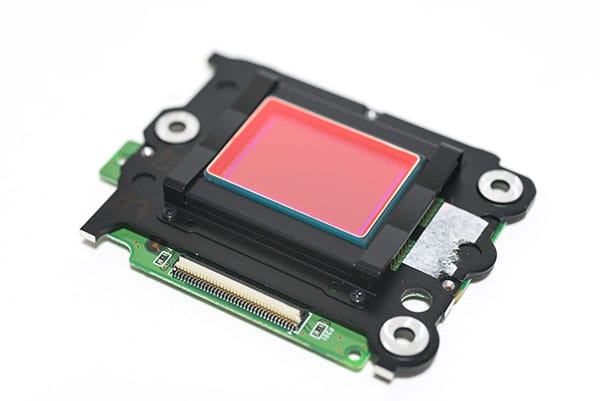
Typical digital camera sensors aren’t designed to be sensitive to this level of light which is why you’ll need specific accessories to try out this effect – unless you want to fake it through editing.
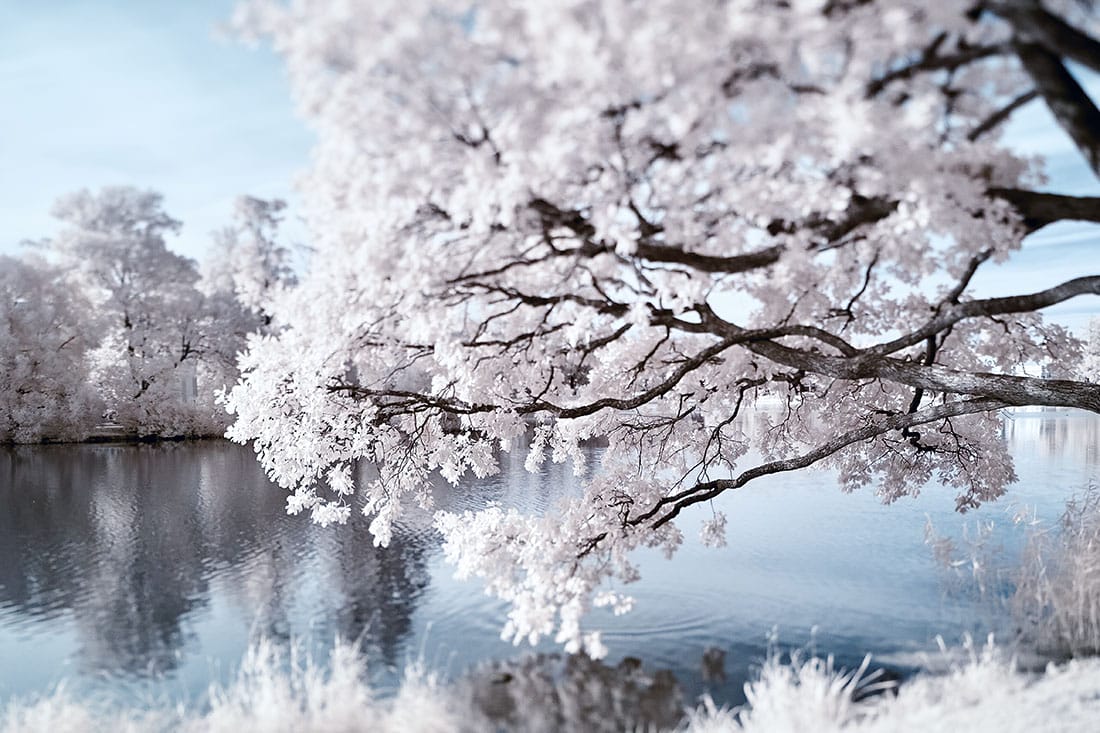
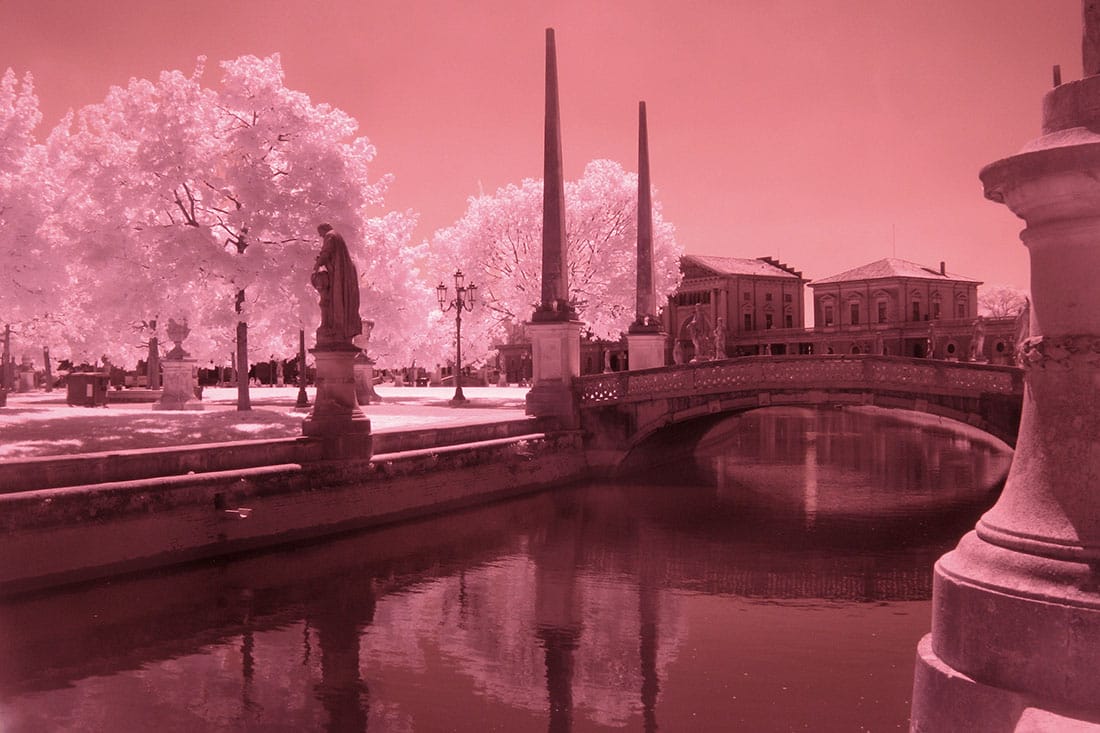
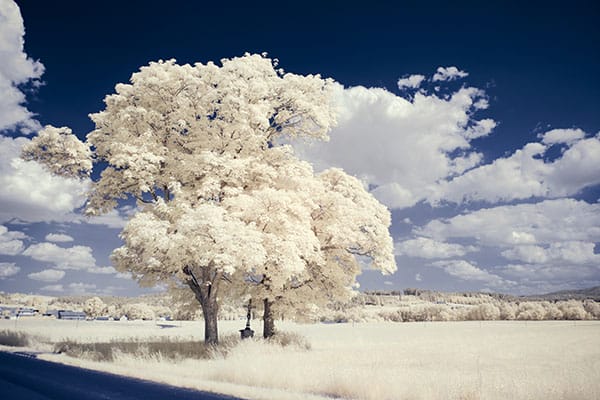
The look of an infrared photograph changes the colours you would normally see into something of a winter wonderland. It is certainly a niche area of photography that some landscape photographers dabble in for a challenge – as it certainly demands a lot of patience!

Before you go out and buy a dedicated infrared camera and jump two footed into this incredible area of photography you may find that your current camera could be up to the job already.
Firstly you can do a filter test on your camera to make sure it’s sensitive to infrared light. Not all digital camera sensors are able to “see” infrared light. In fact the newer the camera, the less sensitive to infrared light it may be. Try this simple test to see if your camera will give you good results.
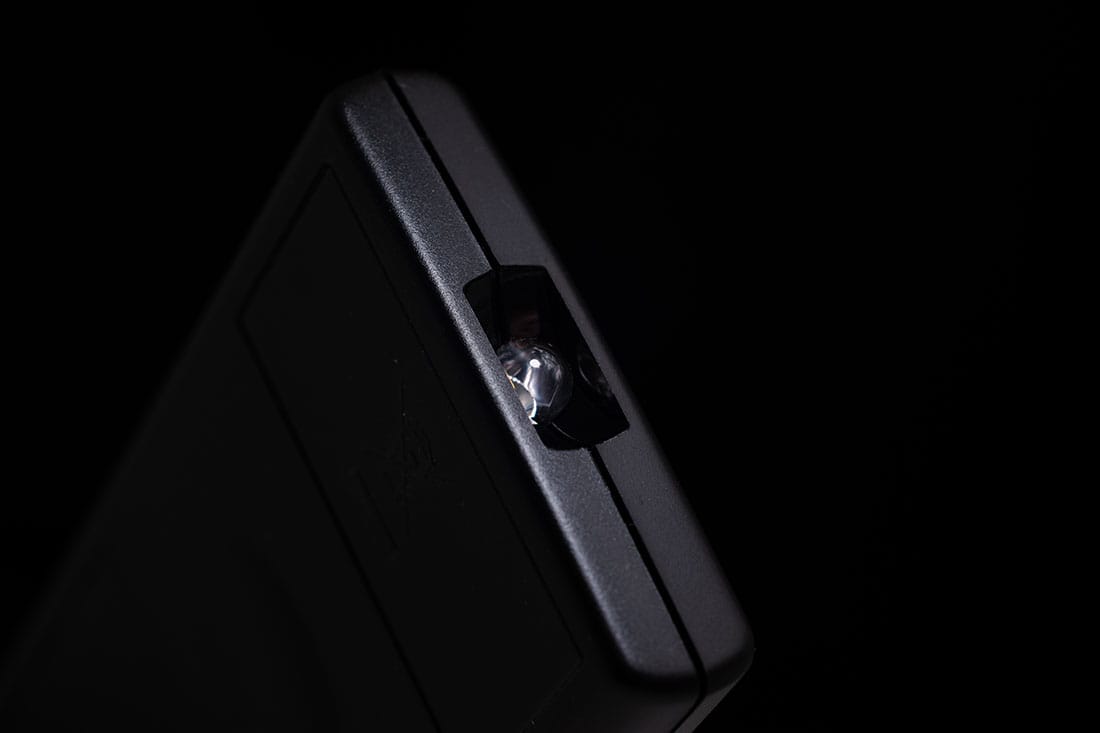
Hunt down a TV, VCR or DVD player remote control. Look at the end that points to the TV and you’ll see a little bulb or flat back plastic window. This is the transmitter that sends the signal from the remote to your device.
That signal usually uses infrared light. You can see that it is invisible light – i.e. when you look at the remote with your eye, you can’t see anything when you press the buttons. But just wait until you do this looking through your camera! You’ll be able to see invisible light – the infrared spectrum that makes such cool photos.
If you have a point & shoot camera look through your LCD viewer while pressing any button on the remote. If you see the bulb light up, your camera can see infrared light. If you have a DSLR you’ll have to take a photo to see the results, or if your camera has a live view feature, you will be able to see the results on your LCD as well.
The whiter and brighter the light you see from the remote, the more sensitive your camera is to infrared. If the light is more purple or red your camera may not be a good candidate for shooting infrared photos.
Basically, you’ll need 2 important tools to capture infrared photographs – aside from the camera!
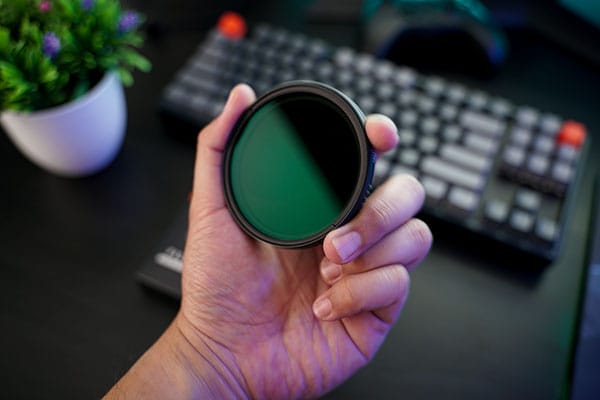
These lens filters allow infrared light to hit your camera’s sensor, whilst preventing visible light from doing so (totally opposite of what your camera is designed to do!)
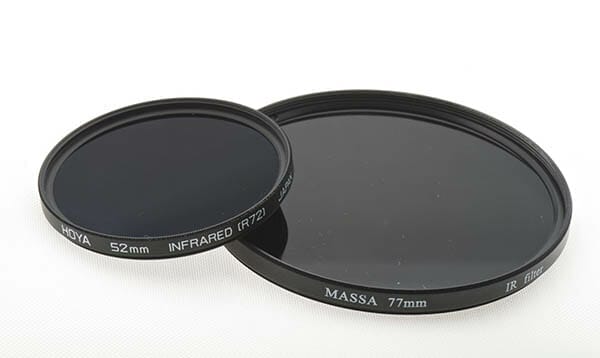
Manufacturers offer infrared filters in either screw-on or slide-in systems, depending upon what you prefer. The Hoya infrared filter(R72) is a popular screw-on infrared filter. The R72 refers to the amount and type of infrared light that passes through to your sensor. It’s a good starting filter for beginners.
Different brand filters render colour differently as they may address specific light ranges of the infrared spectrum. The good side to this is that there are variables and choices to get the effect just how you want if you wish to pursue the style further.
As you’ll come to find out shortly, the exposure times for infrared photography can be lengthy so you won’t be able to rely on steady hands. Instead get yourself a strong and sturdy tripod. If you want to shoot landscapes, make sure you weigh down your tripod to avoid any slight movements during exposure from the wind.
If you find yourself obsessed with infrared photography after this tutorial, it’s worth noting there is a permanent option to have a dedicated infrared camera body.
By removing the infrared blocking filter (that sits in front of your digital sensor) it will leave you camera exclusively adapted for reading infrared light. It is an expensive option and remember you’ll never be able to reverse the change.
You can also go further and have your camera modified to become a full spectrum camera. This when the camera’s internal IR cut filter is removed and replaced with a clear filter, making the camera sensitive to UV, visible, and IR light.
Don’t get confused if you hear the term ‘infrared lenses’. What photographers mean is an IR lens filter. Actual infrared lenses are incredibly high-end. All you need to get started is an infrared filter to go over the lens!)
There are a number of key considerations when choosing the right infrared photography filter for your shots.
The IR pass filter typically screws on to the front of the lens. Make sure the thread size of your lens matches the diameter of your chosen IR filter.
If you want to use your infrared photography filter on a number of lenses then invest in a set of step up rings (sometimes called step down rings too). These step up rings will allow you to change the thread size on the end of your lens so you can use just one IR filter on all your lenses.
Infrared filters for cameras are graded in different levels of sensitivity to light.
These numbers refer to the range of wavelengths of light it blocks. Visible light is about 360 to 720 nanometres (nm). Infrared light waves begin at around 700nm and go up to 1,000nm. So which wavelength IR filter is best?
This filter blocks all light shorter than 550nm, so you can see a mixture of visible and IR wavelengths. This filter produces less contrast than stronger filters and works nicely when photographing people for infrared portraits.
This is the standard IR filter level and the most common choice among photographers. It blocks nearly all visible light, allowing just a hint of the red spectrum. It helps create beautiful colours in infrared photography.
When you shoot infrared photos that are primarily black and white with little to no visible colour, pick up an 850nm level IR filter. This filter will help you capture pictures that are noticeably sharper than the previous 2 filters. This is because it blocks all visible light.
With better filtration comes a higher cost but it’s best to invest in a quality IR filter anyway if you really want professional-looking results so at the higher level the price difference is minimal.

Firstly, we would recommend shooting both RAW + JPG. Why?
Well as with any images taken with a DSLR or Mirrorless, RAW files give you the most flexibility when editing. As you need to expect that the shot you take won’t look like the final article without a few tweaks in editing.
Having a JPG file allows you to see faster (in Lightroom for example) some of the differences between shots and determine how to adjust your settings. Over time you’ll be able to read those dull pinkish RAW files and figure out which ones will translate into great infrared photographs.
Here are some useful infrared camera settings for beginners to dial in and get started. Mount your camera on a tripod and put your IR filter on last;
● Set your ISO between 100-400
● Set your any Long Exposure noise reduction setting to ON
● Push the shutter speed down to around 20 seconds. You may need to go slower after your results. Anything longer than 30 seconds will require bulb mode.
● Shoot in Manual or Aperture Priority (A/Av) mode
● Set exposure bracketing to +/-1 EV
● Change the aperture to F/8
● Set white balance mode to daylight
● Focus as normal and once you’re locked switch the lens to manual focus. This is because when you put the IR filter on your camera will struggle to see the scene and autofocus will be almost impossible.
Bulb setting means when you press the shutter button the exposure starts, and it’s only stopped when you press it again – it gives you control over the length of exposure.
Yes! It is possible to use an iPhone for infrared photography. Using the Night Mode and Deep Fusion features will allow your iPhone to reach those hidden light waves.
Much like the previously discussed camera settings for infrared you need to follow a similar procedure when shooting infrared photography with an iPhone.
You can purchase a dedicated infrared cell phone camera filter that clips over your phone’s native lens. You may need a filter mount if it doesn’t clip or won’t go over your camera case.
In terms of which type of filter you’ll need we’ve found that a 720nm IR filter will be best.
When it comes to the actual iPhone infrared camera shooting, follow the camera settings that we listed above for DSLR and Mirrorless cameras and try to apply as many of these settings as possible on your iPhone.
You may need to find an app that allows you manual controls over your camera’s shutter speed, ISO and aperture if it’s an older model.
When it comes to the editing you can either look to use IR presets to help convert in an app such as Lightroom CC or try editing in Snapseed.
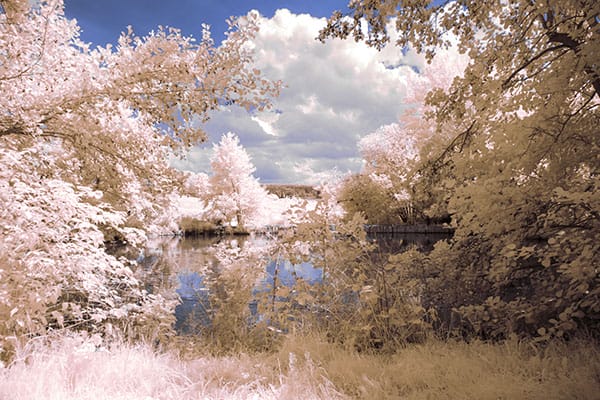
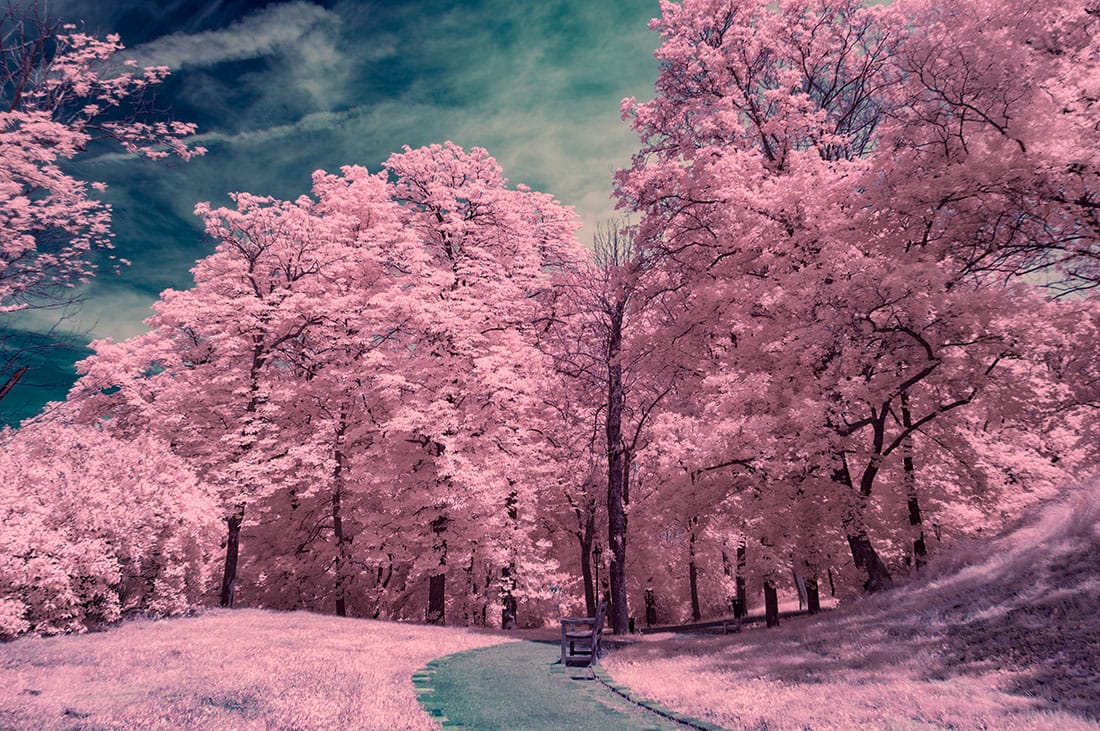
1. The main idea is to firstly set the white balance and choose something that should look white in the scene.
2. Next look to swap the colour channels around. Replace red with blue and blue with red. Also, split the green channel 50/50 between red and blue.
3. Finally in the blue channel, change it to +90 green, +100 red, and -90 blue for stronger colours and great contrast.
Shooting an infrared photography portrait (and landscapes) requires a similar approach when shooting B&W – just need to think about the tones and shapes in the scene ahead. If you want to add more dynamics to your infrared shots look for contrast in these places;
Light areas v Shadow areas
Smooth surfaces v Textured materials
White objects v Dark objects
Bright backgrounds v Dark foregrounds
Infrared photographs are similar to B&W images – in that you are dealing with limited tones. To make your shot more eye-catching then compose your shot so dark and light objects are grouped next to each other.
In the instance of landscapes, green foliage and fluffy clouds will always turn out light/white through infrared. Features such as the sky, stones, wood, water and concrete will be darker/black.
It’s vital to shoot on a sunny day when there is lots of summer green foliage. Dull, cloudy days won’t give you great results, and because living things reflect the most infrared light. If there are cumulonimbus clouds in the sky these can add an element of interest.
There are lots of gimmicky infrared filter apps available for iPhones and Androids. It won’t be hard to try out IR shots without using any actual clip-on filters. Don’t expect the quality to be the same but they can be fun for beginners to use.
We’ve had a look for the best-infrared app to use on your iPhone and found some entertaining night vision and thermal imaging effect apps that we wanted to share with you for playing with on your iPhone.
One of the most entertaining thermal camera effect apps out there. Effects can be changed while recording is in progress thus providing a more effective video as output.
Seek Thermal is the best way to experience and visualize thermal energy while on the go, at work, indoors, or in the outdoors. With this free app and a Seek thermal imaging camera, you can quickly and accurately detect, inspect, measure, and visualize thermal energy from your smartphone and tablet.
3. Thermal Night Vision Camera
Thermal Night Vision Camera Effect simulates a thermal vision using image processing colour filter on each shot. Enable your iPhone’s flashlight by pressing the light button. Then push the thermal night vision device button to switch to Thermal Vision.

Discover the BEST way on how to clean a camera sensor using swaps, rocket blowers and pencil brushes to give your shots a dust-free finish!

Capture the magic of the night with our beginner’s guide to night photography. Learn tips and techniques for stunning results.

Master the art of solar eclipse photography with expert tips on equipment, settings, and precautions for stunning celestial images.
Learn the basics of photography – fast – with our FREE 60-Second Photographer online course. Each class is short and sharp with simple, actionable steps that give you immediate results.
x 30 lessons

© iPhotography™
Become a confident and competent photographer in less than 30 minutes!
Before you leave, make sure you’ve secured your FREE online photography course (worth £29.99)
Each class is just 60-seconds or less making it the fastest and easiest way to learn photography!