 Stephen Walton
The iPhotography members gallery is a wonderful hub of daily motivation, inspiration and most importantly of all – feedback.
We’ve got 5 tips on how to make the most of the iPhotography member’s gallery. These tips will improve the look of your images and get that all-important feedback for your urban sketching improvement.
At the end of the guide we’ve put together a summary checklist of how to prepare your photos to upload to the gallery.
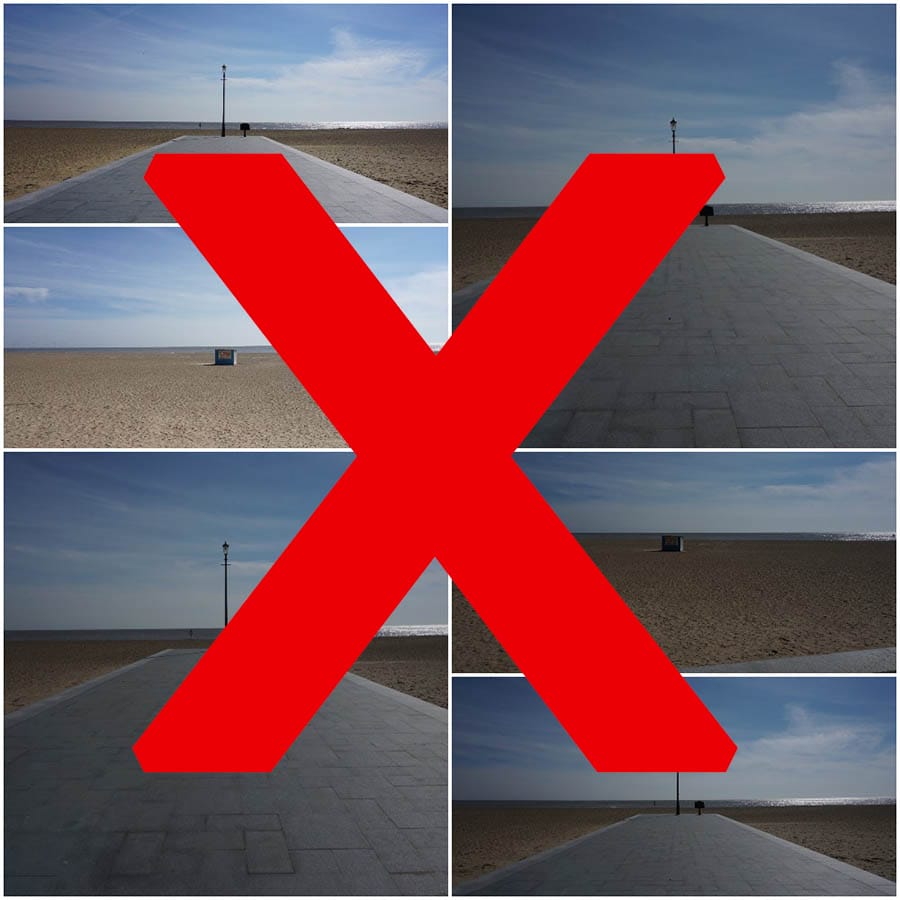
With having 4 uploads per day (8 if you’re subscribed to iPhotography PLUS) it’s easy to upload a series of photos that are all similar and wait for the community to tell you which is best.
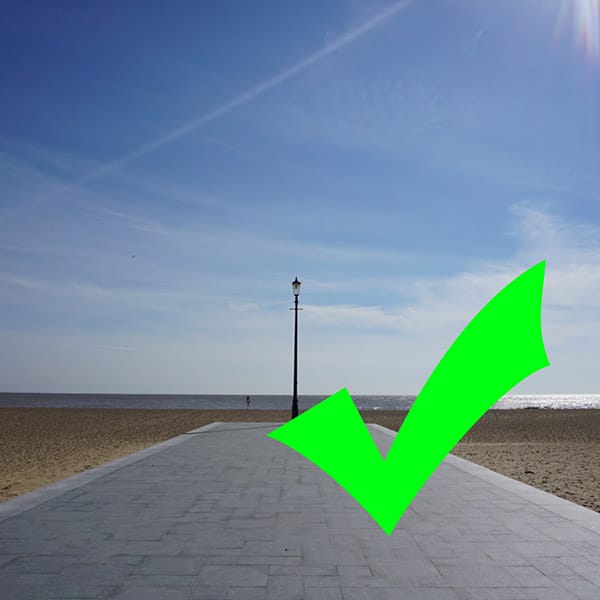
We’ve seen higher engagement when members upload the single shots they’re most proud of. Be decisive and make the most of your quota by choosing your favourite shots and not a series of repeats.
You can check which pictures you’ve uploaded before too by logging in to your own gallery to avoid duplicates.
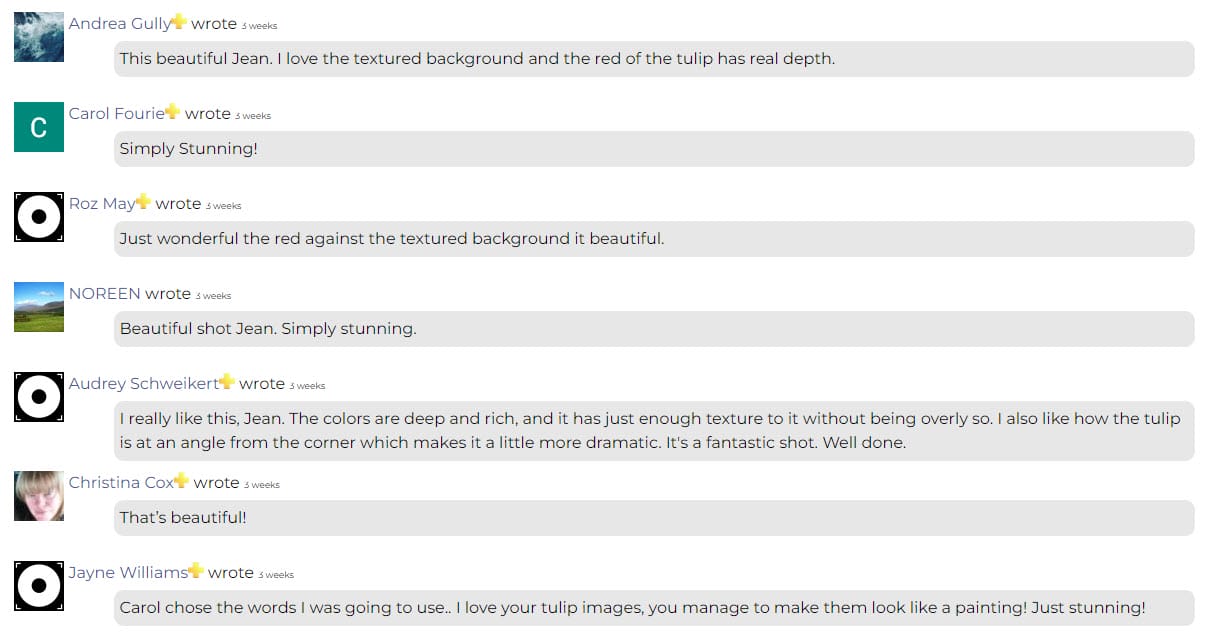
Don’t expect the world to come flocking to you – and it’s just the same in the iPhotography gallery. It’s proven that the more you engagement and comment on other members shots then the more you’ll receive in return. It’s a little bit of give and take.
Other members will look out for you in the gallery if you’re known to give regular and helpful feedback. If you’re never sure what to say in a comment just speak from the heart.
• What caught your eye?
• How does it make you feel?
Even a short comment is better (and more motivating to others) than no comment at all.
You’ve got space in your upload to ask for advice on the image if there is something specific, you’re working on. Use the description field when uploading to ask what members think about your composition, subject, focus or colouring for example.
This really helps others formulate their feedback – you’re giving them a question to respond to which is much easier than starting from a blank page.
The iPhotography tutors check in on the gallery Monday-Friday so we’ll be around to help out from time to time.
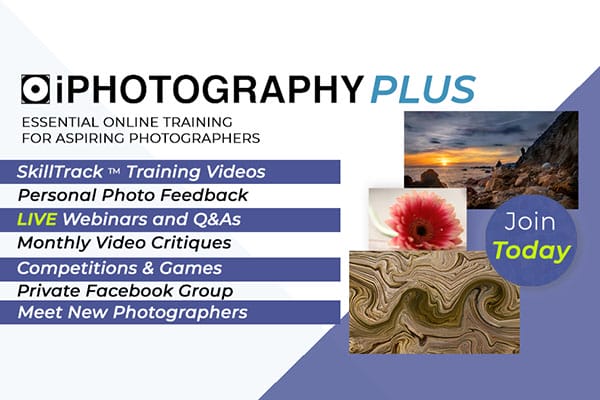
But if you’re looking for regular, enhanced feedback and critiques you may want to consider joining iPhotography PLUS.
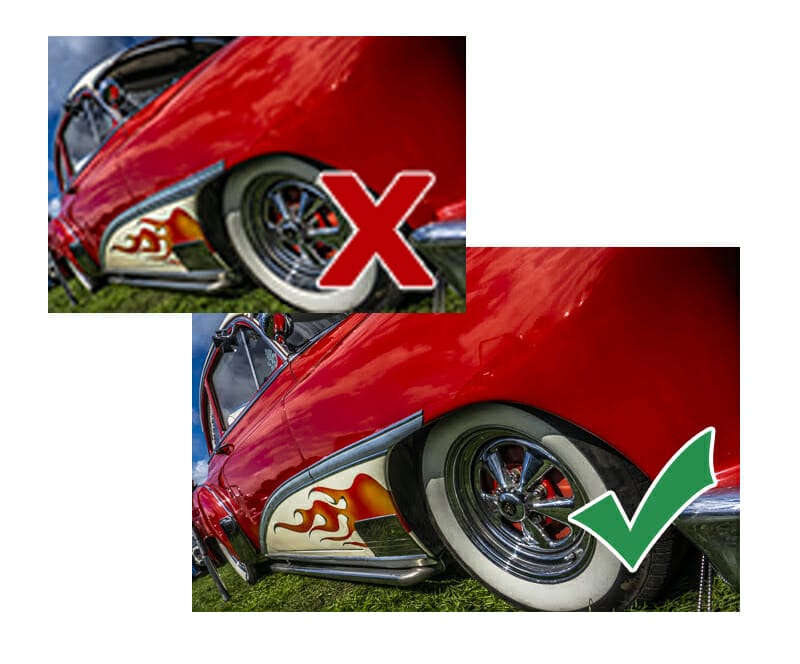
All too often there are some potential great images uploaded to the gallery, but they appear small on screen. While reducing file sizes are great for upload speed and saving on storage it can have a negative impact on resolution and detail.
The iPhotography gallery allows images up to 2,000px on the longest side and 5MB in total file size and JPG file formats only. With that said it doesn’t mean this will give you the best-looking image.
Due to online compression when uploading photos it’s a good idea to over-sharpen your pictures in editing by 10-15% to compensate.
On top of this, we’ve found that shooting/saving in sRGB colour space and sizing your photo to around 1500px, on the longest side, will give the best optimisation.
There are text fields to go alongside your upload in the gallery for a reason – tell us about your shot in the description. If you’re not looking for help or advice then let us know how you create your photographs.
Other members and Tutors love to know:
● What inspired you?
● Where’s the location?
● How you edited it?
● What’s the story behind the shot?
● Is this something you learnt from one of our courses/tutorials?
● What are you trying to achieve with the photo?
Title your creation too. A good headline to go underneath your photograph can really set the scene – plus it helps with cataloguing too in the gallery. You can’t upload 2 photos with the same exact file name.
Give your pictures an identity and emotion with a little title. It doesn’t have to be clever or revolutionary so don’t overthink it. Uploads with just the original camera file number can feel impersonal and shapeless.

Popular memory cards for photography – what’s the best SD card for your digital camera? Choose the right capacity and class speed in our guide

Discover the BEST way on how to clean a camera sensor using swaps, rocket blowers and pencil brushes to give your shots a dust-free finish!

Capture the magic of the night with our beginner’s guide to night photography. Learn tips and techniques for stunning results.
Learn the basics of photography – fast – with our FREE 60-Second Photographer online course. Each class is short and sharp with simple, actionable steps that give you immediate results.
x 30 lessons

© iPhotography™
Become a confident and competent photographer in less than 30 minutes!
Before you leave, make sure you’ve secured your FREE online photography course (worth £29.99)
Each class is just 60-seconds or less making it the fastest and easiest way to learn photography!