 Stephen Walton
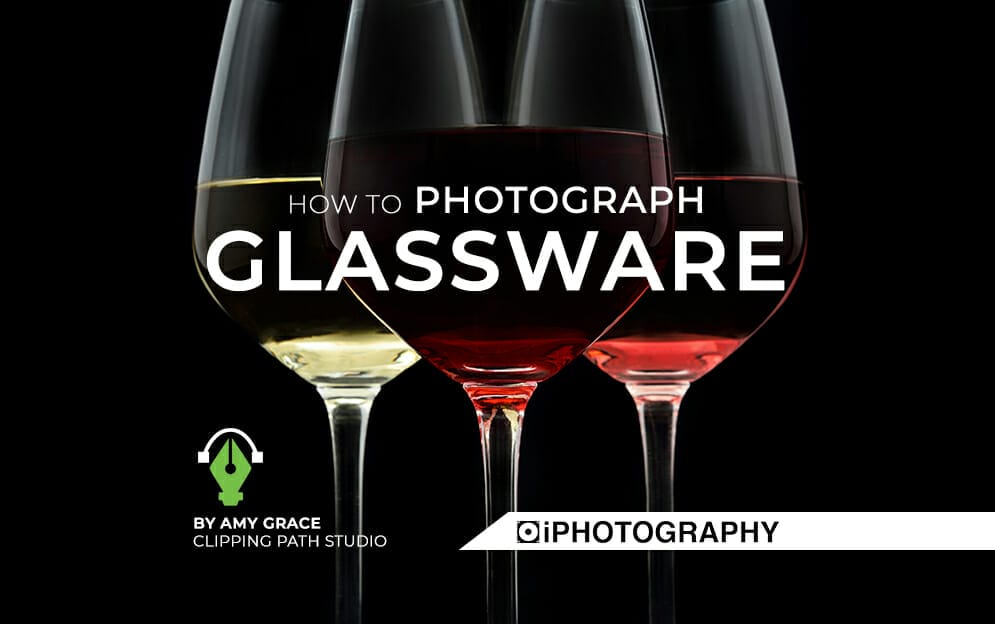
One of the most difficult skills as a product or studio photographer is knowing how to photograph glass. Glass product photography is highly demandable, still, people don’t easily get hired.
Anyone can’t point a light at an object and take a photo. But to capture a stylish, professional image of a material that keeps throwing reflections everywhere is a nightmare for all!
Not to worry, as you will learn everything there is needed for photographing glass objects and wake up from this nightmare. We have created this article which includes a comprehensive guide and additional tips on how to photograph glass without reflection.
It can cover anything from taking photos of kitchen tumblers, vases right through to glass bottles. Anything that you consider transparent would fall in the sub-genre of glass product photography.
We have prepared 5 important steps on how to photograph glass, explained in the simplest manner possible. By following this procedure step by step, you will attain the perfect glassware photography session.

It’s no surprise that the glass must be brand new and polished to its utmost sheen. You must clean it thoroughly to get rid of all kinds of dust, lint, and other particles. Additionally, there shouldn’t be any fingerprints. Even tiny smudges are visible when you shoot at high resolution.
Wearing gloves may help avoid fingerprints. High-quality cleaning gloves are preferred for maximum comfort, as you will need to wear them often if you’re going to be photographing glassware regularly. Make sure that your gloves are always fresh and clean to begin with.
Using a compressed air can or hose is a good way to quickly blow away dust specks that can’t be easily cleaned. Do try to ensure that the environment has no draft to avoid any flying particles landing on the glass.

After the glass is cleaned, it’s time to prepare the set. The set entirely depends on the style of image that you want to capture. However, there is some basic equipment that you will need regardless of the style you choose.
They are;
● A tripod
● 2 or 3 lights (either flash or continuous)
● Light stands
● Boom stands
● Clamps
● Softboxes
● White sheets and cards
● Black sheets or foams
● White and black poly boards
● Reflectors
● Gaffer tape
● Diffusion material such as tracing, frost, or spun
After you’ve accumulated all the gear, you have everything to prepare the set and shoot your images!


Black and white are perfect background choices for taking photos of glass, but you can spruce it up with a selection of differently coloured backgrounds. For this guide, we’ll just stick to white and black backgrounds. Black and white are the default backgrounds colours for most glass product photography and they almost always give good results.
There are several ways you could place the background for a photo of glass. You can tape it to a wall. You could also hang it using a boom stand and clamps. We prefer that you hang it as that adds a lot of options for lightning the glass. Make sure that the background is hung as flat as possible, without any creases.
If you want a continuous, “infinity” background, then you can do so by pulling the base of the sheet and placing it under the glass.

This is the most elaborate part of glassware photography. Lighting reflective products like glass are often incredibly confusing. Learning how to photograph glass without reflections and shadows is a critical skill. But all your confusions are about to be cleared.
Firstly, memorize this rule to heart: Never point a light source directly at the glass.
Repeat that until it’s second nature to you. Memorizing this will alleviate 50% of glassware lighting problems. Pointing a light directly at the glass causes reflections which get directed everywhere, including the camera’s lens. This reflection cannot be mitigated no matter what you do in the set and in post-production, consequently resulting in a poor-looking image.
The trick is to illuminate the background, which would then illuminate the glass whilst avoiding reflections.

There are a few ways you could illuminate the backdrop and each method will give you a different image.
● Pointing light sources at the background from the front – You can try pointing lights directly at the backdrop with light sources from below, from above, or from the sides. Regardless of the angle, it will hit the background from the front.
● Pointing light sources at the background from behind – Same technique as above, except that the lights strike the backdrop from behind.
● Using reflectors – Instead of striking light directly at the background, you can use reflectors to reflect light onto it. Setting up reflectors is a bit of tedious work with stands and clamps, but will provide excellent results as the reflected light enhances the contrast of the glass, helping make a cleaner image.
Those are the basic ways which you can combine to give an excellent image. You can mix and match according to your taste. However, you may find minor reflections on the glass to be visible and the image to be overexposed. That is where and black backgrounds and poly boards come in.
These black poly boards can be placed on the sides of the glass which serve as light absorbers—experiment with setting the angle just right so that the light is perfectly absorbed.
Using a black background instead of a white one will not only reduce reflections but provide a completely different aesthetic. It generally looks more stylish and contemporary. However, you will also get excellent results if you use a white background with black poly boards as anti-reflectors.
Reducing reflections will give you the best image, but don’t go overboard with it. Completely eliminating all reflections will result in an unrealistic image of a plain glass contour.
A bit of reflection helps define the shape of the glass. Learning how to avoid reflection in glass photography is indeed critical, but the key is to make the reflections look pleasant whilst keeping it at a minimum.
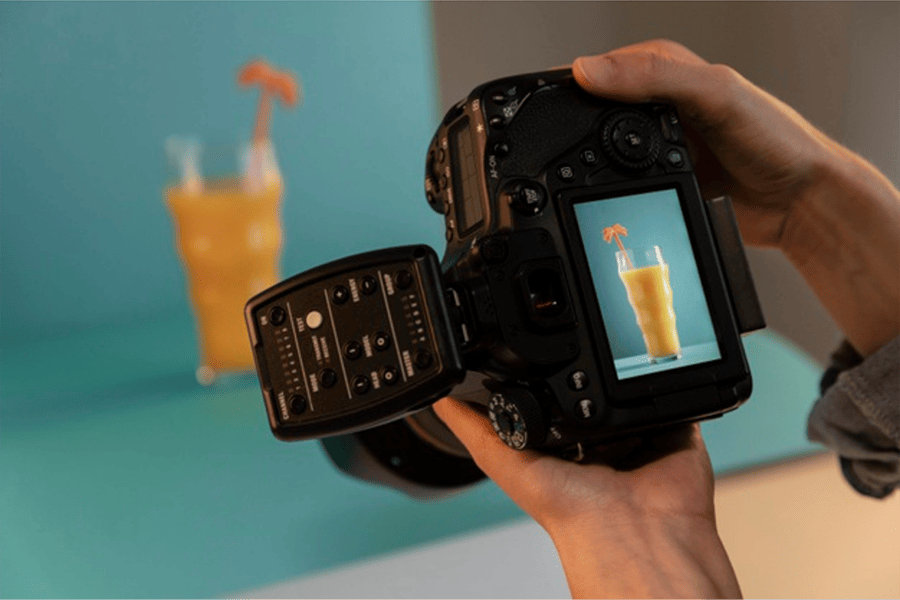
Start shooting your image! Ensure that your camera settings are properly adjusted, including the ISO, shutter speed, and aperture. You should definitely use a tripod as all product photographers do, or you won’t be able to capture a crisp image.
If you are looking for glass photography ideas at home with a phone then you can still adapt the camera settings mentioned here and apply them to your device. Some camera phones have ‘pro’ modes which allow you to change shutter speed and ISO.
Setting the shutter speed at a ballpark of around 1/125th will do. It shouldn’t be too fast to miss out on fine details and shouldn’t be too slow to result in an overexposed shot.
As you will be lighting properly, the ISO should be the lowest. 100-200 ISO is a good spot. However, it may be possible that you have limited lighting options and the image seems too dark.
You can bump up the ISO in that case, but try not to go over 600 ISO. Increasing it too much will deteriorate the dynamic range and introduce visible noise.
Aperture completely depends on the distance of your camera, the size of the glass, and the type of lens that you’re using. Regardless, the goal is to keep the entire image in focus, including the background. So, keep adjusting the aperture until you hit a sweet spot where the glass and the background are in sharp focus.
Even if everything looks perfect, you may find that adjusting the position of the camera can provide excellent results. For example, instead of shooting directly through the centre, moving the camera a bit towards the left will help create angular reflections on the glass.
This adds character to your image instead of it looking like a stock glass photograph. It all depends on your lighting. If the lighting doesn’t provide any such advantage, there is no need to spend time on it. The first goal is to capture a professional glass image and be creative later.

Now that you know how to take picture of glass without glare and reflections, there are some tips for you to enhance your glassware photography techniques and take it to the next level!
Using lenses of longer focal lengths like 105 mm has several advantages. It allows you to shoot the image from longer distances, reducing the chances of getting yours or the camera’s reflection on the glass. Additionally, you can use a smaller background. Longer focal lengths let the camera see less space behind the subject, which is good in case you aren’t able to use a large background.
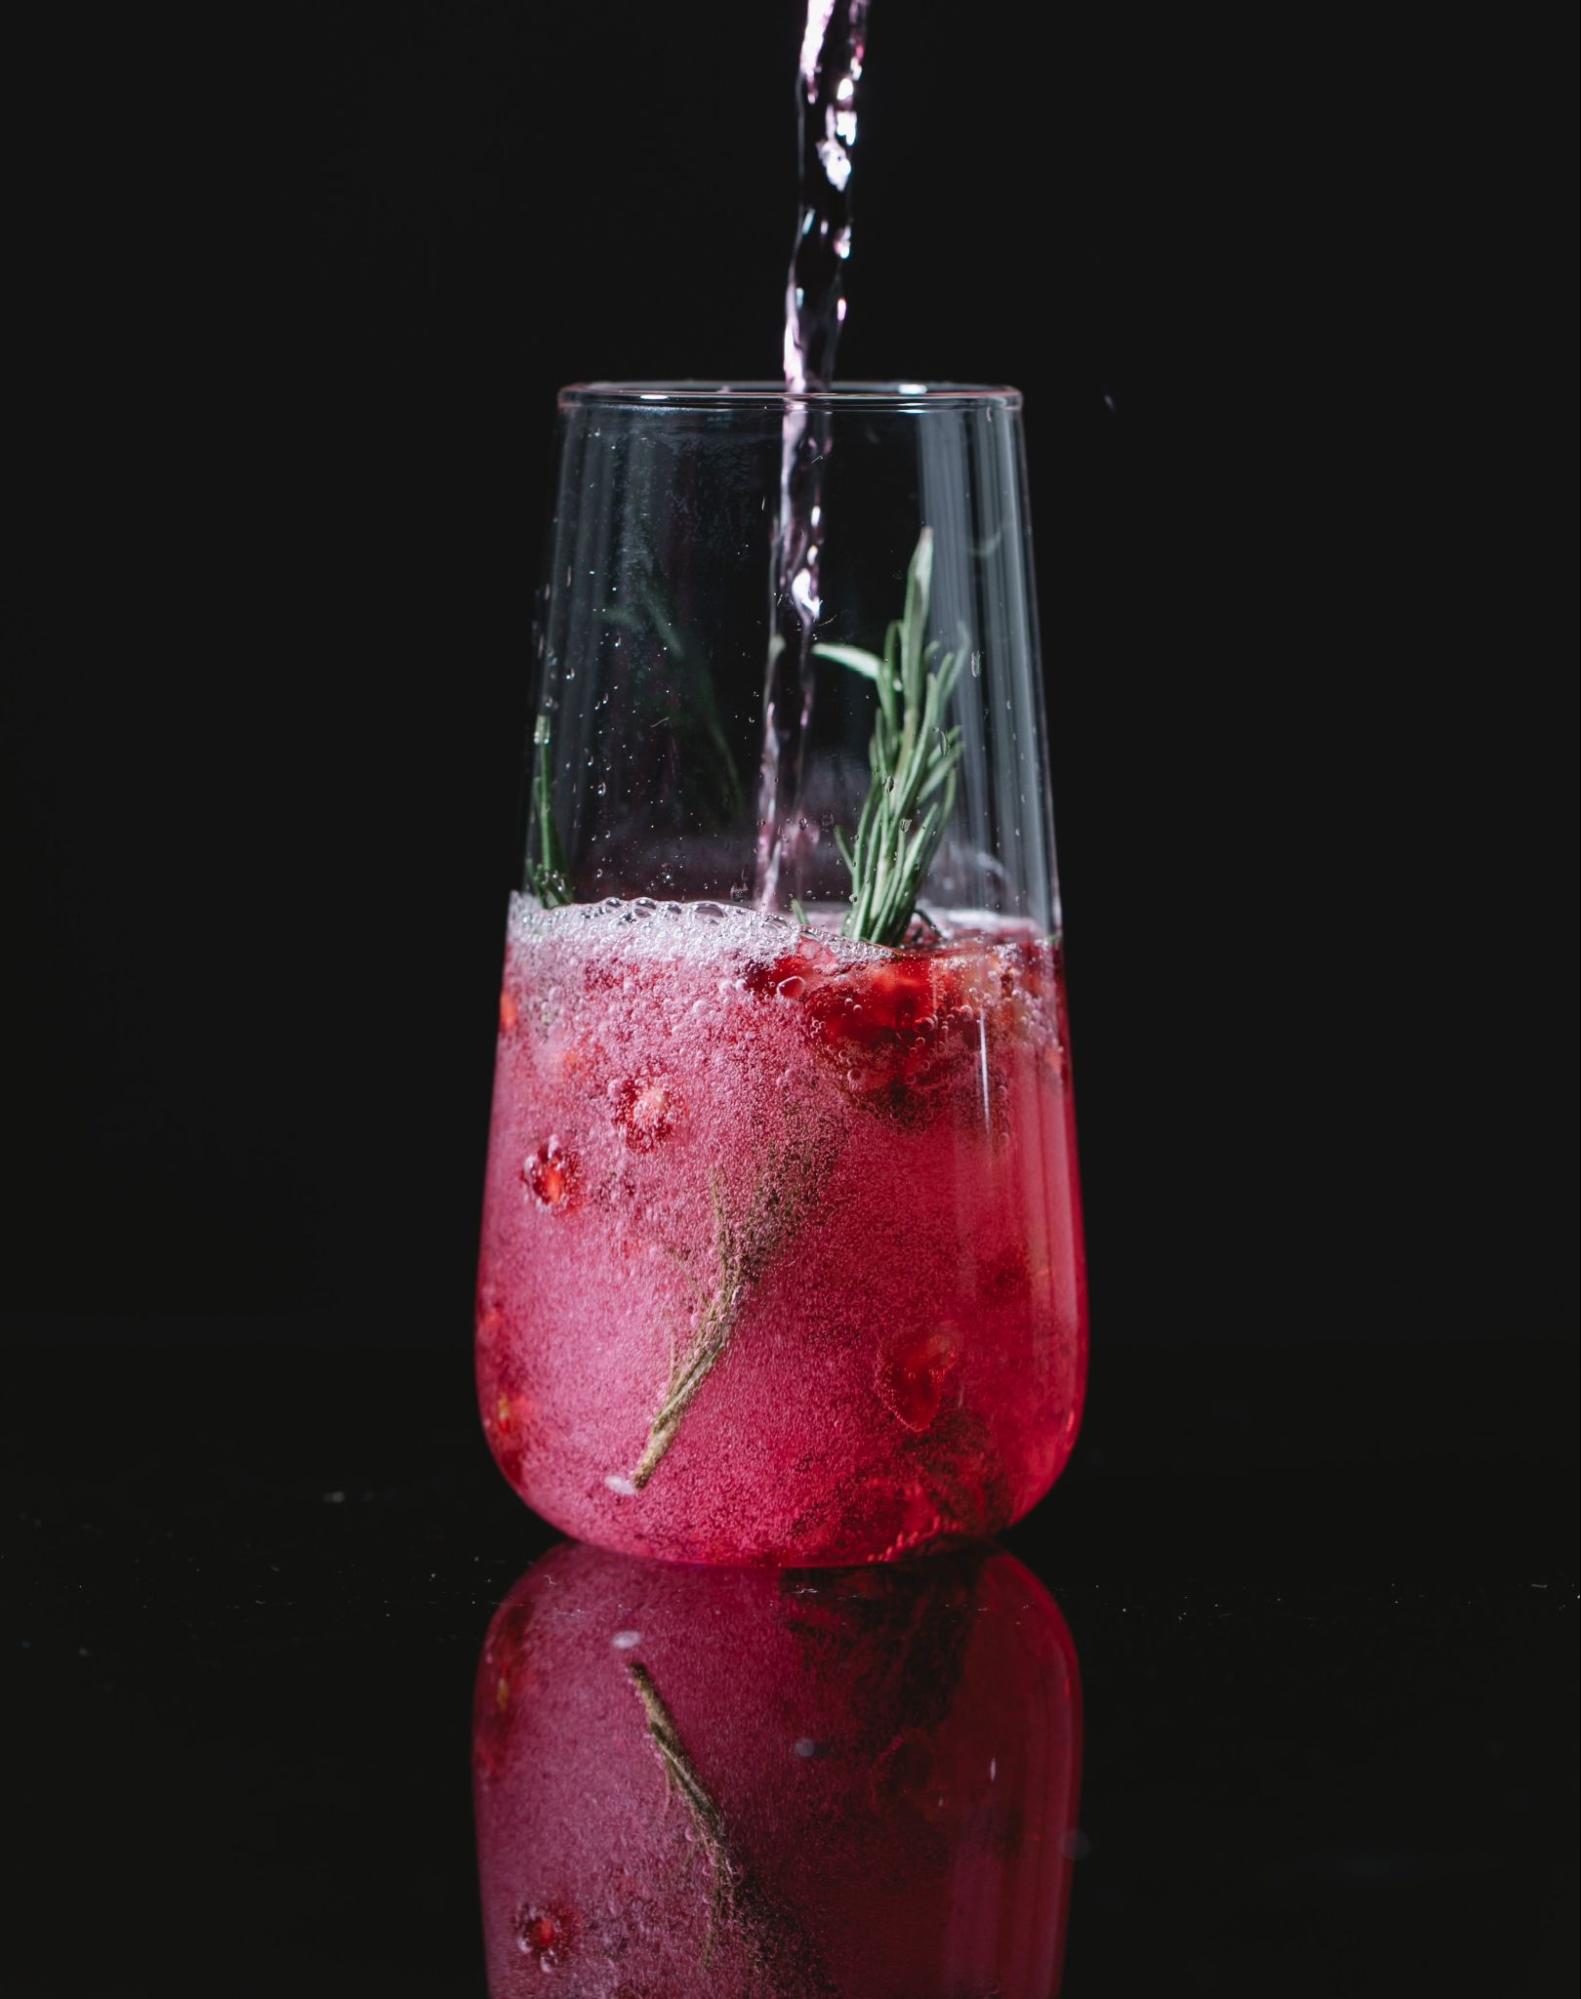
A product photo doesn’t necessarily have to be a plain image unless specifically required. You can add dynamics to your shot by providing some movement in it. Pouring a bit of water on top will enable bubbling inside the glass. You can also pour it around the glass to get a scattered look. These methods add some action to your shot.
There are some rules though. Since you will be dealing with action, you need to have a high shutter speed of around 1/1000th. You need someone else to pour the water as well.
Though you can do it yourself, it’s better to have an assistant as you can get the perfect shot much quicker. Ensure that the person pouring it does not cause any shadows reflections. And be careful with the pouring!
You don’t want to tip the glass over and end up splattering water all over the set or even worse, causing damage. You can be as creative as you want to be, as long as you’re careful.

It’s possible that you’re photographing glass bottles of various brands, and the label needs to be seen perfectly. By following the steps mentioned in this guide, your label will most likely be automatically well-lit.
Depending on the shape of the glass, type of label, and several other factors, the label may not appear perfect. Not to worry, similar to lighting the set, you can use reflectors to reflect light directly onto the label.
However, this may add reflections as the light will also hit the glass. To minimize this, you can use light diffusion material on the reflectors, which will greatly cut out extra reflections. You can use one reflector for each side on two separate shots and combine those images in post-production. Ideally, that would give you the best results.
Surround your glass with black foam or matte blackboards on the sides and the top. Place them as close as possible to the glass whilst keeping a small gap. You’ll see that the glass’s edges will have enhanced dark reflections. This technique is called negative fill and can be used to add static drama to the image. This will work best with a white background.
If you’re looking for a mirror effect on the glass’s base, then you could place the glass on a reflective surface like a sheet of plexiglass or acrylic. These materials are safer choices for the base than using glass material itself.
A quick trick is to place another inverted glass under the glass that you’ll shoot. That way, you have a mirror effect without having to use any reflective surface!
Instead of photographing transparent objects, adding some liquid to your glass will make it a more plausible image. Better yet, adding coloured liquids can really make your glass stand out.
Are you shooting a wine glass? Add some golden liquid to add richness, which is typically done in wine glass photography. Are you shooting a juice glass? Add some blue liquid to add life.

We did mention the opportunity of using a coloured backdrop in this guide. However, instead of directly replacing a backdrop, there is a technique you could use that could add colour without making a literal background change.
Swap out your white reflectors and use coloured ones. This will add a coloured tint to the glass instead of directly affecting the background. You can experiment by swapping just one reflector instead of many or keep the white reflectors and add coloured ones.
You can let your creativity run wild by adding props, textured bases, and anything else to complement the shot. Oftentimes, product photographers keep both a simple image and a creative image and let the client choose. Thus, if you are going to be creative, don’t be afraid to go all the way.
Use marble or wooden base. Add a dangling branch of a plant to the glass. Bring in a small cupcake into the frame. Everything and anything that you can think of can be incorporated into your list of creative glass photography ideas!
Now that you have learned everything about how to photograph glass, you can finally chase your studio photography dreams! Be patient, as mastering this art will take practice. Do share the article if it does help you!
Amy Grace, Commercial Photographer, retoucher and a devotee writer of Clipping Path Studio, has long experience in the commercial photography field.
Merging competency and skill in her profession, she has nailed the task up to the mark and has helped a lot of entrepreneurs create their brands. Aside from photography, Amy is involved in photo retouching work as well.

Shooting sunsets using amazing 5-in-1 magnetic lens filters from Kentfaith, the 1st choice for photo & video products.

Popular memory cards for photography – what’s the best SD card for your digital camera? Choose the right capacity and class speed in our guide

Discover the BEST way on how to clean a camera sensor using swaps, rocket blowers and pencil brushes to give your shots a dust-free finish!
Learn the basics of photography – fast – with our FREE 60-Second Photographer online course. Each class is short and sharp with simple, actionable steps that give you immediate results.
x 30 lessons

© iPhotography™
Become a confident and competent photographer in less than 30 minutes!
Before you leave, make sure you’ve secured your FREE online photography course (worth £29.99)
Each class is just 60-seconds or less making it the fastest and easiest way to learn photography!