 Stephen Walton
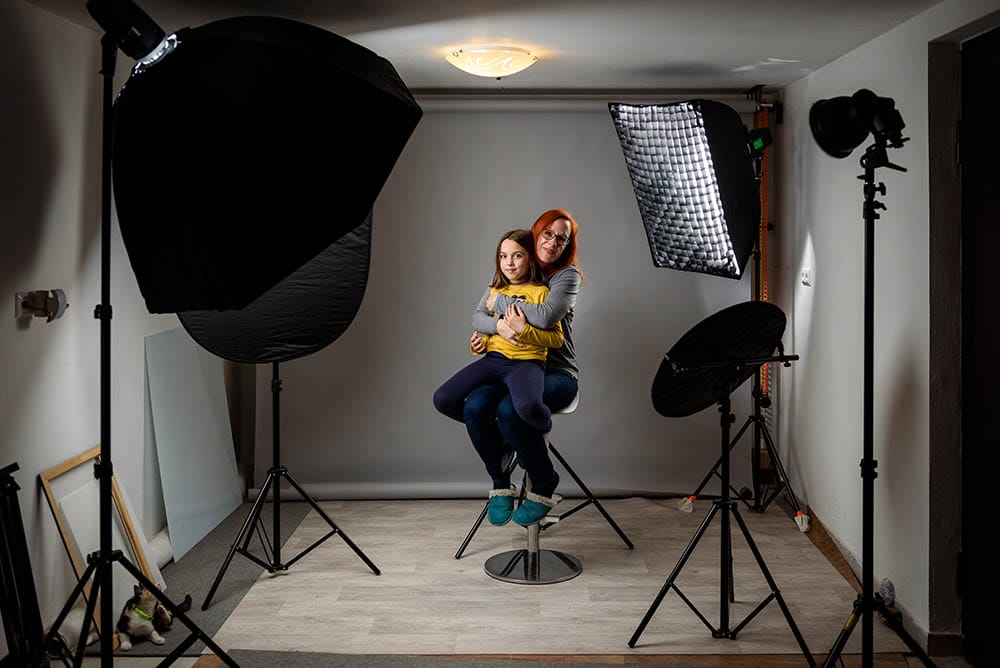
Photography starts at home; you don’t need to hire a big, expensive studio to take great photos. Choosing the right gear for the job you can set up a home photography studio to capture professional quality photos whenever you want.
This may be a great platform if you’re considering starting your own photography business for shooting portraits or products.
In this article, I’m going to share with you how to create a home photography studio and what camera and lighting equipment you should consider as well as other tips and thoughts.
Who really needs a home photography studio? Well, most likely food, product and portrait photographers. Each type of photographer will require a different-sized space and particular props to suit their work.
Either way, the benefit of having a home photography studio cuts down on costs and gives you unrestricted access to shoot whenever you get inspired (or hired!).
The initial outlay to building your studio needs to be seen as a long-term investment. Though it doesn’t have to be expensive, purchasing quality equipment will last a lot longer than going cheap.
One of the best lenses for shooting in a small space would be a 24-70mm zoom lens. This gives you the width for mid-length portrait shots as well as a long focal length to compress the background and isolate your subject. You can use a similar lens when shooting products too.
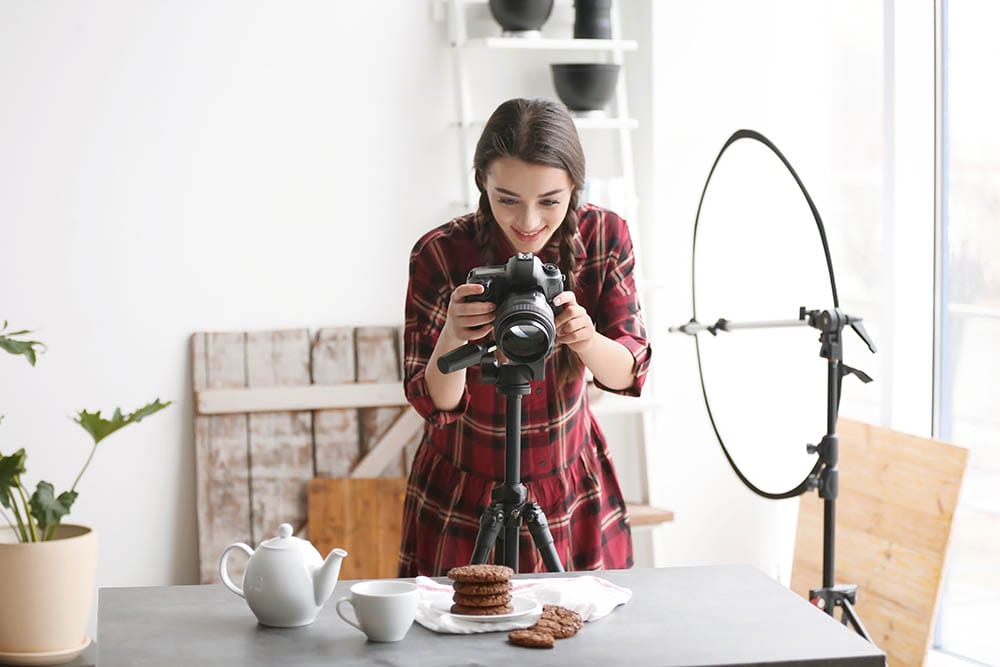
You’ll need some lighting stands to hold your lights up. Light stands should reach 5-6ft to give you flexibility based on what you are shooting. Remember to purchase a light stand weights too. Due to the weight of the lights, you need to keep them stable in case it gets knocked over. A simple sandbag will weigh down the stands.
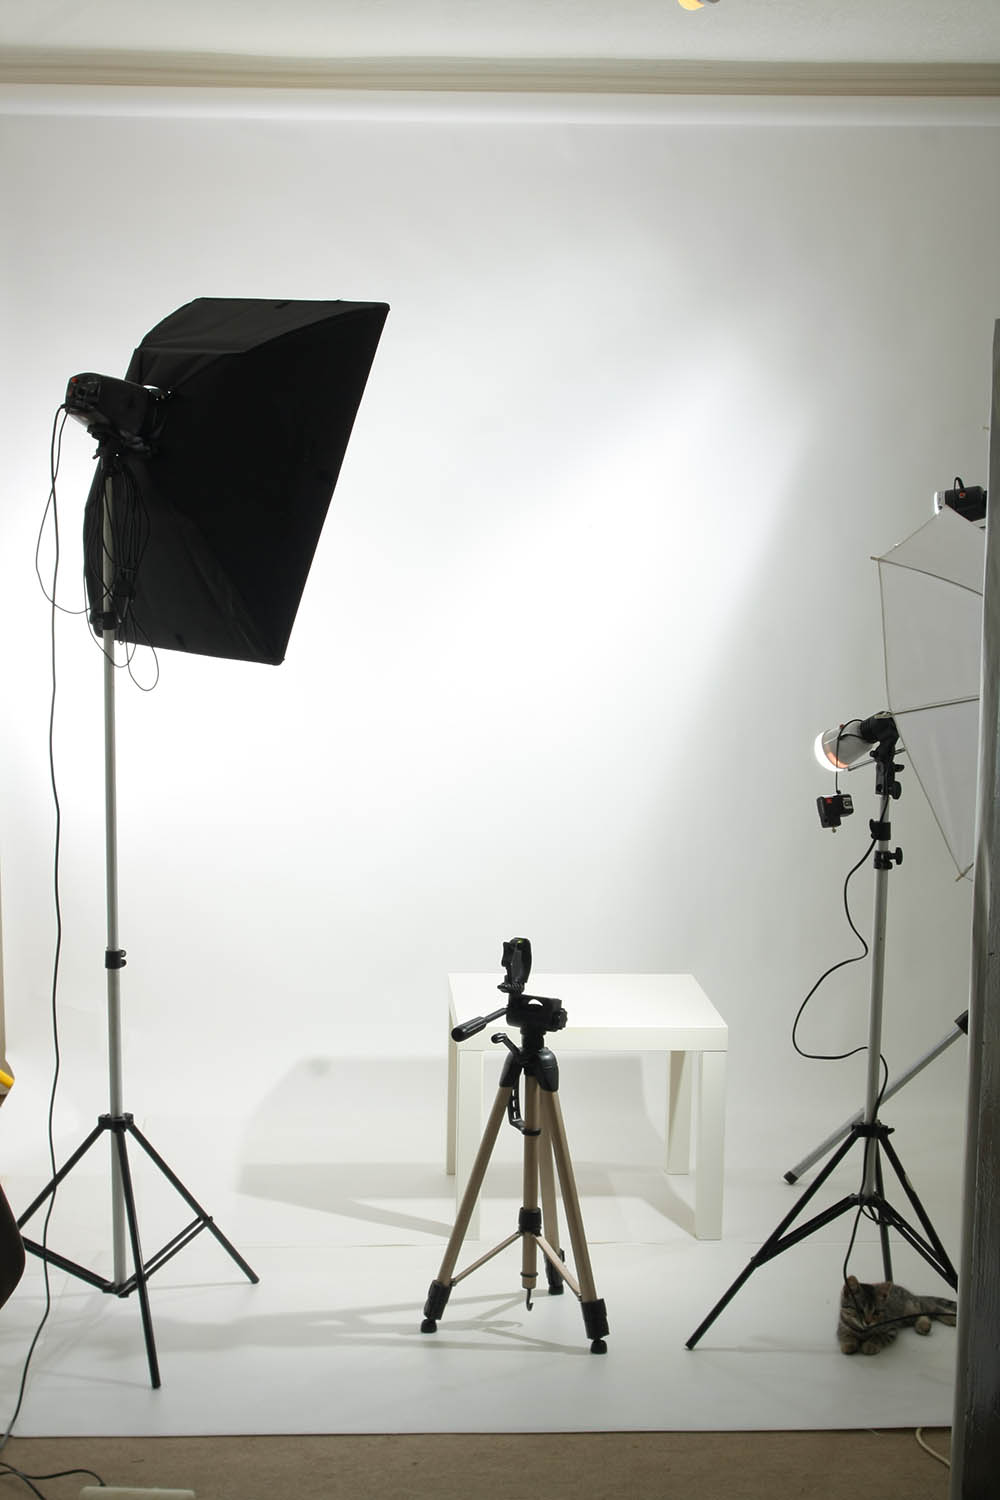
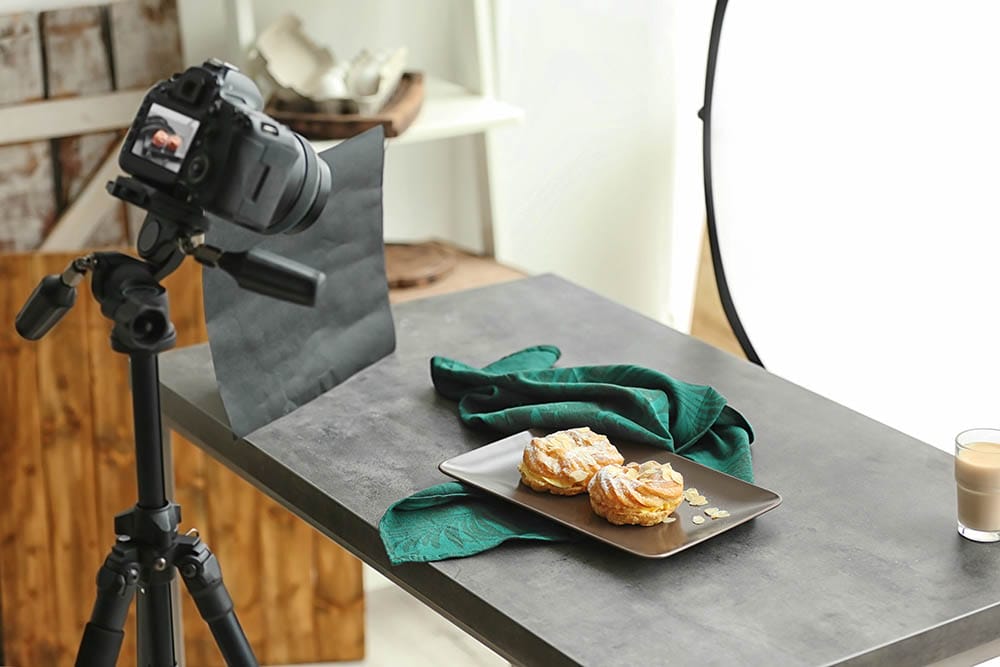
While you don’t need to use a tripod for your home photography studio, it is a good idea when shooting products and food. A tripod not only gives stability to the camera, but it frees your hands up to adjust items without juggling the camera at the same time. Not only this but if you are photographing multiple items for stock shot purposes and you need consistent angles, a tripod on a fixed spot will save you time when batch editing your shots.
If you’re fortunate to have a spare room that you can convert or an unused garage, that will be enough space for most jobs in a home photography studio.
When buying your lights and backdrop equipment consider how much space it will take up when fully setup in your home studio. Anywhere from 90 square feet upwards is enough. Use all the available space, and place your backdrops right up against the wall to conserve as much room as possible.
You could work in smaller spaces though depending on your speciality. Food photographers could get away with a 50ft squared space but portrait photographers will invariably need more.
Without getting too particular about which brand and model of lights you need for your home photography studio instead I’ll give you an idea of the types of lighting to consider. You may have some of these tools already, so you don’t need to go out and purchase specific ones.
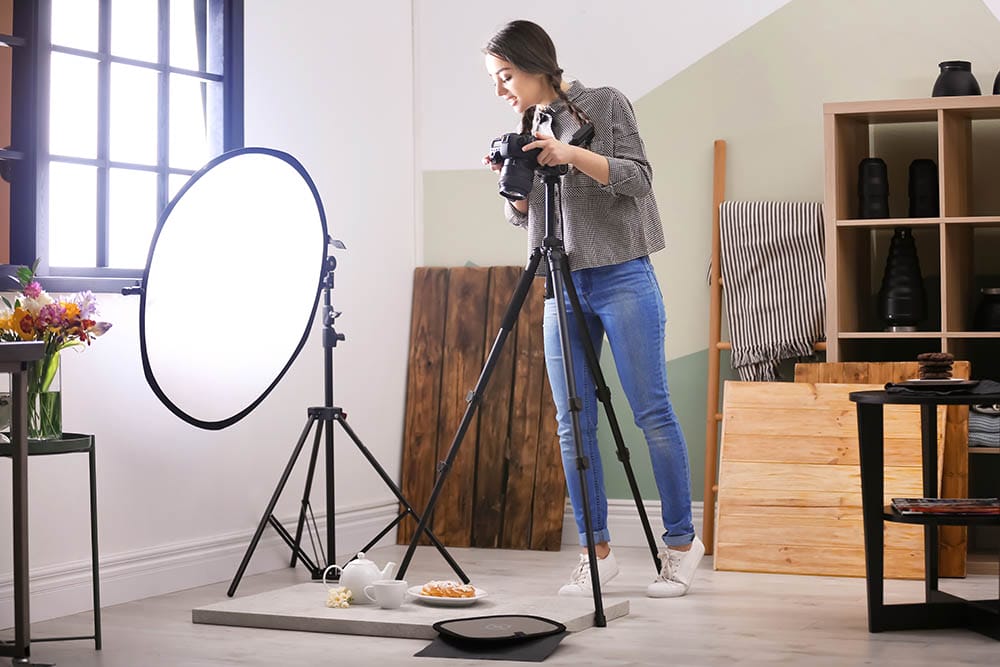
If you’ve got a spare room with lots of natural light coming through a window, save yourself money and stick with that. But if you want/need light in other areas then consider investing in LED lighting panels, off-camera flashes or strobe heads to give you the exact look you need.
An off-camera flash with a wireless remote trigger gives you the flexibility to place a small light source at whichever angle you need. This improves creativity and advantage over using natural light.

If you’d prefer to use a continuous light source, with good power-saving properties an LED light panel is worth considering. RGB panels can emit daylight-balanced light as well as other temperatures along the Kelvin scale. You can also choose from hundreds of colour hues and tints to customise the lighting exactly how you want.
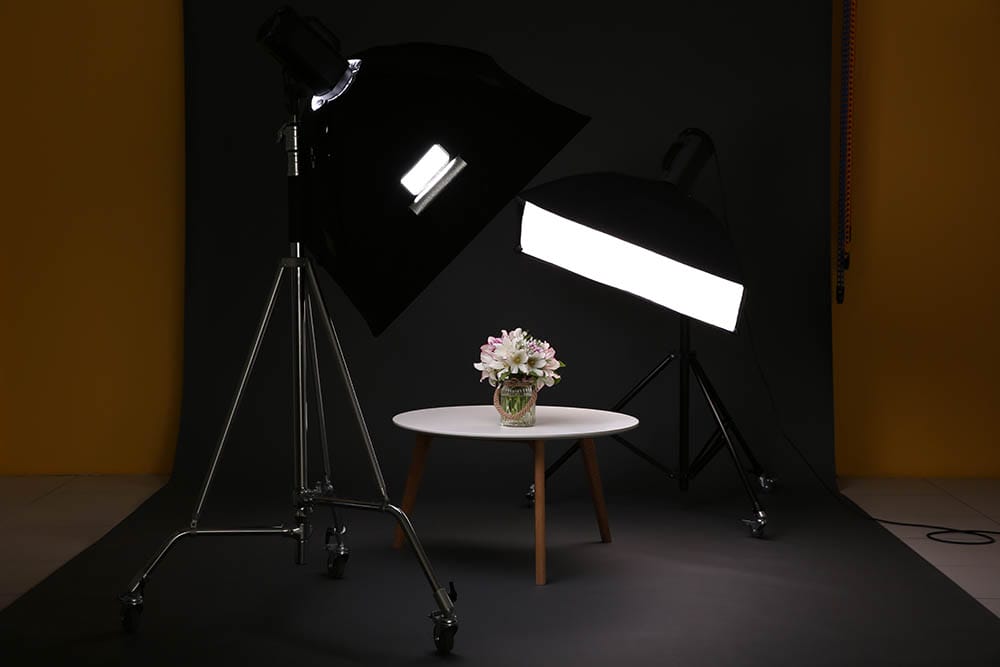
If you’ve got the money to invest and room to spare a pair of strobe lighting heads will give you much more power in your photos. While larger and more expensive, strobe heads offer a better quality of flash lighting. They are better used when paired with the correct modifier to give the best quality of light for the subject.

Lighting modifiers are devices placed in front of a light source (normally a flash/strobe head) to change the quality of the light. This can change the direction, strength, angle, and texture. While you won’t need all the following modifiers, normally an umbrella (for portraits) and softboxes (for portraits, product, and food) are the most common.
There are shoot-through umbrellas that provide soft balanced light. I’d recommend using these when you need evenly lit images. Reflective umbrellas though have shiny light-facing surfaces that give a consistent reflection. These are better for portraits.
In your home photography studio, if you want to highlight your model without illuminating the backdrop, softboxes are the best option. These rectangular diffusion covers spread soft light over a smaller area than an umbrella.
A simple piece of white card can be used as a reflector to bounce light back into the shot and fill in any shadows on the far side of a product. It’s perfect to use a reflector if you’ve only got one light source.
Snoots are an attachment that creates a small, focused patch of light with little to no light spilling on to the backdrop.
Beauty dishes are a popular choice for portrait photography. While you can purchase small beauty dishes, due to their size they may not be useful in all home photography studios.
Flags or flats are a great way to control light. Like a reflector, all you need this time is piece of black card or board. The black will absorb the light and stop any reflecting back on to your subject for a more pronounced side shadow.
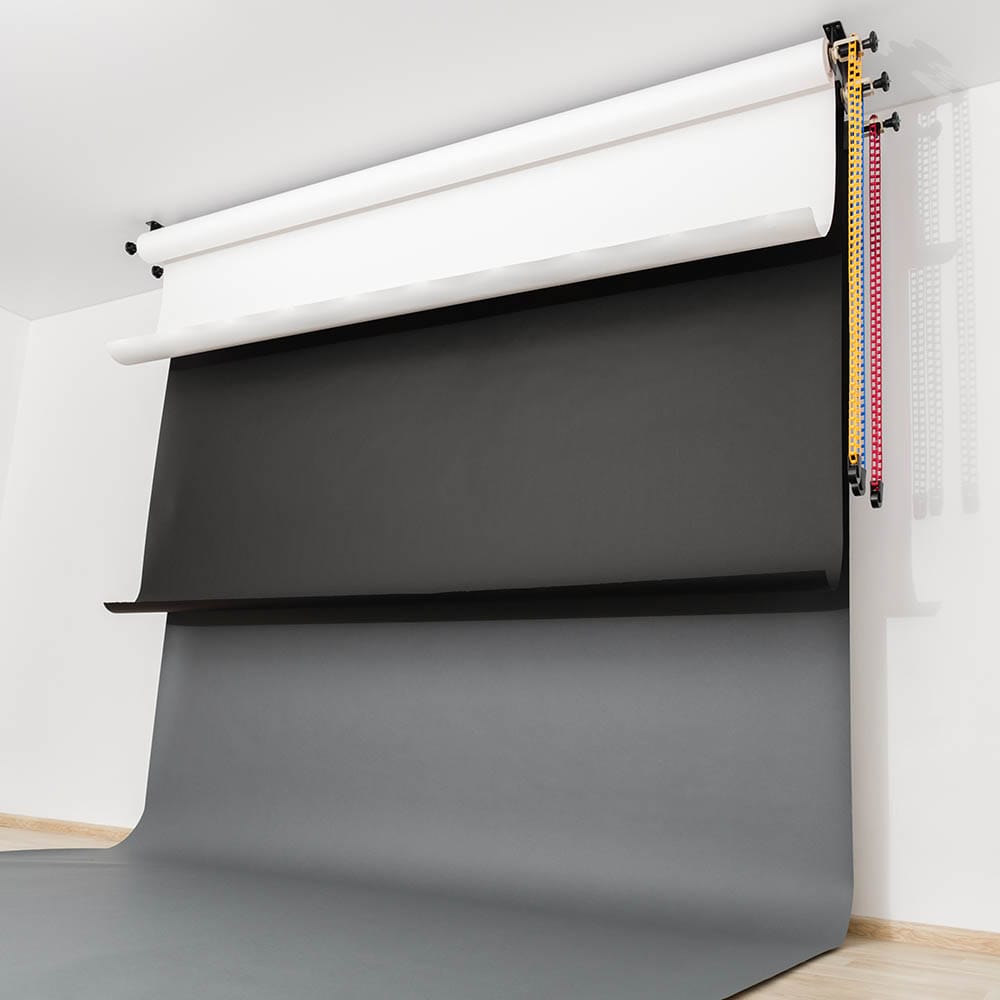
Choose your home studio background based on the size of your subject that you generally shoot. For portraits, consider a full length Lastolite collapsible background that is black on one side and white on another. They fold down and pack away in a handy storage bag when you’re not using it.
Find top backdrops for your studio at Lofarisbackdrops.
But if you want to save money, consider using a plain wall in your spare room and paint it a natural colour to get you started. Note that matte paint finishes are better than glossy paint ones if your intention is to keep glare to a minimum.
But if you want to get creative look at making yourself mobile backboards covered with different wallpapers and designs wide enough for the shot.
Having different backdrops or bases is a great idea if you have multiple products to shoot on the same day – each product gets its own look and doesn’t take lots of time to change between each!
Food photographers, on the other hand, may not even require a dedicated backdrop. Instead, you could use items already in the room such as a chopping board, sink splashback or oven backboard.
In summary, it doesn’t cost the earth to build your own home photography studio. You can start off with a camera, daylight, and a blank wall. It all depends on what you are shooting and how advanced you want it to look.
Remember to consider how much space you have to work in once all your backdrops and lights are in position as you don’t want to feel claustrophobic!
Bookmark this article about building a home photography studio so you can find it again in the future. If you’ve got any other questions about photography, chances are you’ll find the answers in our other articles and tutorials below.

Discover the BEST way on how to clean a camera sensor using swaps, rocket blowers and pencil brushes to give your shots a dust-free finish!

Capture the magic of the night with our beginner’s guide to night photography. Learn tips and techniques for stunning results.

Master the art of solar eclipse photography with expert tips on equipment, settings, and precautions for stunning celestial images.
Learn the basics of photography – fast – with our FREE 60-Second Photographer online course. Each class is short and sharp with simple, actionable steps that give you immediate results.
x 30 lessons

© iPhotography™
Become a confident and competent photographer in less than 30 minutes!
Before you leave, make sure you’ve secured your FREE online photography course (worth £29.99)
Each class is just 60-seconds or less making it the fastest and easiest way to learn photography!