 Stephen Walton
HDR Photography not a new photography technique. The idea of layering multiple images together to bring out more detail has been used for decades by photographers.
But with the abundance of helpful technology there is no excuse not for us not to use it. Although it’s vital to understand when to use it, and not!
HDR stands for High Dynamic Range. Simply put, our eyes can see more than a single shot from your camera. We see at least 11 F/stops of light continuously.
A camera can only ‘see’ 1 F/stop of light in a single exposure, without the aid of HDR. This means HDR photography will require you to take multiple photos of a scene, all at different apertures to capture the amount of detail that you were naturally seeing.

The highly detailed and texture-rich effect that HDR photography gives can sometime get overused and abused which results in poor quality photos looking over sharpened and hyper-realistic (i.e. fake). There are certain times to use and stay away from HDR photography.
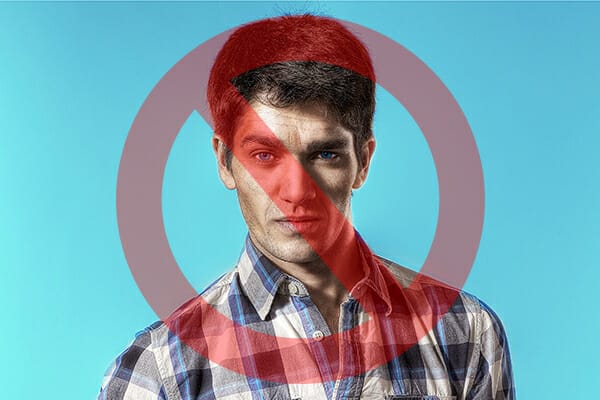
There may be one or two exceptions to this rule, but generally, human skin looks awful under HDR conditions. In portraiture, the aim is to flatter your subject and disguise blemishes – HDR will not do this. Instead, it will bring out their wrinkles, pores, and blemishes. If you intend to make money off portraits, this isn’t the way to do it.
For documentary-styled B&W photos, you may be able to use HDR a bit more liberally though on portraits, if you want that gritty and aged effect.
With animals, you can be less concerned, but still use it with caution. Fur is meant to look soft and layered, not coarse and sharp.
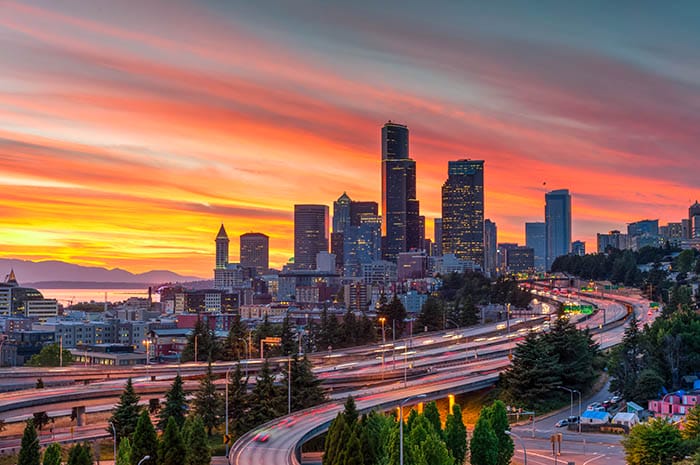
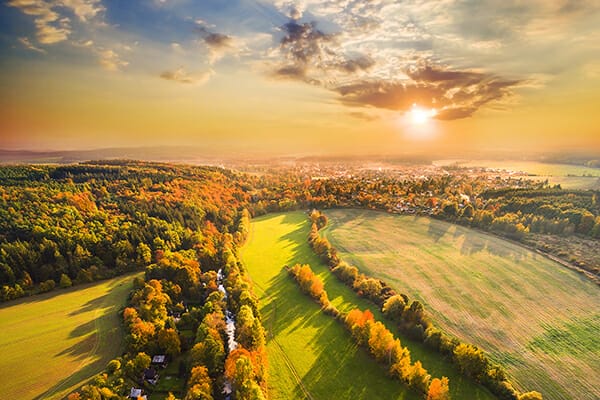
Using HDR on an interesting skyscape is sometimes, sadly, overlooked by new photographers. In landscape photography the ground is just as important as the sky above it so why not treat it to some HDR?
If the sky looks dark and moody then HDR will only serve to emphasise that effect. It shouldn’t be used to create a mood that doesn’t already exist (e.g. a sunny day). It should only be used to enhance what is already there in the landscape or foreground action.
What camera do you need for HDR photography?
90% of cameras can take great HDR photos. Have a look to see if your camera has built-in HDR mode. You may find something called ‘auto-bracketing mode’ or ‘auto-exposure mode’ or ‘exposure bracketing’ — they are all the same thing. It may even be more obvious on your camera and just called ‘HDR mode’.
Either way, what all these modes allow is for you to tell the camera how much to adjust exposure by when taking a small burst of shots. It may be 1 F/stop (+1) or 1 F/stops (+2) for example.
For example, when you take the shot, the camera takes 3 versions:
• 1 at the next F/stop down (i.e. F/5.6)
• 1 at the current F/stop you start at (i.e. F/8)
• 1 at the next F/stop above (i.e. F/11)
If you don’t have any bracketing or HDR modes on your camera, don’t worry. Apply the same principle and shoot 3 shots at consecutive aperture sizes. Remember to keep your camera on a tripod so that the composition doesn’t change an iota – this is important for when it comes to lining up the shots in editing.
When it comes to file types, keep it simple – shoot RAW.
If you’re using a built-in HDR effect the camera may either give you the 3 images for you to process in editing afterwards or it may even merge them and create the effect in-camera.
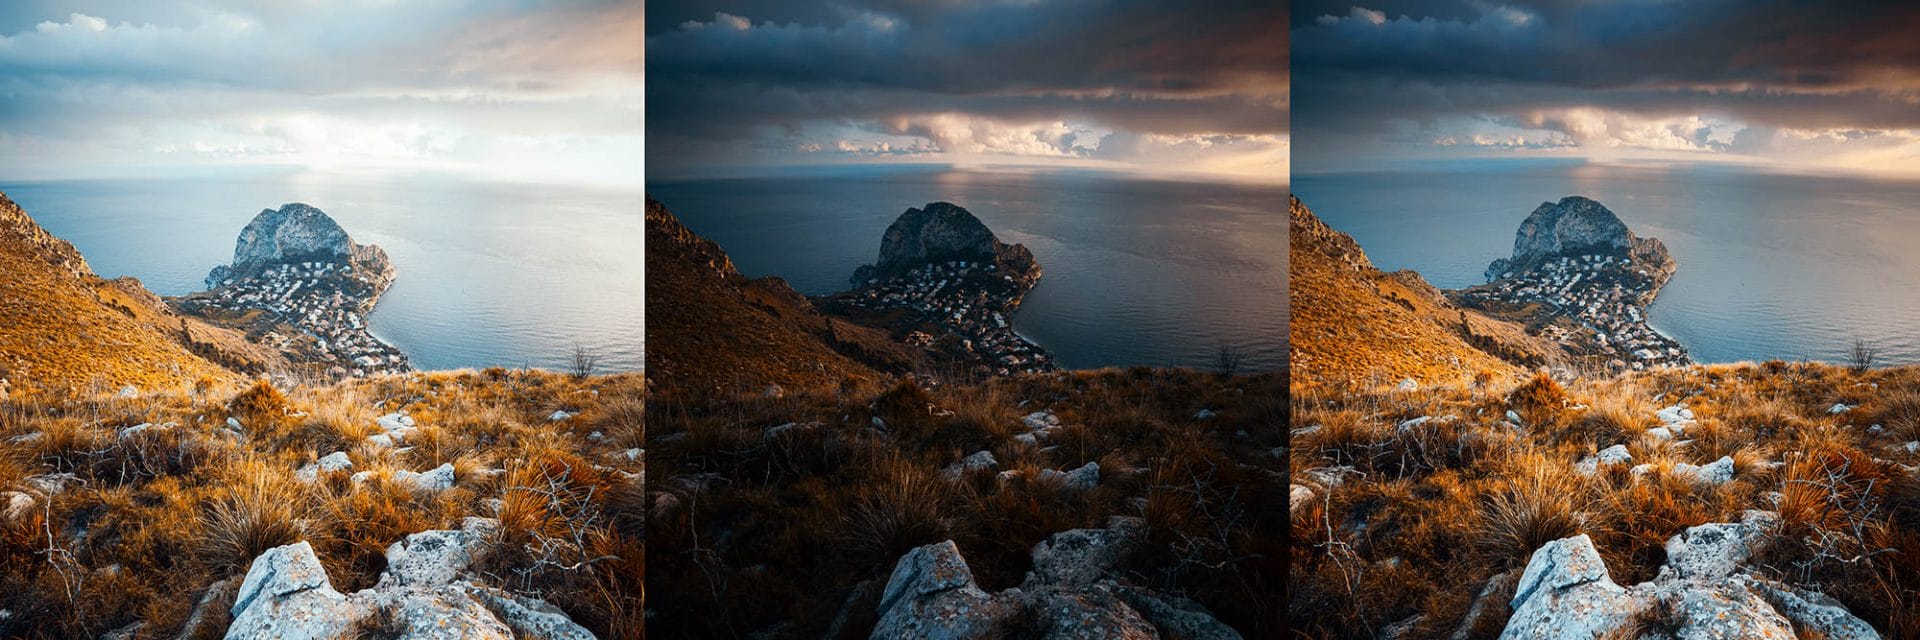
Image: One shot at +1 EV (left), one at -1 EV (middle) and one at 0 EV.
Once you’ve got your 3 shots that you’ve taken in camera then it’s time to blend them all together to really bring out that magical tonal range. Some editing software has built-in automated processes to aid with making HDR shots as it’s that popular these days.
1. Open Photoshop and go FILE>AUTOMATE>MERGE TO HDR PRO
2. Choose the 3 files you’ve shot
3. Press OK
4. Skip the next window and press OK
5. In the final window tick ‘Remove Ghosts’
6. From the preset drop-down choose an effect to your liking. Photorealistic is the most natural HDR finish. You can still make small tweaks using the sliders underneath if you want
7. When you’re finished playing, press OK
8. Save your image
1. Open Library and hold down CTRL/CMD to select the 3 shots on the Library screen
2. Right-click and select PHOTOMERGE>HDR or CTRL/CMD+H
3. Lightroom will create a version that you can accept or tweak
If you want to edit further…
4. Untick Auto Align and Auto Tone
5. Set Deghost Amount to NONE
6. Press MERGE
7. Lightroom will make a new HDR merged version in your ribbon at the bottom of the window
8. Select the new HDR version and go to the Develop tab
9. It’s up to you what tweaks you make next. Generally speaking, you will want to raise the shadows, lower the blacks, increase saturation and vibrance. Give the clarity setting a boost too.
10. Any more changes will be down to your own preference so have fun playing
If you’ve tried your hand at HDR photography, then let us know. Don’t forget to post your efforts to the iPhotography gallery or tag us on Facebook, Twitter and Instagram.

Discover the BEST way on how to clean a camera sensor using swaps, rocket blowers and pencil brushes to give your shots a dust-free finish!

Capture the magic of the night with our beginner’s guide to night photography. Learn tips and techniques for stunning results.

Master the art of solar eclipse photography with expert tips on equipment, settings, and precautions for stunning celestial images.
Learn the basics of photography – fast – with our FREE 60-Second Photographer online course. Each class is short and sharp with simple, actionable steps that give you immediate results.
x 30 lessons

© iPhotography™
Become a confident and competent photographer in less than 30 minutes!
Before you leave, make sure you’ve secured your FREE online photography course (worth £29.99)
Each class is just 60-seconds or less making it the fastest and easiest way to learn photography!