Today I am going to try out a little fractal photography. By simply using one little prop we will transform images into bizarre double perspective shots.
I promise you this going to be one of the most budget-friendly hacks that we’ve explored so far. Any of you can give it a try regardless of what type of camera you have. You can even play along if you’ve only got a smartphone too – we’re not all about big pro cameras here.
If it’s time to give your photos a little shakeup and add some abstract vibes too, carry on reading.
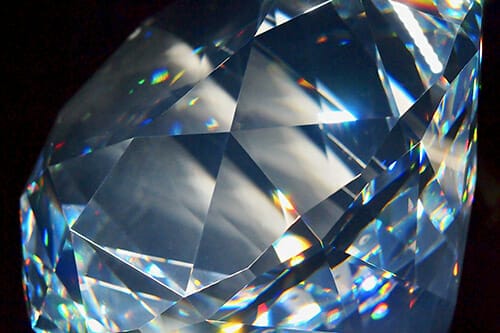
All we need is our camera and our fractal. Now, we wouldn’t be surprised if you’ve already got some fractal styled objects at home and you probably don’t even know it.
To find the right prop, you need to know what a fractal is. The dictionary defines it as a geometrical shape, where each part has characteristics of the whole object. Just like snowflakes, they have recurring patterns at different scales.
‘A curve or geometrical figure, each part of which has the same statistical character as the whole.
They are useful in modelling structures (such as snowflakes) in which similar patterns recur at progressively smaller scales, and in describing partly random or chaotic phenomena such as crystal growth and galaxy formation’.
Sounds a little complex? Don’t worry, it’s pretty simple once you’ve seen a few.
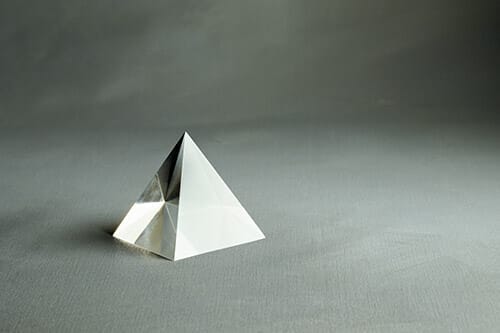
These are the 3 best fractals that you can get your hands on to try this out:
First up we’ve got prisms. They are the easiest shapes to work with. Also, cheap to buy online but make sure you get clear glass ones and not plastic versions.
Second up we’ve got crystal balls. Don’t plumb for the smooth ones but the ones with triangular patterns all over then. This will really help with the distorted effect.
How about a kaleidoscopic lens for your fractal photography? You’ll struggle to use a classic kaleidoscope as it’s not transparent enough. Take your lenses from a pair of kid’s kaleidoscope sunglasses and just pop out the glass.
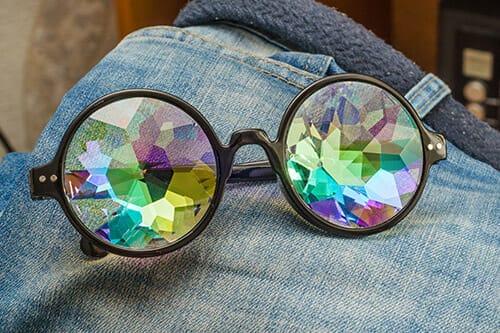
Some decorative suncatchers have little fractal shapes dangling from them that you can utilise too. You can even just use a glass from your cupboards that has fractal shapes. Fancy crystal glasses work well for this but be careful!
Whatever you use your effect will be totally different each time and no two images will ever look the same because of the way that light is going to be distorted through the glass.
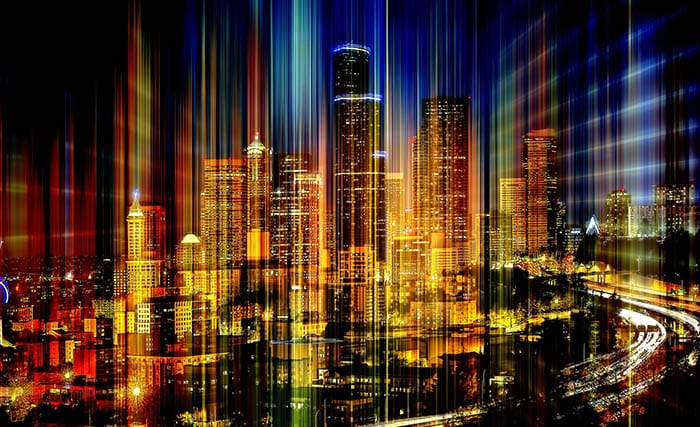
I’ve chosen a couple of props to try out and we’re going to test them out in the field to see how best to use them and what kind of effects each one creates.
We’d recommend getting a long triangular prism-like shape. It’s easier to hold on to as we’re going to have to do a bit of multitasking today.
The extra length will mean it won’t end up with a hand in the shot, plus it’s easier to control.
The camera settings are somewhat inconsequential – as long as your shot is evenly exposed, the fractal will only distort the light. As long as you don’t expect your shots to be crystal clear then you won’t be disappointed.
Easiest way to do this technique is either on a tripod or with a steady hand. Don’t try to be too adventurous straight away because you’ve got to concentrate on the camera with one hand and get the prism into the right place with the other, so you probably won’t be too spatially aware outside of that.
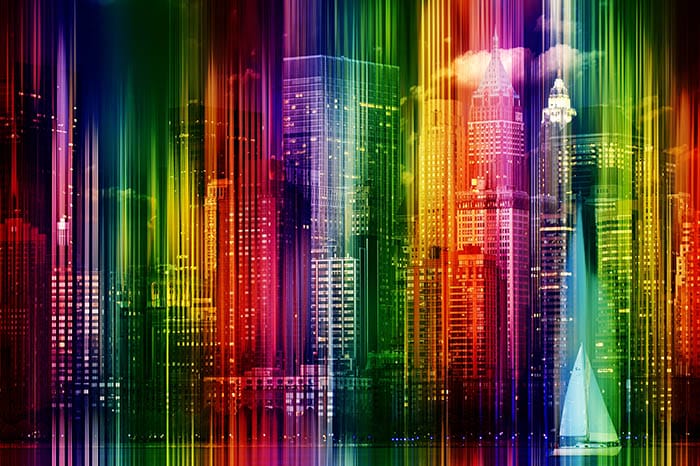
Pick a subject and frame them in the middle of the shot so you can see how the fractal changes everything. Hold it over one side of the lens and you’ll see the effect appear and change in the viewfinder. Twist the prism to see the distortion increase and decrease – pointing one of the edges towards the lens will give you the best distortion.
Have a go with moving the prism around, try it horizontal as well as vertical. Move it further away from the lens to see if the effect changes more. To get the best distortion place your subject smack bang in the middle of your shot and it’ll make something really abstract.
Shooting on a sunny day will give you the best lighting effects but you can try it whenever.
It’s good to try out with portraits, small ornaments, florals, textures and maybe a bit of street photography where there are lots of details.
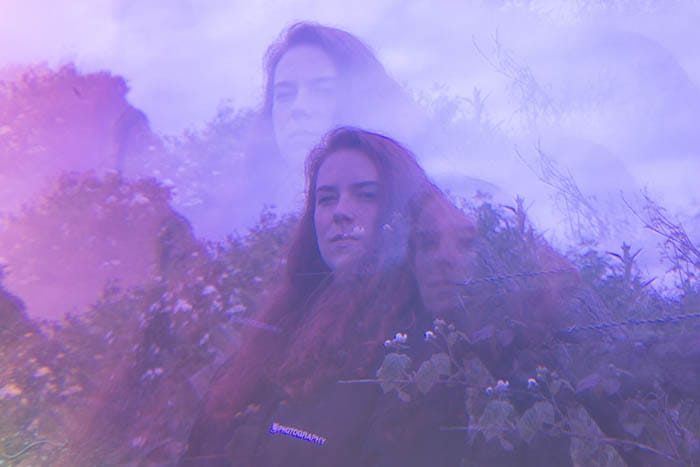
What do you think? Your kind of cup of tea? Or is it just a messy distraction?
Let us know and send us your shots on Facebook, Twitter or Instagram wherever you can find us and we’ll share out the tips.
Don’t forget to upload your efforts to the iPhotography feedback gallery too, if you’re a member.
This is just a fun project to try out nevertheless, something different to put in your portfolio! It’s also a great way of breaking up the everyday pictures with a little trick that you can carry around in your pocket anywhere.
Popular memory cards for photography – what’s the best SD card for your digital camera? Choose the right capacity and class speed in our guide
Discover the BEST way on how to clean a camera sensor using swaps, rocket blowers and pencil brushes to give your shots a dust-free finish!
Capture the magic of the night with our beginner’s guide to night photography. Learn tips and techniques for stunning results.
Learn the basics of photography – fast – with our FREE 60-Second Photographer online course. Each class is short and sharp with simple, actionable steps that give you immediate results.
x 30 lessons

© iPhotography™
Become a confident and competent photographer in less than 30 minutes!
Before you leave, make sure you’ve secured your FREE online photography course (worth £29.99)
Each class is just 60-seconds or less making it the fastest and easiest way to learn photography!