 Stephen Walton
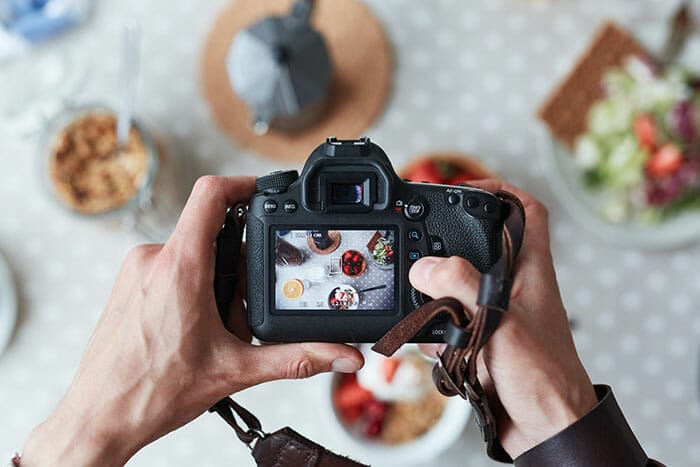
Do you find yourself lusting over those delicious food photography shots you see dotted around Instagram and Pinterest? This food photography tutorial is going to be packed with them, so we hope you aren’t hungry!
It’s time I revealed how you can capture photos just like that from your own kitchen in my ultimate food photography tutorial for beginners!
How you stage your food photography is up to you. You can keep it raw and simple and shoot in context with your kitchen on show. Otherwise think about creating a dedicated food photography backdrops to put more focus on your dish rather than the background.
You don’t need to spend a lot on doing this. We’ll show you how to set up a diy photography backdrop for only a few pennies. All you need is to pick up some large A1 card. This will cover the background for a range of different sized dishes.
If you can afford to get a few pieces of card get plain ones and others with textured designed too. It’s hard to say exactly which ones will look best with your dish until your try it so get a range to give yourself choice in your food photography.
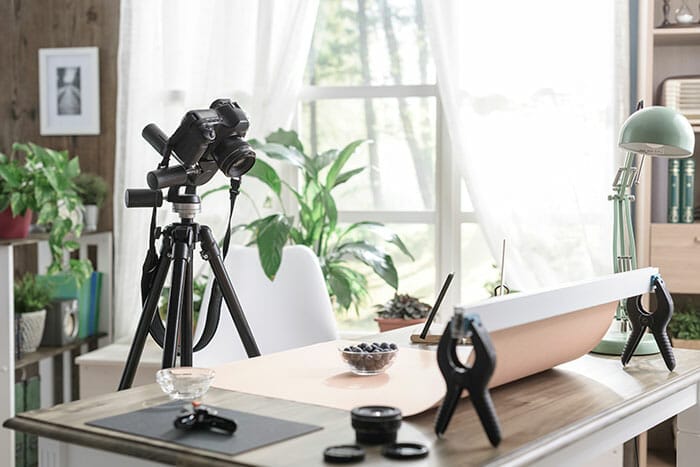
Simply attach your backdrop to a wall using sticky tape and let it curve down onto a flat surface creating an infinity curve. This means the surface that your dish sits on is the same as the background keeping the attention on the food.
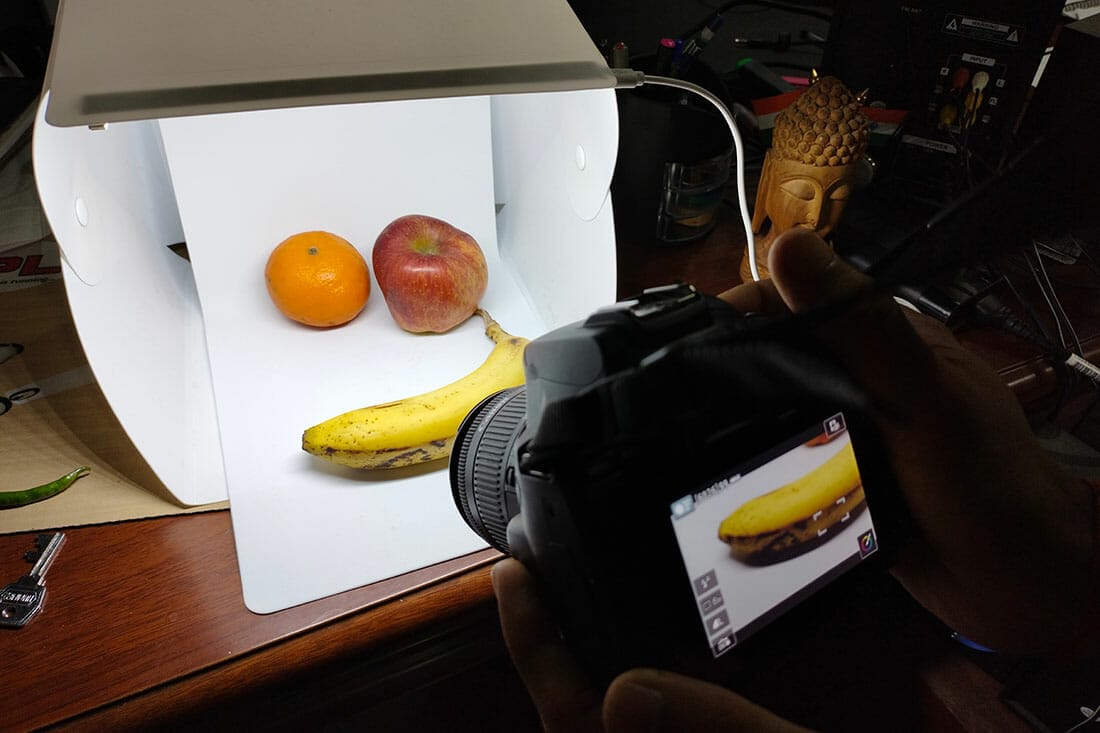
Alternatively, if you are able to push the budget a little more then consider using a light box. A Food photography light box can be used for other purposes too and they are easy to clean if it gets messy.
Plus good light boxes can be folded up and transported in case you need to take your food photography elsewhere. Purchase a light box with ring lights as accessories to give you compact lighting options. Sometimes the built-in LED strips aren’t powerful enough.
With these small lights it’s best to use a diffuser in front of them (if they don’t already come with the light box). Diffusing the light as we’ll discuss is more flattering for food to enhance texture. Think of it as needing a softbox for food photography.
It’s worth putting aside a small cache of food photography props that you can decorate your shots with from time to time.
For baking products think about;
● Whisk
● Flour
● Wooden Chopping Board
● Rolling Pin
● Mixing Bowl
These types of props for food photography can help embellish the scene and make it look like a working environment.
Some professional culinary photographers imagine their photograph before they even go near the camera using a simple pen and paper. To get the idea in mind, try drawing your set-up first and consider where you’d place all your food.
You don’t need to be Rembrandt in this instance, it’s just a guide for yourself to understand which shapes and colours work well next to each other. Over time you could end up with a mini-reference book to help you out every time you take photographs of food.
There are so many ways to ‘pose’ your chosen food that it may seem impossible to get it right every time. There are a few simple tips and processes to keep in mind though, which will make it easier each time you set up your shot.
● Think about its size, shape, height and what makes it unique as a food. Then position your subject in the direction where it best highlights these qualities.
● Some foods or dishes can look lovely shooting straight on – think about rounded objects – it’s important to describe their shape so being able to tweak camera angles slightly gives you a great advantage with fixed lighting.
● Other dishes may need a flat lay approach – that’s shooting from overhead. Think about foods that have straight lines – spaghetti pasta, carrots, cucumbers etc. You don’t have many curves to show off so instead use the natural lines to further the composition.
It’s important to make your shot interesting, without being cluttered. So first position your dish in the middle of the frame and create an accompanying foreground and background. It may be adding a peak of the ingredients used to make a cake for example.
This is all in aid of creating a story; anyone can take a picture of a cake, but what makes it creative is to give further detail of how it was made. Show the strawberries before they were blended; the flour in its packet, or spare bits of pastry.
Alternatively, it could be some props that you used to create the dish, which I’ll come on to shortly. The more depth you can create in your food photography the more your audience will be drawn into the story.
You can create depth through layers of props. Adding in foreground features, which may be blurred once you set your camera up correctly, still add ‘flavour’ to the shot through complementing colours. The same goes for the background too.
But like we said, build your shot smartly. Too many items in one frame and it’ll be hard to understand what it’s all about. Make your subject clear first and then add in extras, step by step.
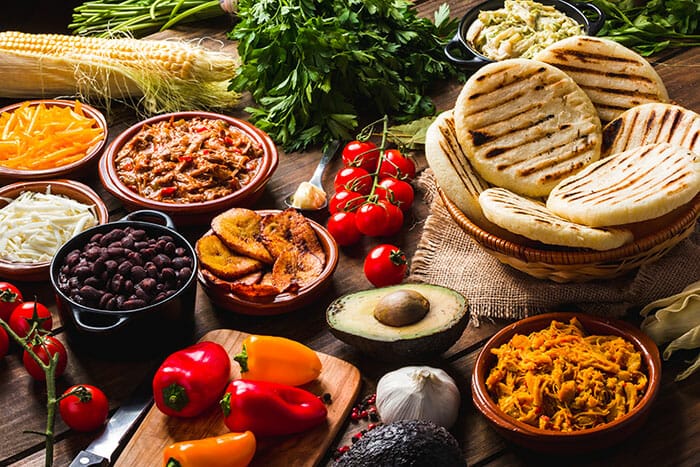
If you want to add a little more colour and pop to your food photography, then look for a complementing colour to your main subject.
If you were shooting a basket of green vegetables, then bring in some reds and oranges to add depth and interest.
These colours could appear as a background, a base, another food in the basket or even coloured lighting.
Subduing other colours can also be used cleverly to emphasise your main subject alternative.
If you just want one tone to stand out above others then ensure you’re only using neutral colours otherwise – white, grey and black – so that your main colour pops.

1. Choose your finest or most suitable plate, bowl or dish in which to present your food.
2. Try unusual bases such as wooden boards, marble tiles, or stone bowls and see if they contrast nicely against your food.
3. Don’t forget about cutlery either, it’s all part of the serving suggestion!
4. Be brave and make your base look messy. If you’re shooting a cake, scatter some flour on a board.
5. If you’ve got a roast beef dinner in front of you then pipette some meat juices onto your base to offer a succulent visual.
6. Napkins are a simple way of adding colour.
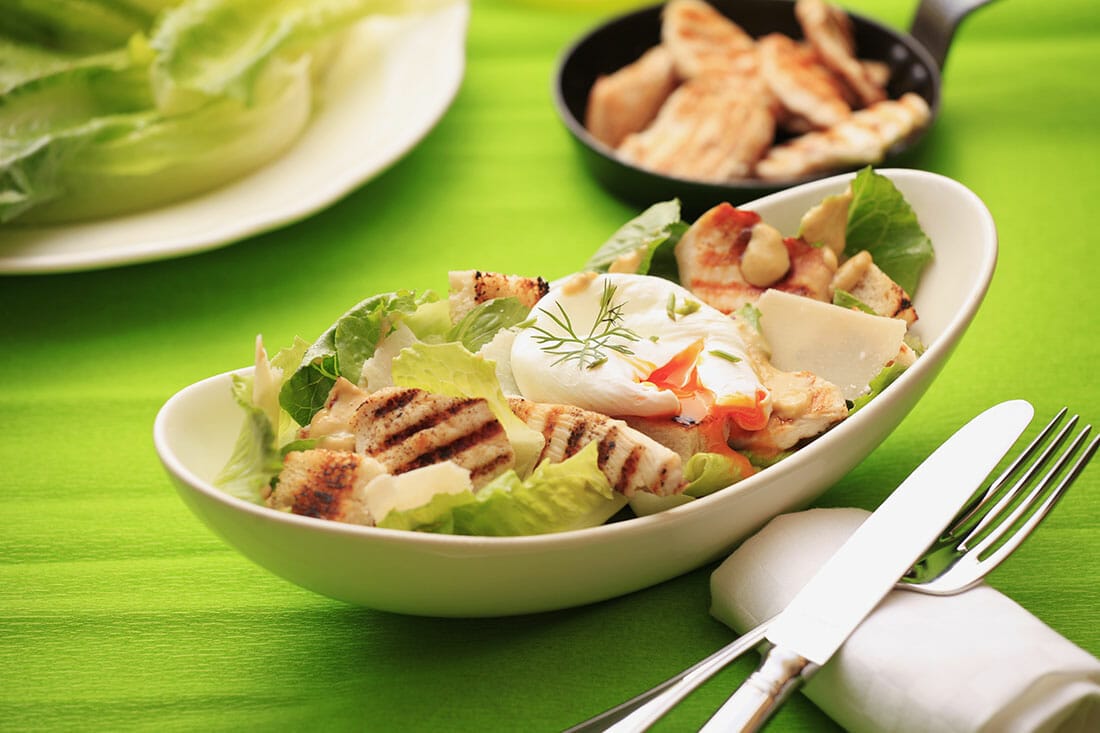
7. Don’t forget a garnish for big dishes – some thyme or parsley will make it look professional.
Unless it’s deliberate, we wouldn’t recommend using a direct flash in food photography. We said ‘direct’ on purpose because bouncing a flash off a wall or ceiling can be advantageous as a secondary light source to fill in shadows.
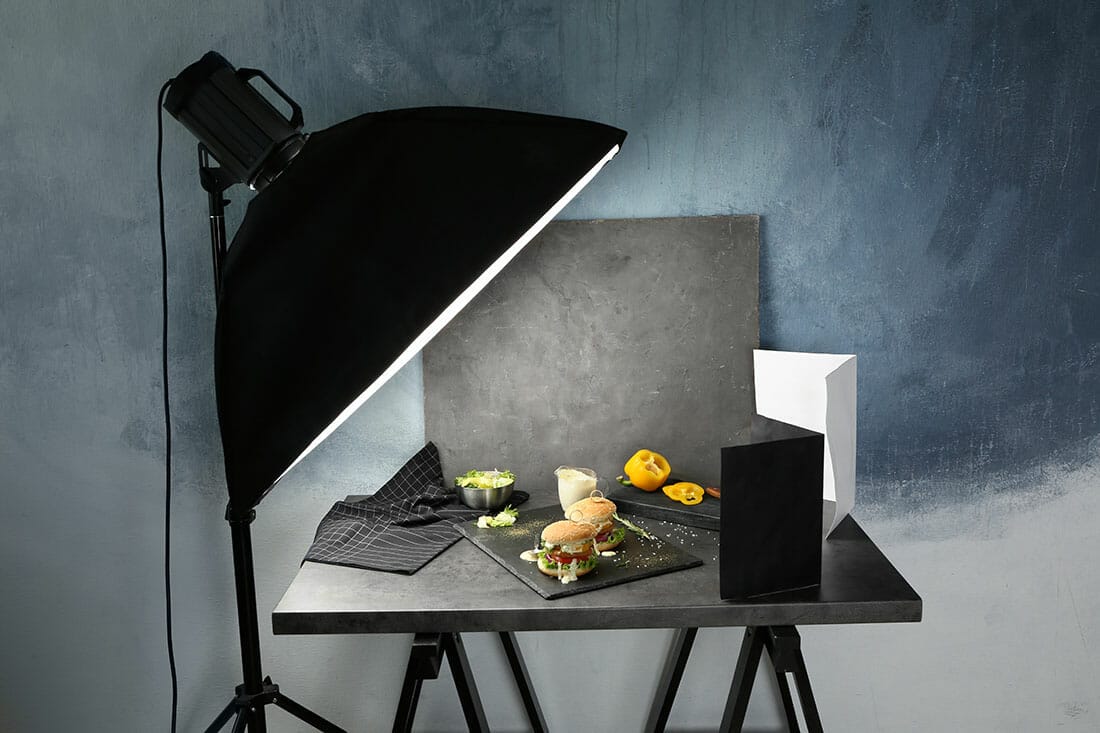
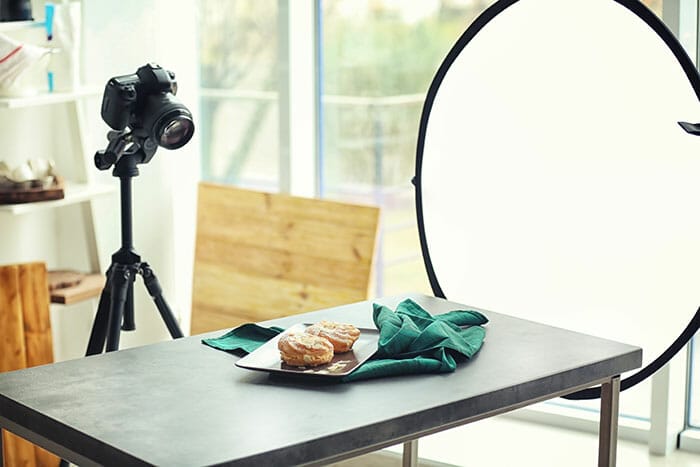
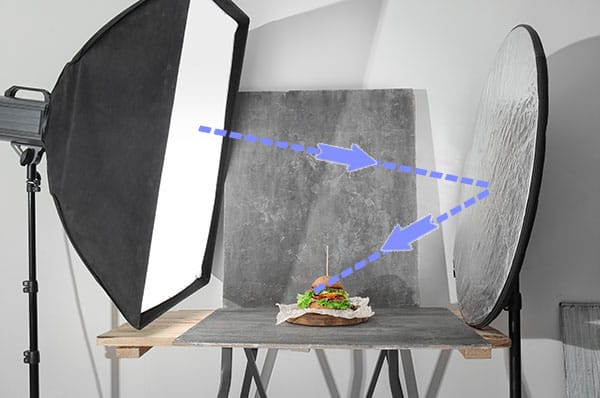
Ideally, though, you need to use natural light or a large, soft, artificial light source. Set up your dish in the path of window light and use a sheet of white card on the opposite side to reflect light back into the shot – helping eliminate shadows.
Alternatively, if you’re getting reflected light from a near-surface that you don’t want, switch that white card for a black one to stop any reflection.
The same goes for your base. If you want to remove the light from an image, either to create a dark or rustic effect then find a blackboard to absorb excess light. This could be slate or tile to make the shot look modern.
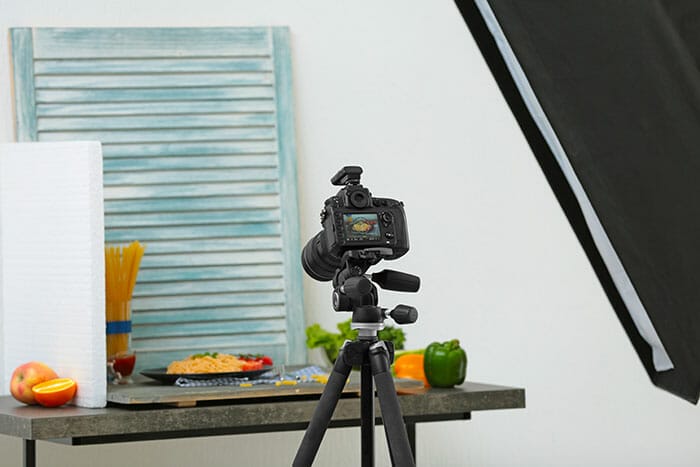
If you’ve not got the right angle of sunlight when you’re shooting you may need to create your own.
Investing in a freestanding continuous light with a softbox attachment is a simple and cost-effective way of making a large soft ray of light, similar (but not exactly the same) to daylight.
You may need to tweak the colour balance in-camera (or in editing) to warm up artificial light. If you like to make custom adjustments to your white balance, then remember to lower your Kelvin temperature to make the shot appear warmer and more inviting.
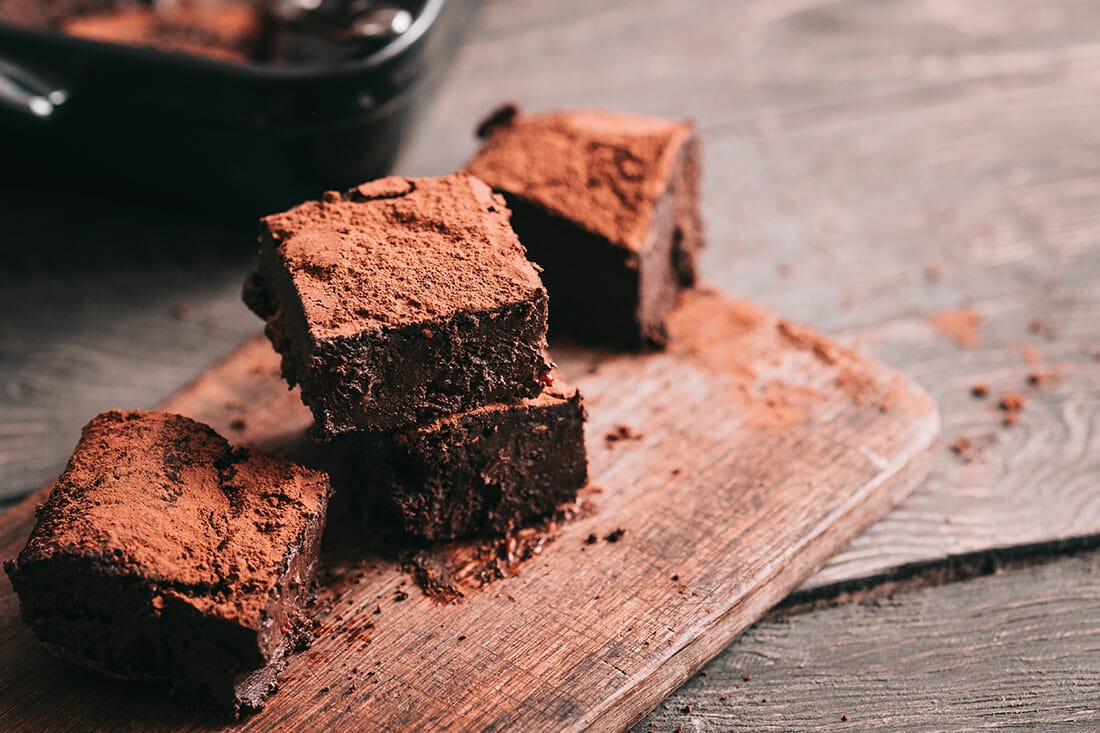
In some alternative areas of food product photography some specialists use low key lighting to create a stronger sense of mood and intrigue. They treat food in a more atmospheric way to make it appear tantalising. This dark food photography niche works great with rich chocolate desserts.
You can only work with the camera you’ve got, but it’s really going to come down to the camera settings to maximise the effect on your food photography. So, let’s keep it simple:
● Shoot at your widest possible aperture (F/5.6 or wider).
● Use a small spot focus method and focus on your main subject.
● Use a wide/zonal light metering mode (depending upon the effect you want) to get an even exposure, mimicking soft natural daylight.
● Keep the ISO low, unless you want grainy photos to add further texture.
● Shutter speed doesn’t need to exceed 1/200th unless you’re shooting action images with your food!
● Aim to shoot around 50mm where possible. Super wide and heavily zoomed-in shots won’t give a natural perspective and could distort the overall effect.
To give you an extra edge with your culinary captures we’ve put together a list of accessories useful for unlocking the food photography tricks used by many professionals.
As we mentioned earlier white foam boards and cards are a cheap and effective way to bounce light back onto your dish and reduce shadows. If you need to soften harsh daylight, then consider placing a net curtain or sheer white fabric over the window. This will diffuse and spread the light evenly.
Without a tripod, you may succumb to rushing your shot, especially if you’re leaning or bending to get the right angle. Take the stress off your mind and back and use a tripod.
It’ll not only fix your camera in one place, allowing you to concentrate on your set-up framing and it improves the overall sharpness of the photo.
If you don’t feel that your kitchen is aesthetically pleasing, then create your own mini photo studio with a simple background replacement for your dish. You can find offcuts of fabric or coloured card and stage it behind your subject concealing your real location.
Push your setup close to a wall and attach your backdrop to it, keeping your hands free for the camera.
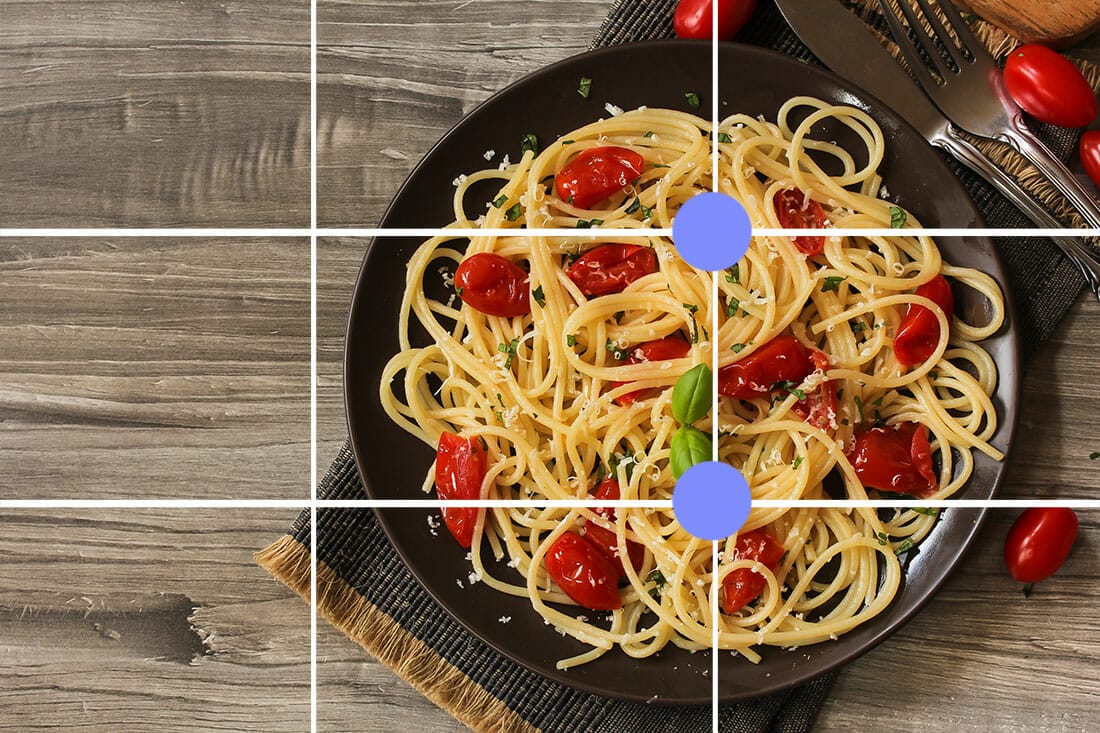
Use techniques such as the Rule of Thirds to divide up your frame making the shot feel balanced and contemporary.
Features such as the 4 power points are perfect places to position your perfect pasta presentation (say that 5 times quickly!), but don’t go crazy and try to fill all the power points with objects – 2 is enough.
If you want to use a different compositional technique to draw in your audience, think about using spoons or knives at the bottom of your frame and point them towards your main subject. The straight lines will act as strong leading lines.
With all this said, don’t be scared about making decisive and creative crops.
Think of cake but only framing half of it or bunching groups of fruit into one corner and leaving lots of negative space.
When it comes to editing there are only a few little changes you may need to make, depending upon how good your original shot is, and how happy you are with it.
Firstly, consider your crop and all the edges of the frame – are there objects left in by mistake? If so, crop them out or use a removal tool if you’re otherwise happy with the composition.
Secondly, if you want to make whites appear brighter and bolder then cool the colour temperature slider.
Lastly, you may just need to bump up the exposure, add in some extra sharpening or clarity, increase the contrast to make shadows more dramatic. You can do this in Lightroom, Photoshop, Luminar or even Pixlr X.
Experience the world of photo editing AI with Luminar and get $10 USD OFF 12 and 24-month plans when you enter the promo code ‘iPhotography’.


If this food photography tutorial has got your appetite all whipped up then check out our food photography class.
As part of our iPhotography Home Projects course we’ve got a range of online classes that show you different ways to prepare, arrange, light and shoot food photography.
It’s not a full-length class showing you how to bake. Instead, we get right down to the all-important photography tips quickly.
We can give you creative food photography ideas without spending a lot of money on equipment and food photography props.

Discover the BEST way on how to clean a camera sensor using swaps, rocket blowers and pencil brushes to give your shots a dust-free finish!

Capture the magic of the night with our beginner’s guide to night photography. Learn tips and techniques for stunning results.

Master the art of solar eclipse photography with expert tips on equipment, settings, and precautions for stunning celestial images.
Learn the basics of photography – fast – with our FREE 60-Second Photographer online course. Each class is short and sharp with simple, actionable steps that give you immediate results.
x 30 lessons

© iPhotography™
Become a confident and competent photographer in less than 30 minutes!
Before you leave, make sure you’ve secured your FREE online photography course (worth £29.99)
Each class is just 60-seconds or less making it the fastest and easiest way to learn photography!