 Stephen Walton
Focus stacking isn’t for pro photographers at all. In fact, no technique is. Everything is accessible for beginners and we’re going to show you how to apply this advanced technique to give your photos front-to-back sharpness.
Focus stacking is as obvious as it sounds – it’s a series of duplicated images where the focus is moved in each from front to back composited together.
The resulting image offers the widest possible depth of field. If done correctly, detail will be visible in all areas of the photo.


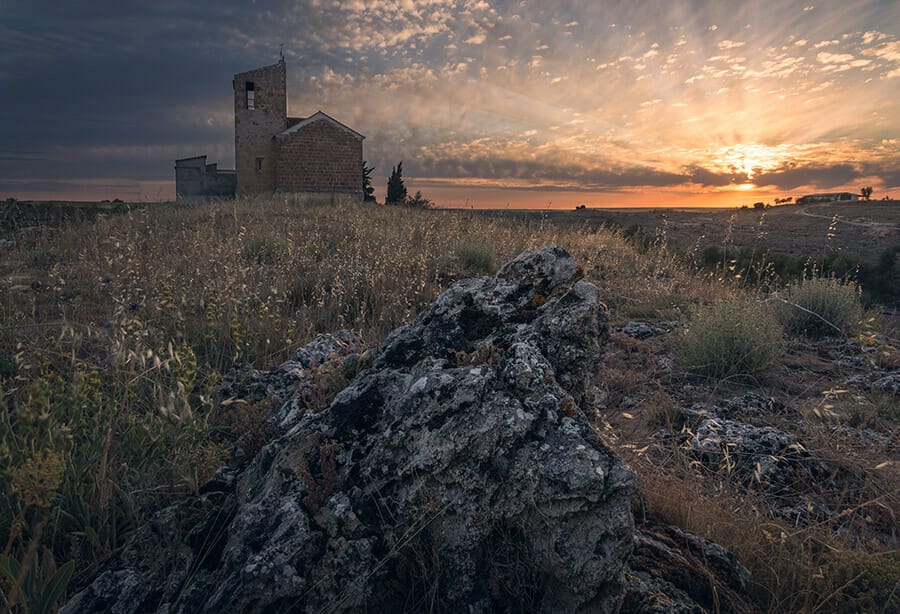
Which type of photographers looks for front to back sharpness in their work? That’s correct – landscape photographers! But this doesn’t mean it’s the only place that you try focus stacking.
Focus stacking can technically be applied to nearly any type of subject – but by following the necessary process you’ll realise that certain subjects, action & movement more specifically, could prove very tricky.
If you bear in mind what this technique does to a photo then you’ll know when you want to use it and not.
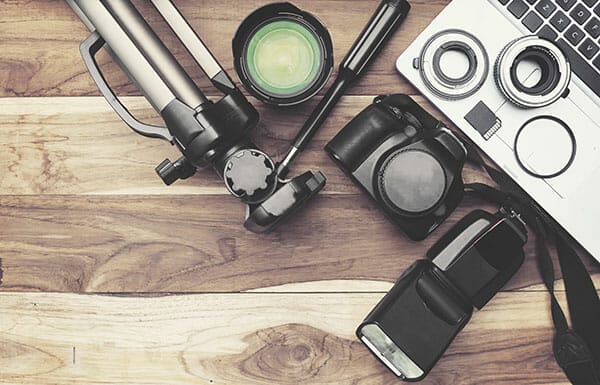
There’s very little in terms of the specific equipment you’ll need to try out focus stacking. The basic requirements are:
• A camera that allows you to move the focus placement
• A tripod
• Editing software that allows you to composite layers of images together (Photoshop or Luminar are great examples)
1. Firstly, with your scene chosen to keep your camera fixed on a tripod and don’t move it throughout this process at all. With that in mind make sure your composition is perfect in the first shot – as all other shots will need to be the same. If you change your mind halfway through, you’ll need to reshoot the whole thing.
2. Secondly, keep your camera settings consistent. A wide depth of field requires a high f/stop. To aid the focus stacking shoot around F/11, depending upon the lighting. Check your histogram to make sure you’re not clipping. Focus stacking will not improve your exposure – get it right, to begin with.
3. Thirdly, pick out an object in the foreground of your scene to focus on. Having a camera that you can manually choose focus points with makes the process easier (even better if you’ve got a touchscreen LCD). Take one shot with that foreground object sharp.
4. Finally, it’s a case of repeating that last step 3-5 times over. But in each shot move the focus point further and further towards the background. This will make you think about the original composition. Looking in advance as to objects you can focus on in each shot is clever thinking.
Shoot RAW for the best possible quality. Don’t change the ISO or shutter speed throughout. If the light changes dramatically during these shots, so much that you need to change settings to address the exposure – we’d advise starting the whole process again – sorry!
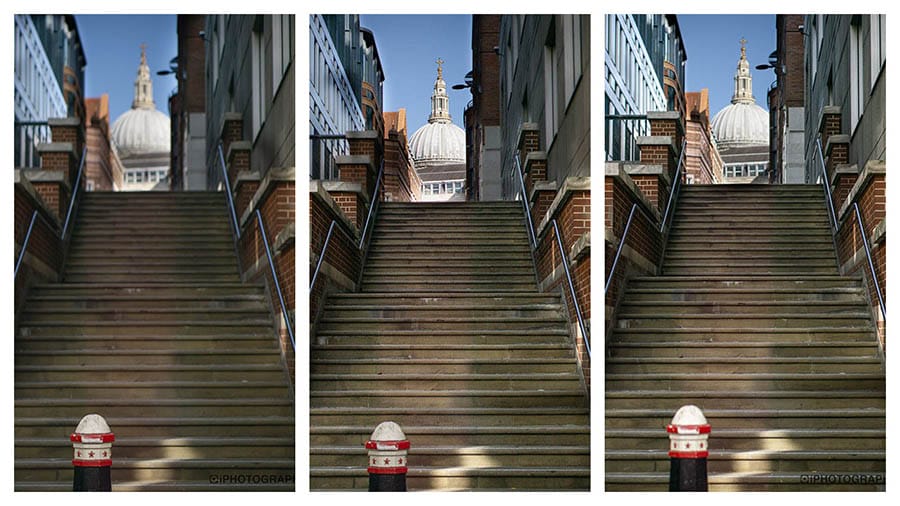
Image: Foreground in focus (left) Stairs in focus (middle) background in focus (right).
Step 1 – Layer all the images on top of each other, preferably in order of where the focus is (front to back – it makes it easier to follow).
Step 2 – Use a layer mask to erase the areas of each image that isn’t in focus.
Step 3 – Repeat Step 2 for each layer until you eventually reveal that widespread focus.
Step 4 – Flatten all the layers together and make any final colour, cropping or exposure adjustments at the end.
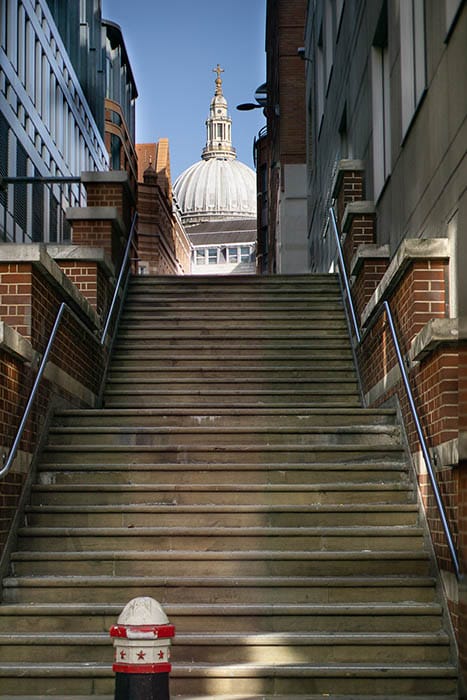
Image: Final version of all 3 images merged to create a wider DoF.
Have you ever tried focus stacking before? Do you feel a little more confident about doing it now?
I’d love to hear what you think and just as importantly – see those focus stacked images! Upload your efforts to the iPhotography gallery if you’re a member.
Alternatively, tag us in your efforts on Facebook, Twitter and Instagram.

Shooting sunsets using amazing 5-in-1 magnetic lens filters from Kentfaith, the 1st choice for photo & video products.

Popular memory cards for photography – what’s the best SD card for your digital camera? Choose the right capacity and class speed in our guide

Discover the BEST way on how to clean a camera sensor using swaps, rocket blowers and pencil brushes to give your shots a dust-free finish!
Learn the basics of photography – fast – with our FREE 60-Second Photographer online course. Each class is short and sharp with simple, actionable steps that give you immediate results.
x 30 lessons

© iPhotography™
Become a confident and competent photographer in less than 30 minutes!
Before you leave, make sure you’ve secured your FREE online photography course (worth £29.99)
Each class is just 60-seconds or less making it the fastest and easiest way to learn photography!