 Stephen Walton
The many reasons that people enjoy looking at photos comes down to a number of psychological factors – one being the simplicity of understanding what the shot is about.
Figure to ground theory is a way of effectively isolating your subject through contrast to make storytelling bold, dramatic and instant to your viewer.
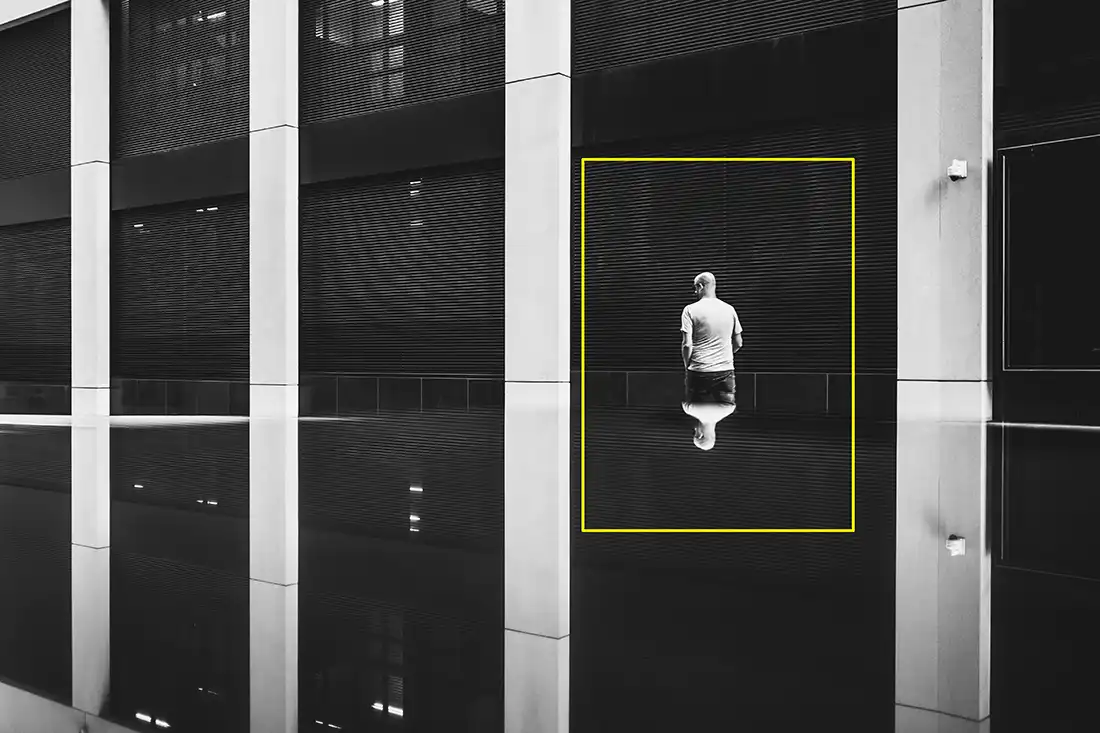
The basic concept of figure to ground photography is to make your subject brighter than your background. You can do this through lighting, depth of field or even colour.
Either way, the principle is very simple and is designed to isolate an object or person is a photo. It can be hard to isolate multiple subjects using this approach but is very effective when working with one subject.

Image: A light subject in front of a darker background is the basic principle of figure-to-ground theory.
Capturing a photo with a clear story/point is at the heart of any good image. Using figure to ground theory aids with storytelling by subduing the background of a photo to direct attention the main subject.
By not adhering to this technique (when needed) subjects can get lost in their backgrounds and the point of the story diluted. Photography while resulting 2-dimensional digital file or print is actually a 3-dimensional art, in most cases. We look for depth, separation and layers to make photos more engaging, so the figure to ground theory helps us achieve that much needed depth.
I’m not saying every photo taken needs to follow this approach as sometimes the background is very important to the story of your shot and needs impact too. It should be used correctly, for the right purposes and without detriment to the rest of your image.
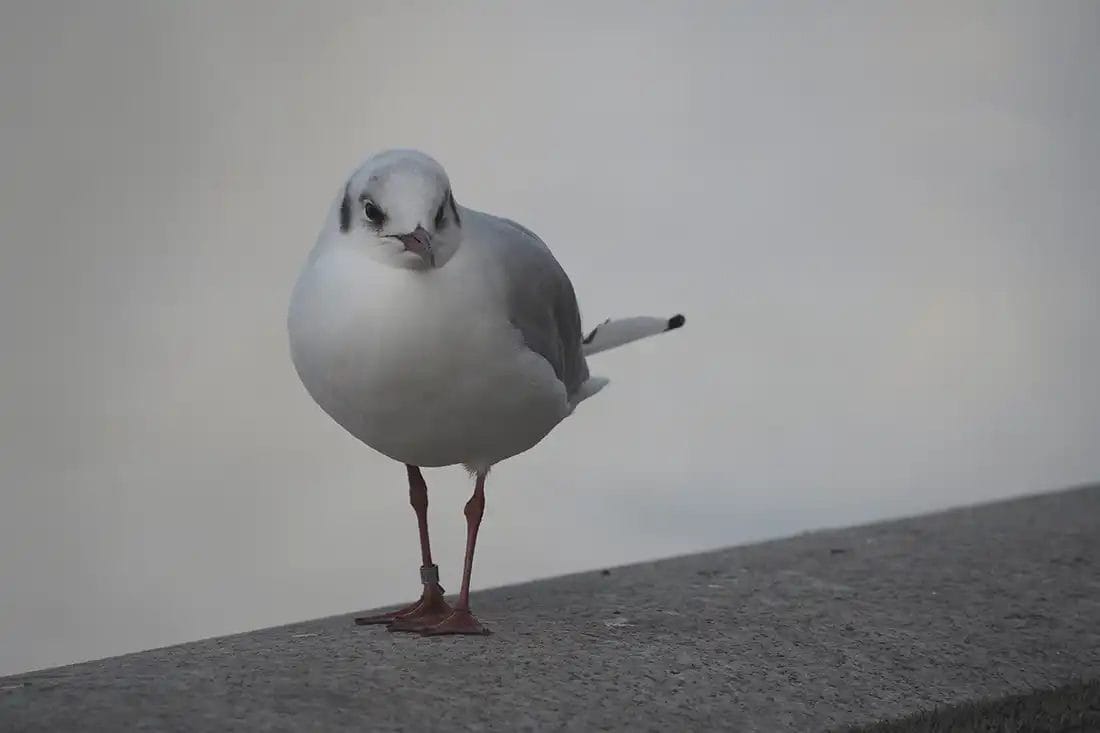
Image: Without this approach backgrounds and subjects can end up looking 2-dimensional.
As stated, the initial way of shooting for figure to ground photography is to make the subject brighter in the image than the background – but you may not be able to do this all the time.
Instead, it is possible to reverse the effect (ground to figure) and still achieve the same effect. The most common type of photo that does this is a silhouette – where the subject is considerably darker than the background.
If you try to constantly pursue a darker background to your subject the overall exposure may suffer in the foreground. Make the lighting situation work for you by deciding whether to go figure to ground, or ground to figure.
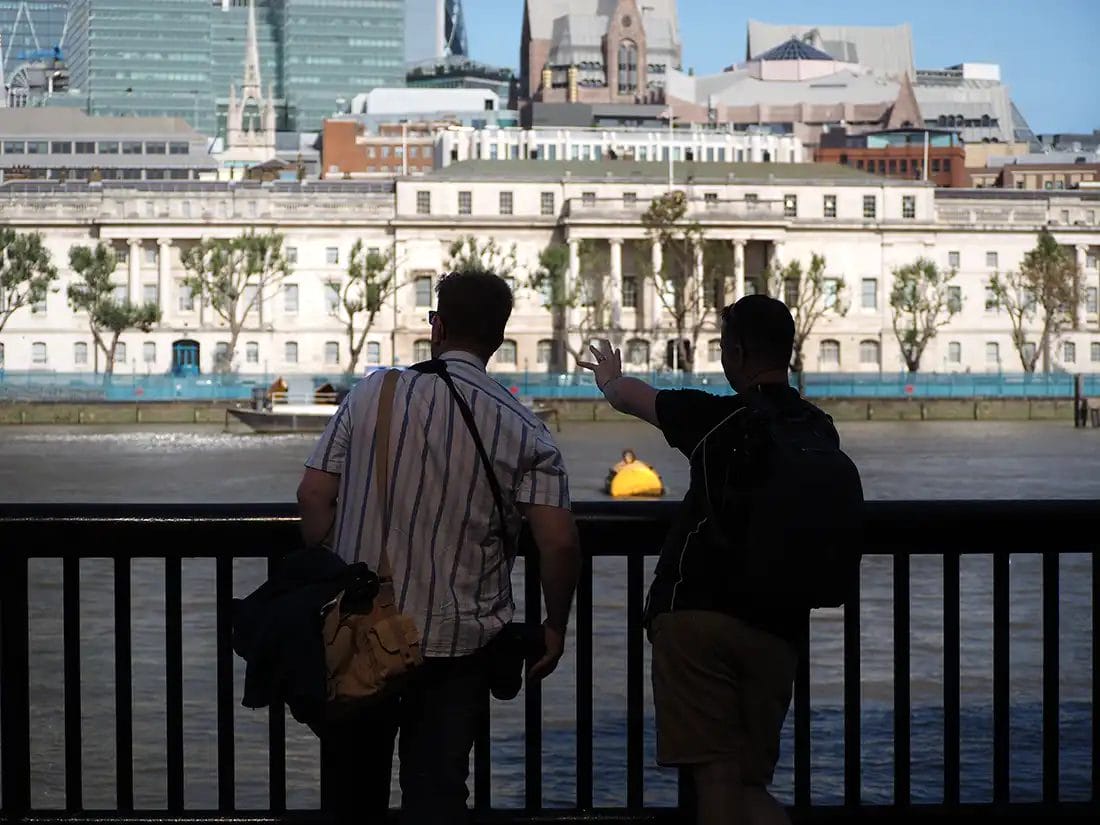
Image: Silhouettes are an example of ground-to-figure theory where the subject is darker than the background.
The key to a good figure to ground photo is paying attention to where the light is falling. Move your subject into the path of the light. Next, look at the background – does it appear darker or lighter in tone than the subject?
If you’re unsure refer to your digital camera’s histogram. While you should always looking for a large lighting ratio between the light and dark tones, there should be a slight trough between the dark and light peaks on the histogram.
If you histogram looks more like a straight line and less like a curve then chances are the background and subject could be of a similar brightness.


Image: When it comes to editing, isolate your subject using masking tools and darken the background to create separation.
Up until now the focus of figure to ground photography focuses on the subject being brighter than the background using neutral toned lighting.
But you can approach the theory a different way using colour. Separate cooler colours (blues, green, purples, navy, brown etc) from warmer ones (red, yellow, pink, orange, white etc) and use them in the same way. Think about a red ball in front of a black wall.
Both the wall and ball could be lit to similar intensity, but the colours will offer that separation naturally.
It’s also worth using complementary colours when deciding how to colour the subject and background (if you have a choice). Orange v Blue – Yellow v Purple – Red v Green are all easy palette colours to find in nature and the modern world.
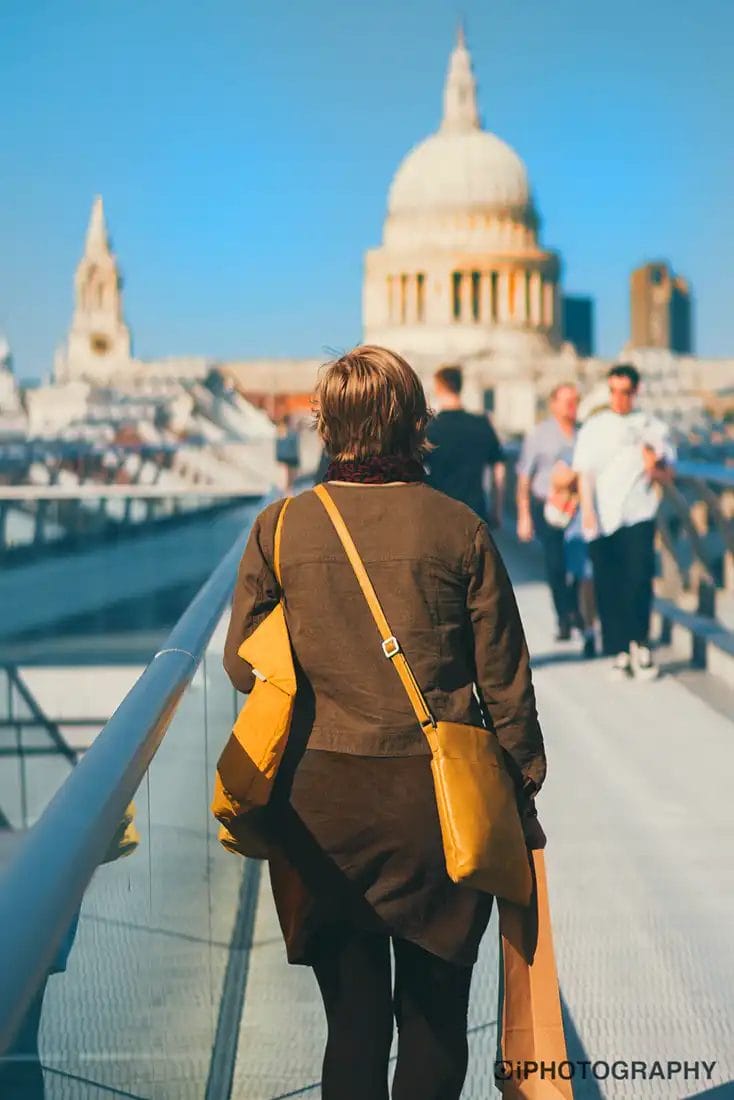
Image: Pick out two colours that complement but contrast each other – yellow and blues for example.
It is possible to do a localised edit on your background and make it a little darker if you are overlooking getting it correct in camera firstly.
Software such as Lightroom, ON1 Pro Raw and Photoshop offer AI masking tools to help select backgrounds, and well-defined subjects, with one click. From here you can adjust the tone contrast or exposure on either the background or subject to achieve that strong figure to ground look.


In truth, the concept of figure to ground is very simple and easy to follow for all levels of photography.
You may even compose your shots following this theory without even being aware of it – you may just instinctively know how to create depth this way. But if you don’t hopefully this article will help you create dynamic, simple and effective photography going forwards.
Bookmark and save this article so you can find it again in the future to refresh your memory. If you’ve got any other questions about photography chances are you’ll find the answers in some of our other articles and tutorials below.

Discover the BEST way on how to clean a camera sensor using swaps, rocket blowers and pencil brushes to give your shots a dust-free finish!

Capture the magic of the night with our beginner’s guide to night photography. Learn tips and techniques for stunning results.

Master the art of solar eclipse photography with expert tips on equipment, settings, and precautions for stunning celestial images.
Learn the basics of photography – fast – with our FREE 60-Second Photographer online course. Each class is short and sharp with simple, actionable steps that give you immediate results.
x 30 lessons

© iPhotography™
Become a confident and competent photographer in less than 30 minutes!
Before you leave, make sure you’ve secured your FREE online photography course (worth £29.99)
Each class is just 60-seconds or less making it the fastest and easiest way to learn photography!