Towards the end of the year, I decided to create portraits of my family, I was wanting to create a series of low key dog photography, that I could print and display in our home.
Quite honestly, I had an idea of how to create a low key dog image. But I had no idea about how to photograph dogs. So after reading this article from iPhotography and researching how other photographers create their pet portraits. This is what I learned and how it helped me capture this portrait of Shebah.
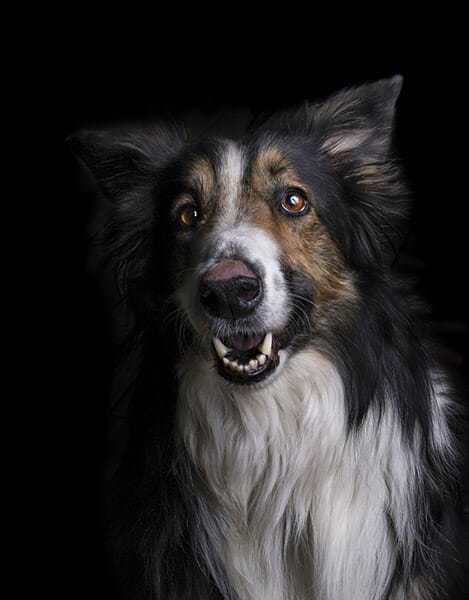
To shoot my low key photographs I used a Canon 6D mark II, gold umbrella, lighting stand and Altura flash with receiver. I set the flash on the stand about a meter off the ground, at about a 45 degree tilt.
I didn’t open the umbrella all the way because I want to create a narrow beam of light. I used an elastic band on the umbrella stem to achieve this.
These are the camera settings I generally use for my low key dog photography shots.
• Manual mode
• F/18
• ISO 100
• 1/200th
• AWB
• Spot exposure metering
• Single shot drive mode
I enlisted my daughter Kirsty, who is Shebah’s owner/ handler to help me with the shoot. Shebah has been trained for a few years, part of her training was to be able to focus on an object, her nature is also to please which made her shoot a fairly easy one.
I asked Kirsty to walk her round and to position her as close to the open umbrella stand as possible, and then to command her to sit and focus, Kirsty then stood in front of Shebah to hold her focus, I knelt down to the right to get the shot. We had to reposition Shebah a few times before I got the shot I wanted.
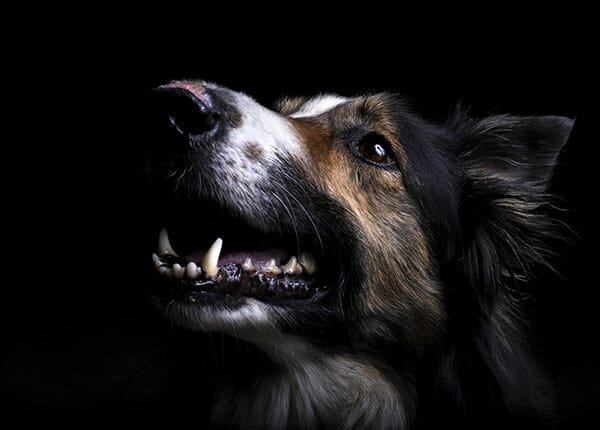
Here’s a list of 9 tips that my experience of shooting dogs in low key lighting has taught me.
1. Take time to set everything up.
2. Getting help with handling the dog, will definitely make it easier for you, (either the owner or someone who knows how to handle different dogs.)
3. Get the handler/ owner to walk the dog, let the dog get some exercise, let it run off excess energy.
4. Take time to allow the dog to walk around and sniff you, your equipment and the space, this will make the dog feel comfortable. Especially if you are using flash or strobe lighting. (Fire the flash off a few times, so the dog knows what to expect).
5. Use treats – speak to the owner to bring along treats and a few favourite toys of the dog, these will help to encourage and reward as well as reposition and refocus the dog during the shoot.
6. Use a collar and lead if it will help in positioning the dog, you can remove them in post-processing.
7. Give very clear instructions to the handler as to how you want the dog positioned (posing), because they will get the dog in the correct position and help you to get the shot.
8. Treats and toys are a must.
9. Have fun!
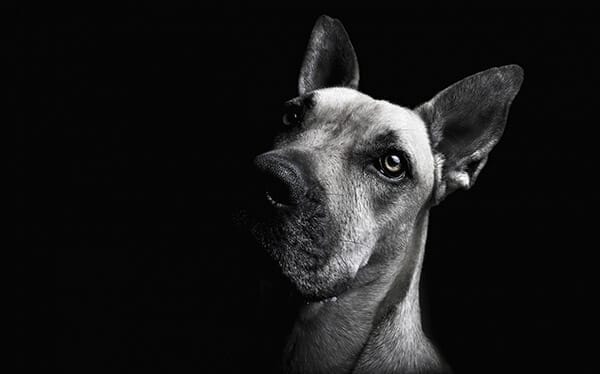
I shoot in RAW, so I opened the image in Adobe Camera RAW. Then I checked and adjusted the exposure slightly, and upped the texture, clarity and dehaze. I also tweaked the vibrance slightly.
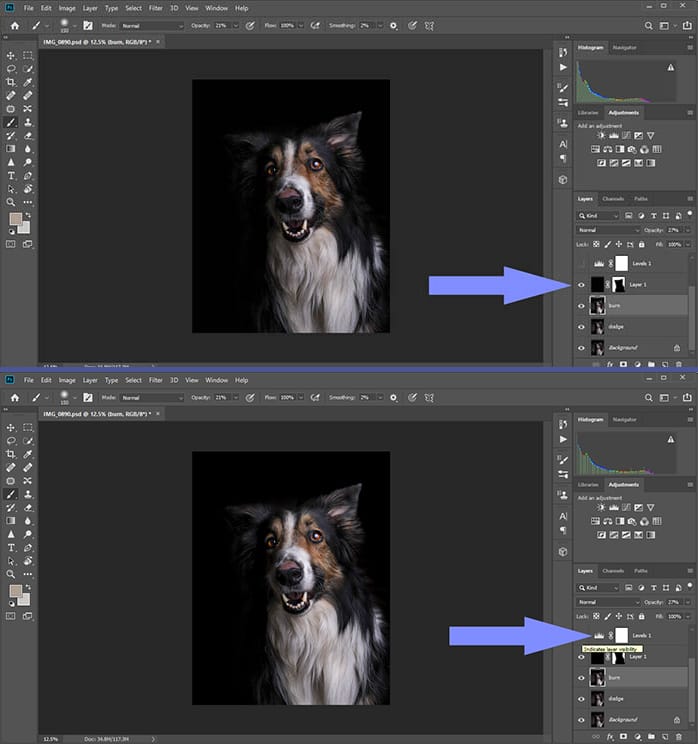
I then pulled the image into Photoshop and followed these steps;
1. Duplicated the layer.
2. ‘Dodged’ to lighten the eyes and some of the white fur.
3. ‘Burned’ to darken some of the fur and the pink spot on her nose.
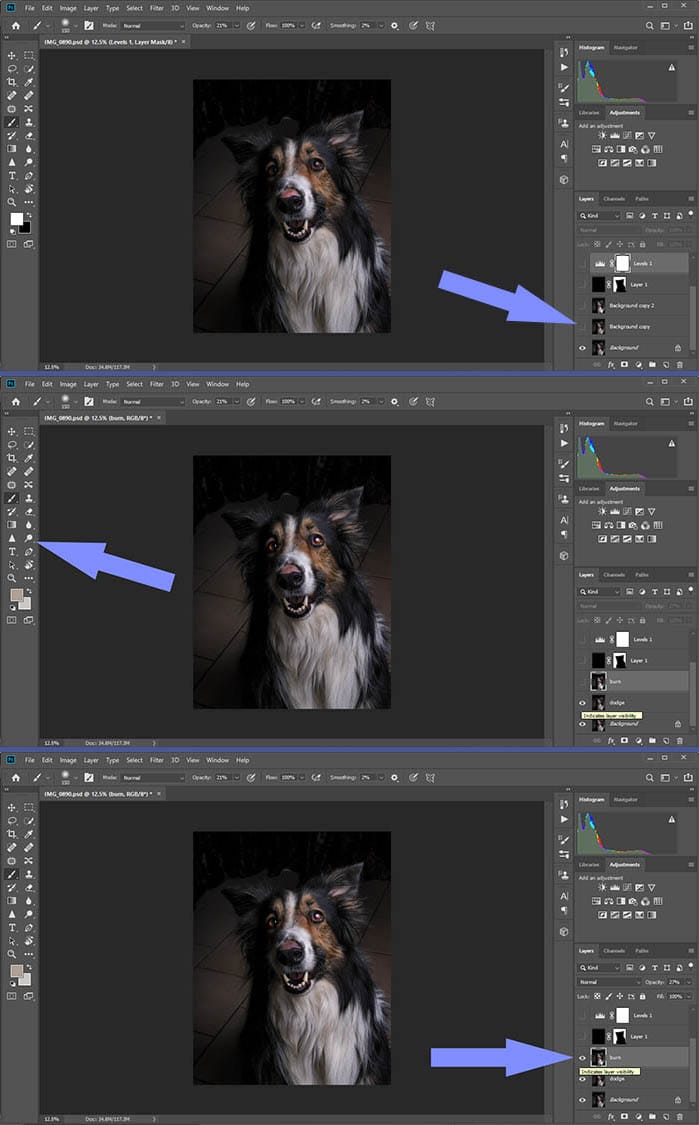
4. Added a new layer which I ‘painted’ black, added a mask to the layer and brushed over the areas I wanted to expose.
5. I then added a levels adjustment layer to darken the blacks, increase the mid-tones and highlights these were all minor adjustments.
Popular memory cards for photography – what’s the best SD card for your digital camera? Choose the right capacity and class speed in our guide
Discover the BEST way on how to clean a camera sensor using swaps, rocket blowers and pencil brushes to give your shots a dust-free finish!
Capture the magic of the night with our beginner’s guide to night photography. Learn tips and techniques for stunning results.
Learn the basics of photography – fast – with our FREE 60-Second Photographer online course. Each class is short and sharp with simple, actionable steps that give you immediate results.
x 30 lessons
© iPhotography™
Become a confident and competent photographer in less than 30 minutes!
Before you leave, make sure you’ve secured your FREE online photography course (worth £29.99)
Each class is just 60-seconds or less making it the fastest and easiest way to learn photography!