

How to Create ‘Little World’ Photos

The “little world” (tiny planet) effect bends a panorama into a charming spherical mini-world. It is a fun, creative project made in editing from a 360-style or wide panorama. The key is the right source image and a polar-coordinates transform. Here’s how to create your own little world.

I always liked those round creations which look like your own little worlds and wanted to try to make one. I finally did.

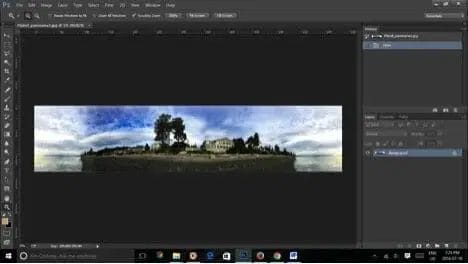
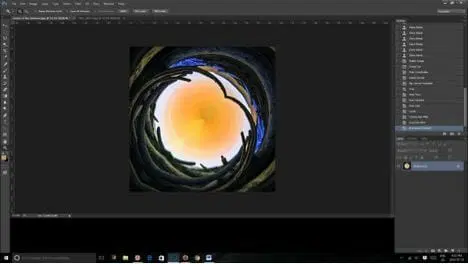
Here is a step-by-step guide of how I make little world photography, using the Polar Coordinates filter in Photoshop.

First, we will need to choose the image to work with. Ideally, a Little World is supposed to be a 360 panoramic shot, but it is not necessary.

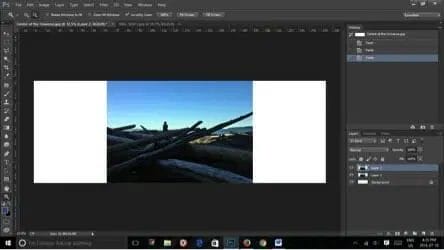
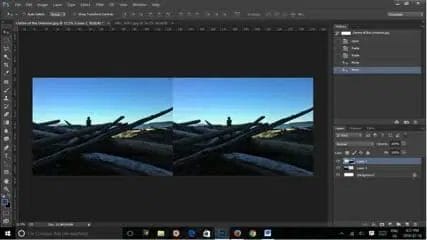
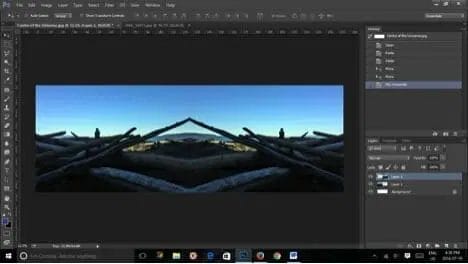
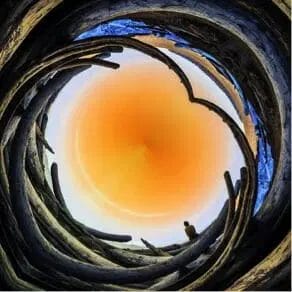
The trick is to get the edges of your image to match perfectly when they are connected in the end. You can make two types of images using this technique: your own little planet, looking something like this:

Little World Photoshop effect

7 Steps to Create Little World Photography

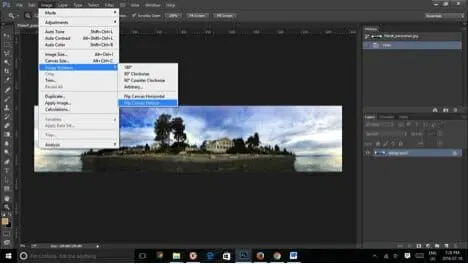
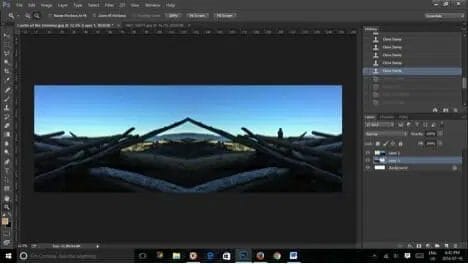
1. Let’s start with the first version of the little world. I had a panoramic shot which I made using the panorama setting on my cell phone.

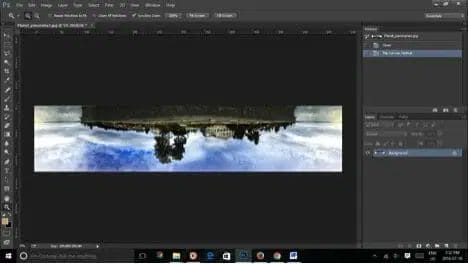
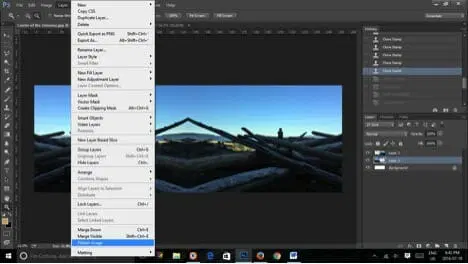
2. To get our little world we will have to flip the image upside down.

3. To do so go: Image>Image Rotation>Flip Canvas Vertical. Now we have an upside-down image. Next, we will need to resize our little world image and make it square.

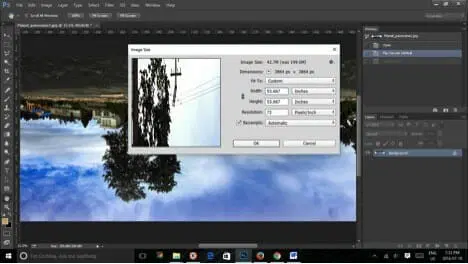
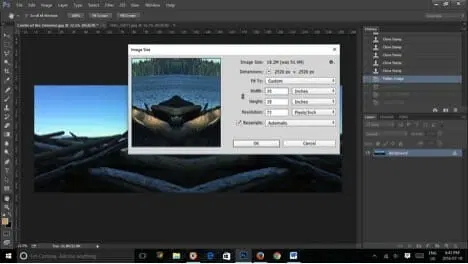
4. Go to Image>Image size and set for width the same number as your height is. Just copy and paste it. Remember to uncheck “Constrain Proportions”.

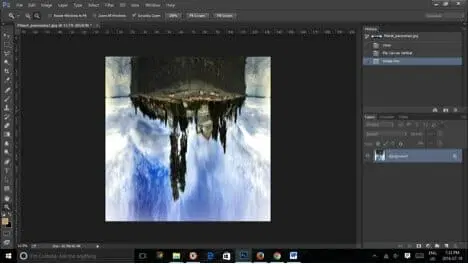
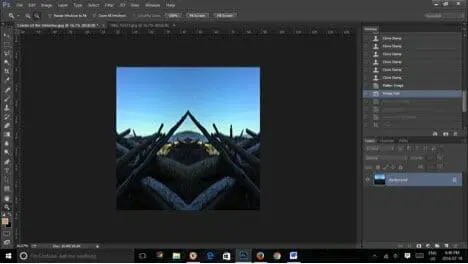
5. Next click ok, and now we have a square upside-down image. Our little world does not look too impressive, but we have one more step to do.

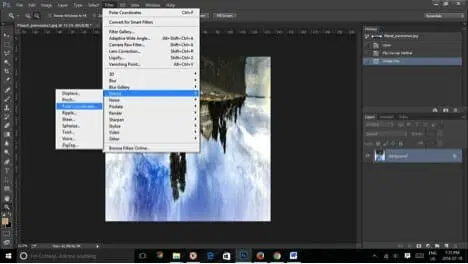
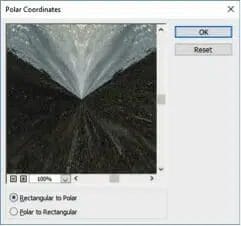
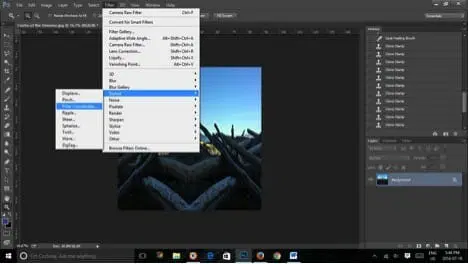
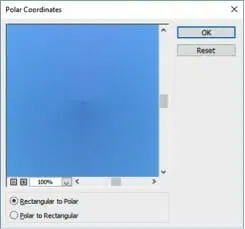
6. Go to Filter > Distort >Polar Coordinates Choose Rectangular to Polar.

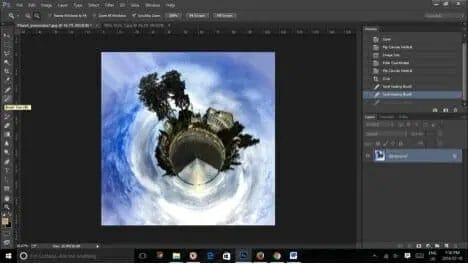
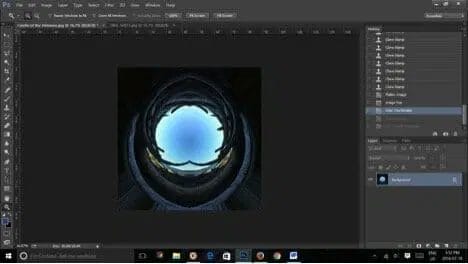
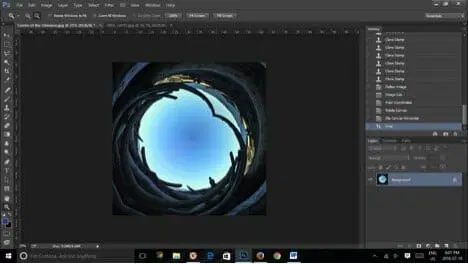
7. Click OK. Now rotate and crop the image as you like. That’s it! We have our little world photograph!

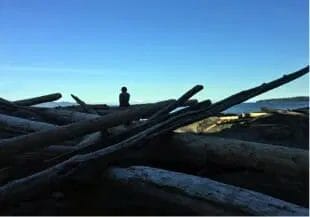
Beach
Step 1: Choose an image with a flat horizon
Upside photo of a beach
Step 2: Turn the image upside down
Step 3: Choose FILTERS>DISTORT>POLAR COORDINATES
Polar Coordinates function in Adobe Photoshop
Step 3: Choose Rectangular to Polar
Little World Photoshop effect
Step 4: Final Image

Little World Finishing Touches

The last thing you can do is to add some finishing touches. Play a little bit with the contrast levels, maybe boost the hue/saturation sliders or tweak the colour balance to get the colours you want.

Don’t forget to share your little worlds in the iPhotography feedback gallery if you’re a course member.

For more, read our guide to tilt-shift photography.

Frequently Asked Questions

What is the little world or tiny planet effect?

A creative effect that wraps a panoramic image into a sphere, turning a scene into a charming little planet. It is made in editing by applying a polar-coordinates transform to a wide or 360 panorama.

How do I create a tiny planet photo?

Shoot a wide panorama (ideally 360 degrees, or a long horizontal one), make sure the ends match, then in editing make it square and apply a polar-coordinates filter. Tidy the join and the centre for a clean planet.

What photos work best for a little world effect?

Panoramas with a clear, continuous horizon and interesting ground and sky, open spaces, beaches, squares. The horizon becomes the planet’s edge, so a clean, level panorama works best.

Do I need a 360 camera for tiny planets?

It helps (a 360 camera makes a complete sphere), but you can create the effect from a regular wide panorama too, the result is a partial planet. Apps and editors can apply the transform either way.

How do I avoid a messy join in a tiny planet?

Shoot a clean, level panorama whose ends match in exposure and content, then clone out the seam after the polar transform. A tidy horizon and consistent exposure make the join far easier to blend.

Last updated: June 2026.