

 Stephen Walton
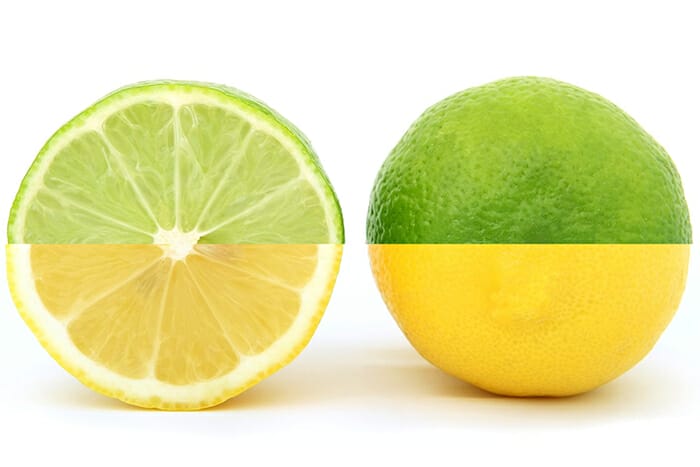
Laurel & Hardy, Mac & Cheese, Tom & Jerry – there are so many famous combos. It goes to show that mashing two subjects together can create some amazing combo photos.
But is that true in photography? Yes (otherwise I wouldn’t have written this guide). Therefore, can we proudly introduce to combo photos.
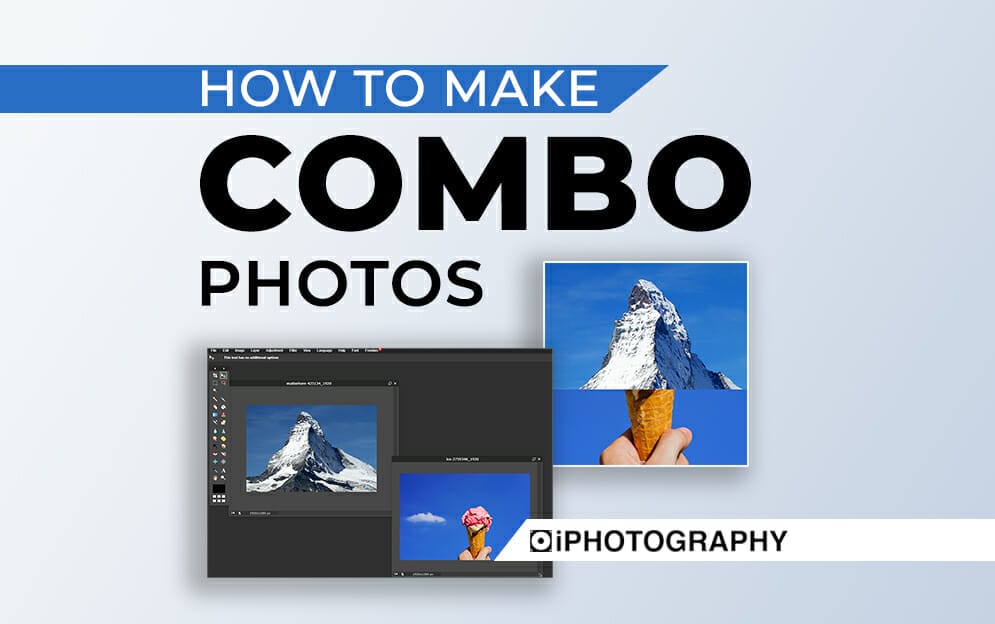
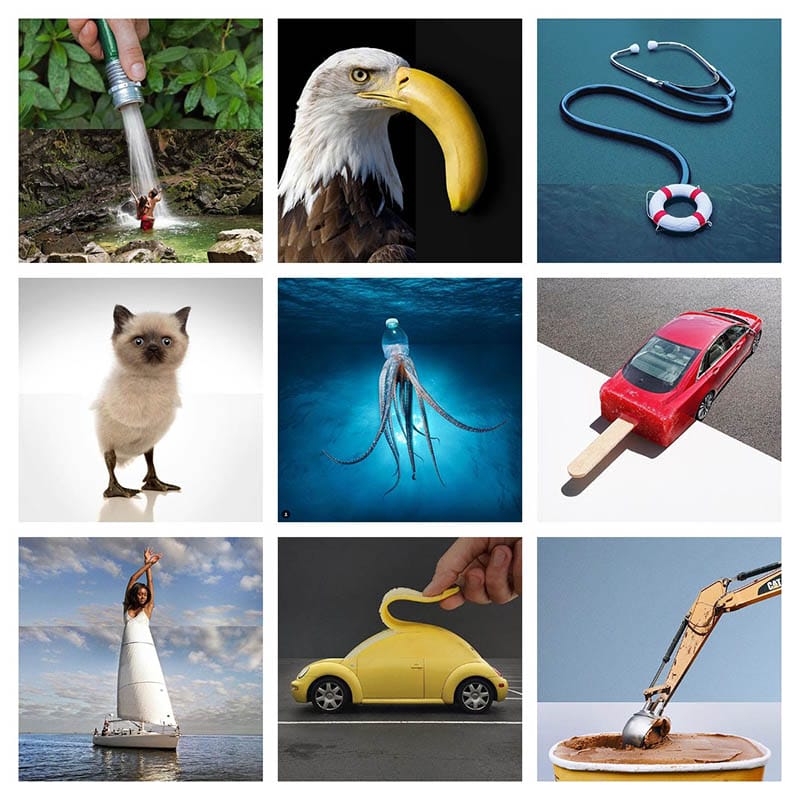
Combo photos are a growing trend blending humour and intrigue for entertainment or discussion. There is one very prominent artist behind this online movement who has inspired this article.
Let’s give you a few examples of his work @combophoto (Stephen Mcmennamy) Instagram.
There is a decent amount of planning that goes in a good combo photo. It’s not just a case of whacking to slightly similar pictures together. It involves research, but before that, you need an idea to go forward with.
I’ve got 4 topics you could use as springboards for your own combo photo.
1. Shapes (look at two objects creating each half of a shape) lemon/orange
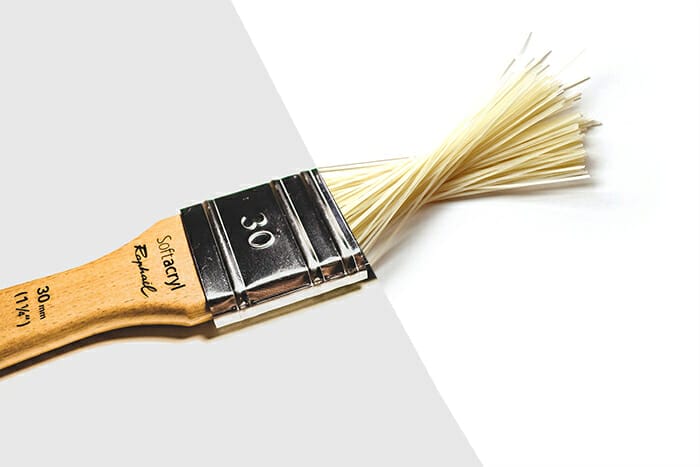
2. Textures (replacing one part of a two textured object for a different feel) paintbrush/hair
3. Limbs (swap out dangling appendages for limbs from different creatures – don’t be rude!)
4. Interaction (add in a reciprocal photo to make it look like the two shots are interacting) feeding the crane.
If you have a look on Pinterest, we’ve dedicated a whole board to combo photos so you’ll have tonnes of inspiration to work from.

It’s up to you if you want to make your life easier and shoot two new shots to combine together. It would be the simplest way. But if you like a challenge, like us, then dig through your archives and see if you’ve got two shots already you could mash-up, or one that’s screaming out for a partner.
Here are our best tips to shooting for perfect combo photos:
1. Always keep your original picture close to hand as a reference for shooting the other half.
2. Consider the angle and perspective of how the first shot was taken to help you line up the second.
3. Don’t worry if you can’t crop it in-camera perfectly. We can edit it afterwards.
4. Match up the backgrounds as best as possible. Try to make the effect seamless.
5. Match up the exposures too. You don’t want one half too dark.
Once you’ve got your two shots then it’s time to blend them together to finish off this combo effect. You can do it in Photoshop, but for a break from the norm, we’re going to use Pixlr X editor. If you’re an iPhotography member you can find free access to Pixlr through the iPhotography dashboard.
It’s probably best to open up a new document and work from scratch. Make sure the orientation matches the way you took your photos.
1. Firstly, drag one of your shots onto the document. Use the marquee tool to trim the parts you don’t want on the final combo.
2. Secondly, with the initial picture in place then bring in your other shot and start to line it up. Find the cross over line for where one picture transcends into the other. The trick is to make sure the width of these parts match or at least look consistent.
3. You may find there are patches of white background peeking through due to your trimming in the earlier stages – don’t worry. Simply use the crop tool so you’re only left with the final design.
4. Finally, you may need/want to make a few other little tweaks to the colour and exposure. Use the exposure or curves in the adjustment drop-down menu to get the two shots looking similar.
5. And when you’re happy flatten the whole document and save it. Of course, there’s one more vital stage, if you’re an iPhotography member, upload it to the feedback gallery! I’ve got to see your creations; you can’t get this far and not share your hard work.
6. Because, when done right, combo photos can be really eye-catching and makes you look like a proper clever clog!
What do you think of combo photos? Are you going to give this combo photos a shot? Let me know what you thought. I’d love to hear your feedback it’s a great source of inspiration and motivation for us.
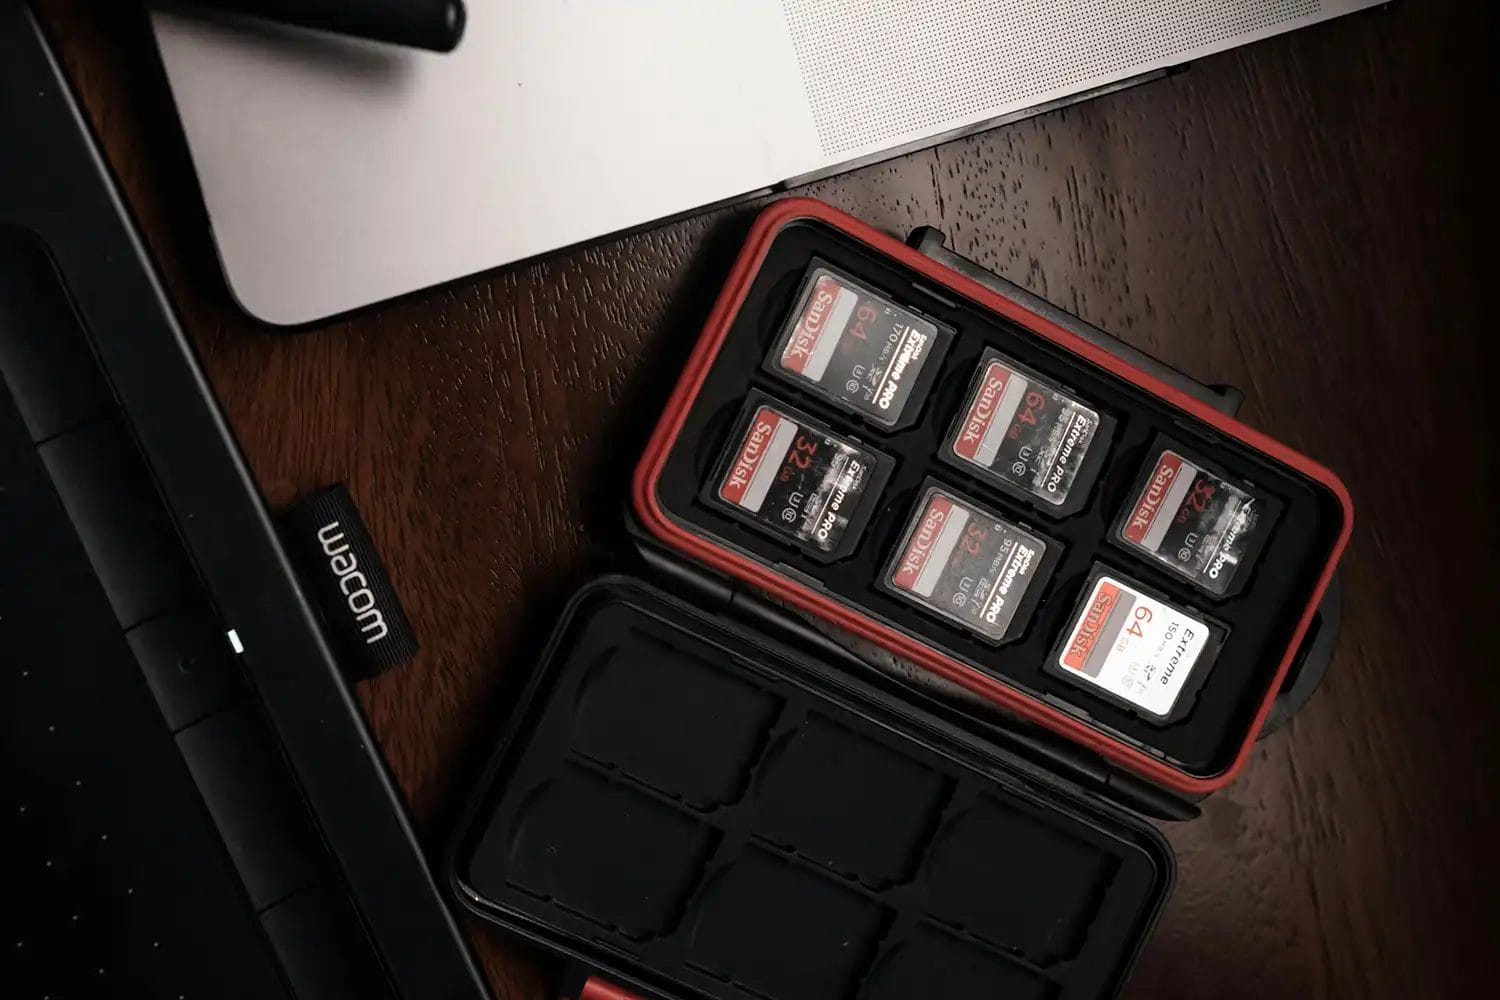
Popular memory cards for photography – what’s the best SD card for your digital camera? Choose the right capacity and class speed in our guide
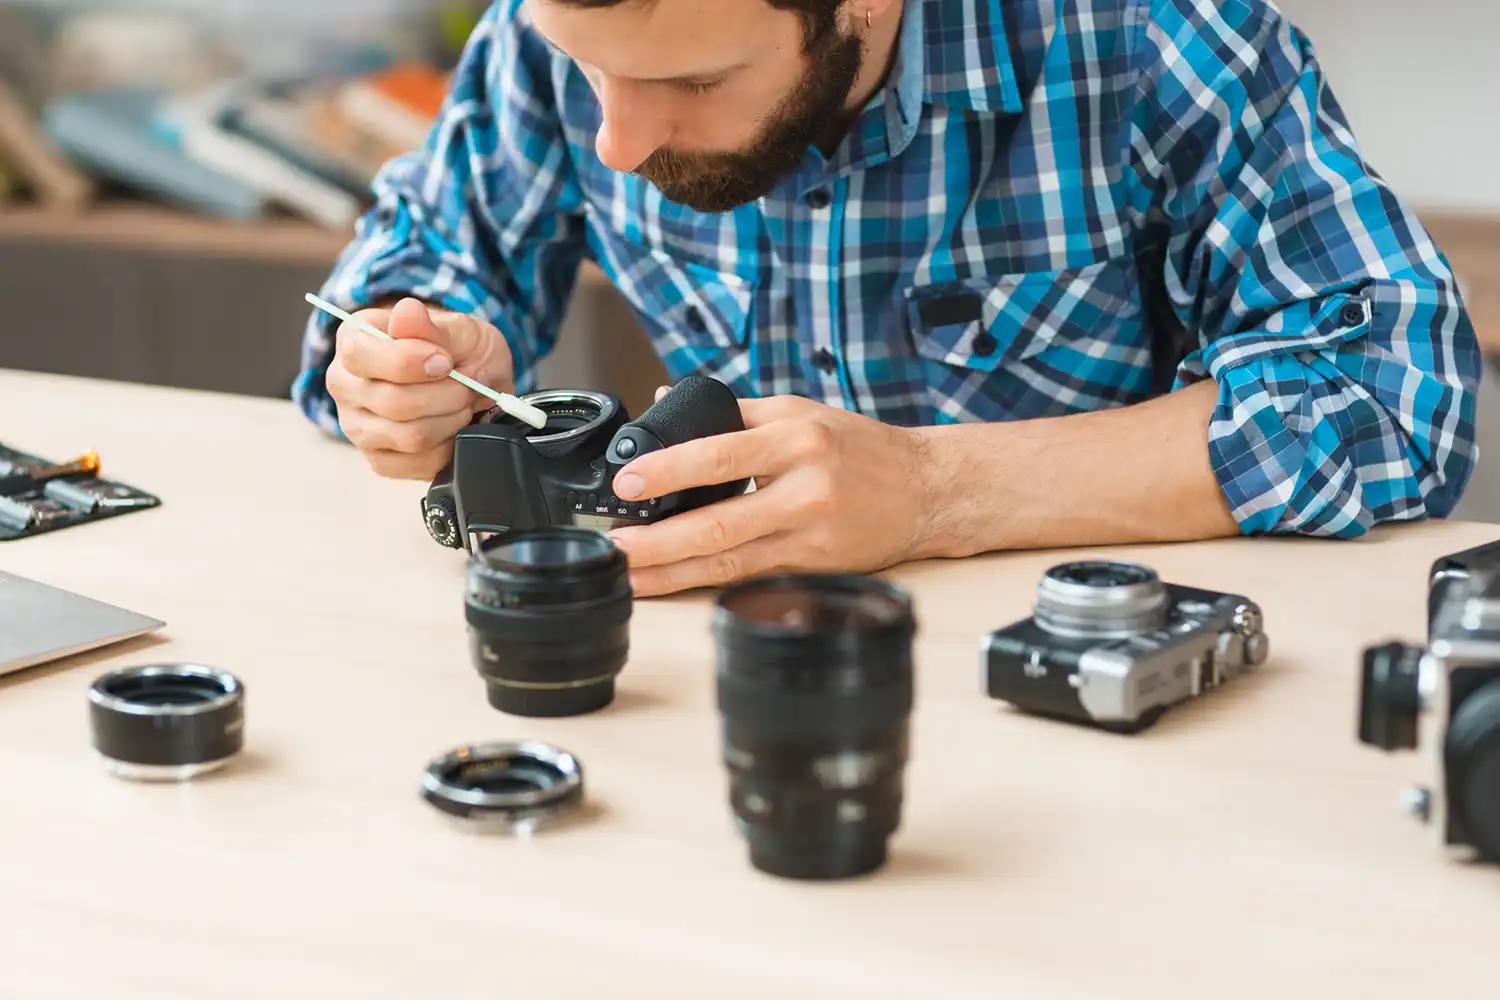
Discover the BEST way on how to clean a camera sensor using swaps, rocket blowers and pencil brushes to give your shots a dust-free finish!
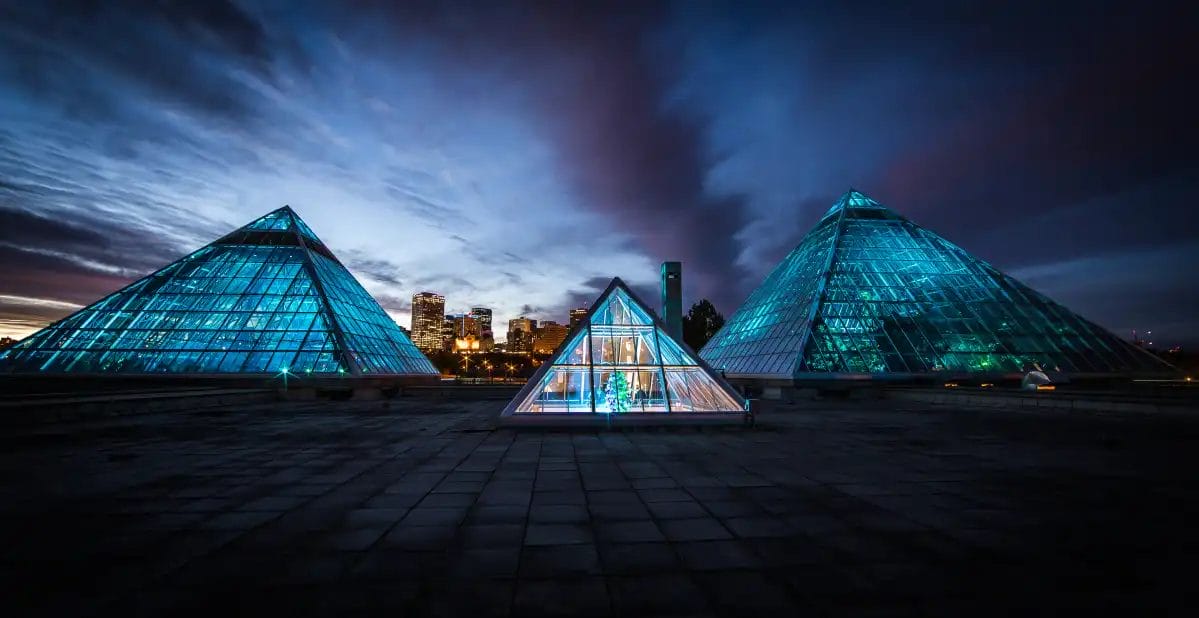
Capture the magic of the night with our beginner’s guide to night photography. Learn tips and techniques for stunning results.
Learn the basics of photography – fast – with our FREE 60-Second Photographer online course. Each class is short and sharp with simple, actionable steps that give you immediate results.
x 30 lessons
© iPhotography™
Become a confident and competent photographer in less than 30 minutes!
Before you leave, make sure you’ve secured your FREE online photography course (worth £29.99)
Each class is just 60-seconds or less making it the fastest and easiest way to learn photography!