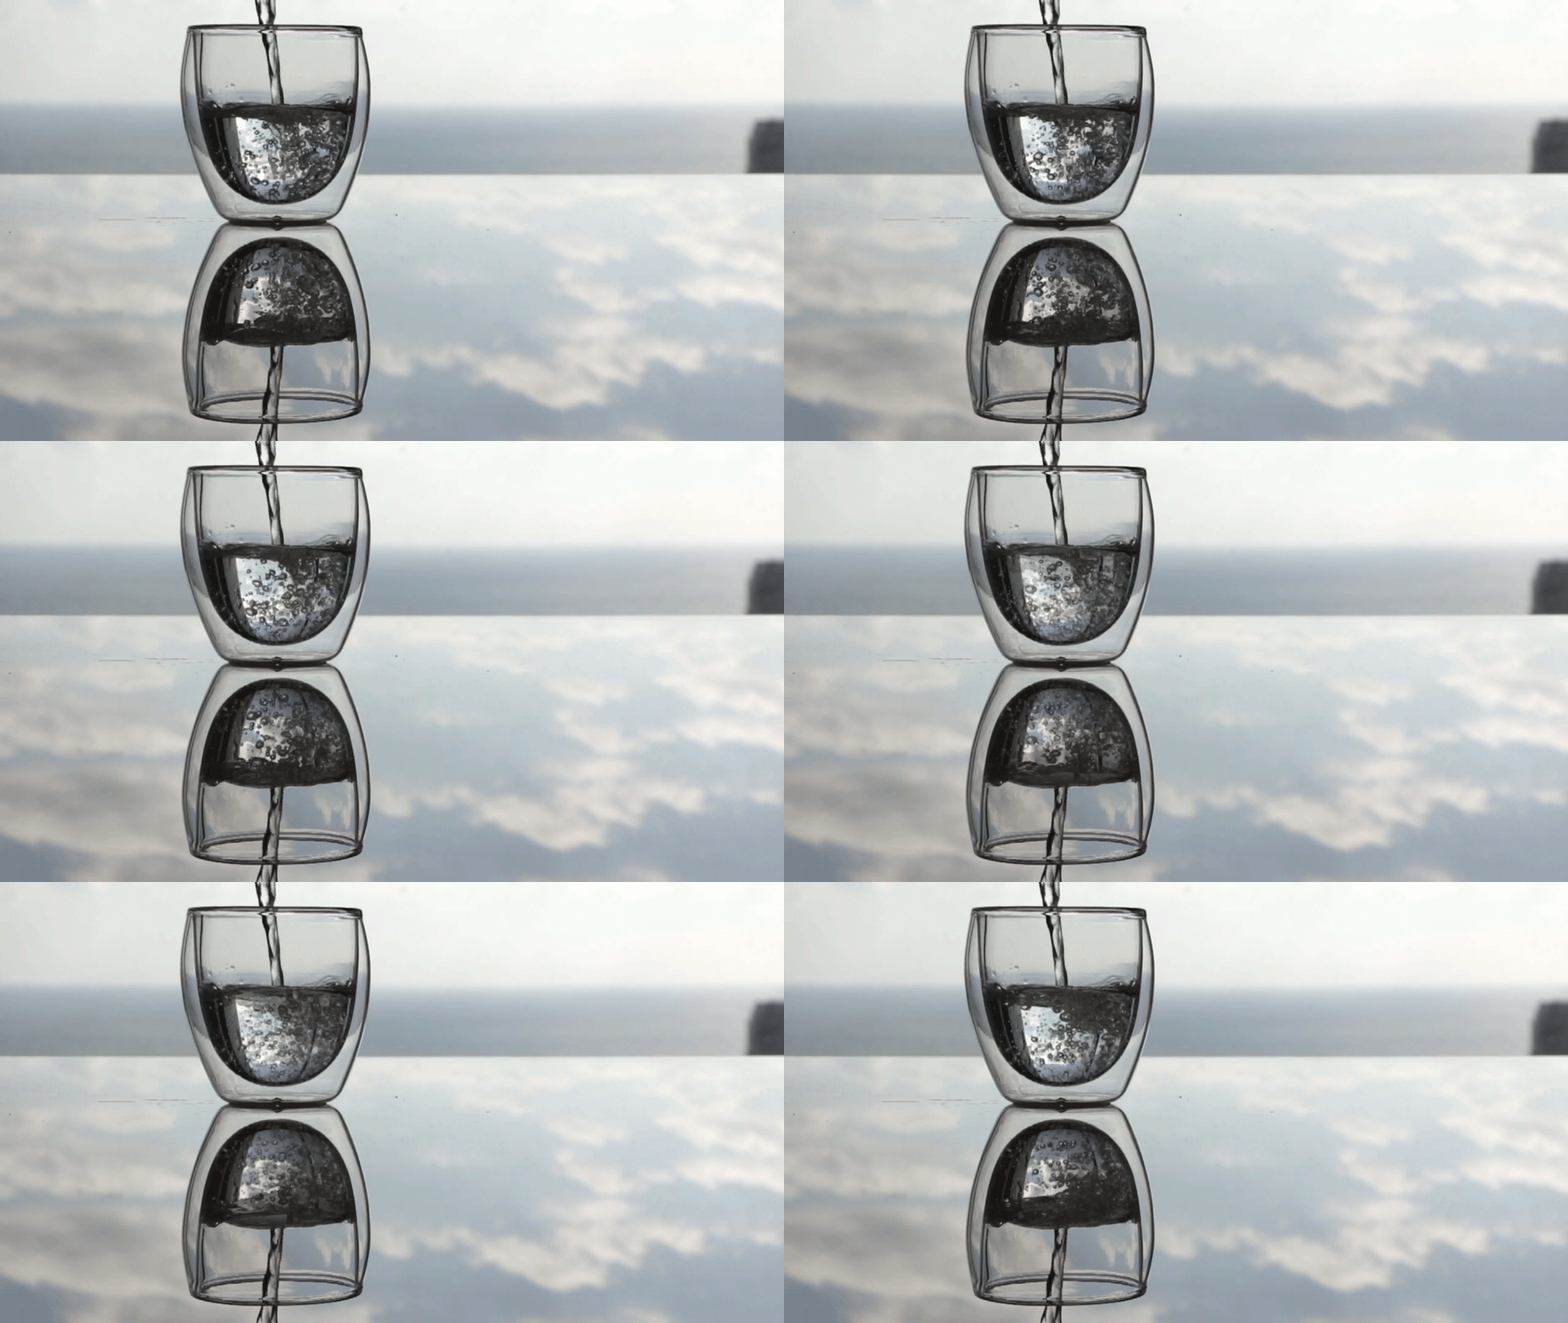
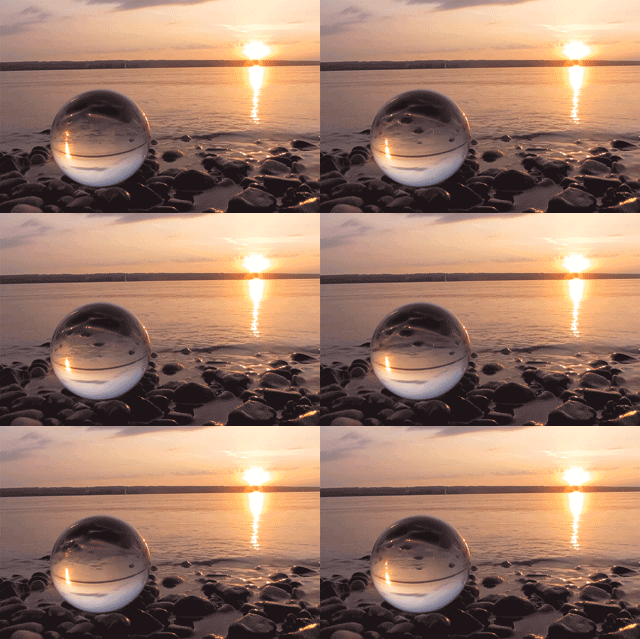
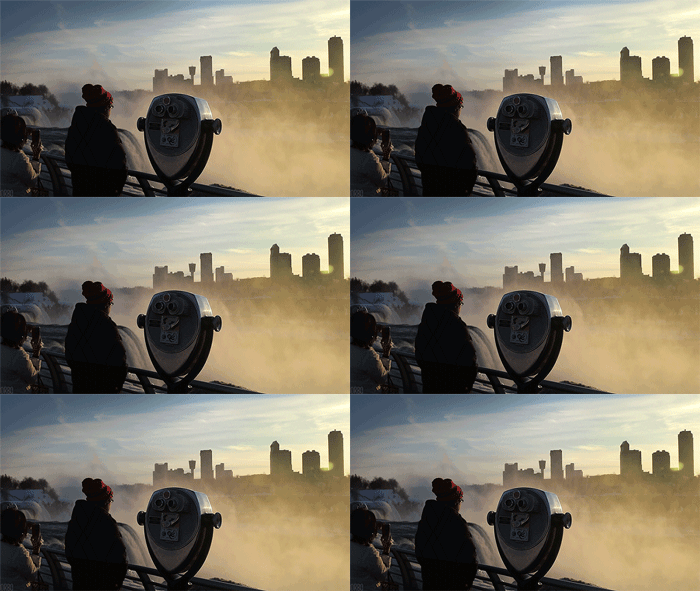
One of the benefits of using Photoshop CC is that it allows you to combine still images with moving ones.
This means I can show you how to create hypnotic and mesmerising pieces of artwork called cinemagraphs.

Cinemagraphs are still effectively a photograph but with small areas that replaced by a matching video clip. When blended correctly they create a pattern of repeated motion within the photograph to give the effect the action is stuck in an eternal loop.
Creating one of these never-ending clips is fairly straight forward but it does require a little bit of planning and thought. You won’t be able to raid your family videos and make one instantly there are a few rules you need to adhere to.
Here are the 3 steps you need to follow to know how to create a cinemagraph.
You need to start off with a short video clip to form the base of the action in the cinemagraph. This sounds easy enough but as you can see from the examples in this tutorial the action needs to be subtle and repeatable so don’t film action that is fast paced or erratic, it needs to be consistent and loopable.
Here are a few ideas for your cinemagraph;
• Stirring a spoon in a cup of coffee
• Pouring water in a glass
• Blinking
• Ferris Wheel spinning
• Candle burning
• Yo-Yo
• Waving
• A Dripping Tap
• Pressing a Keyboard
Avoid busy surroundings and movement occurring behind you its going to be hard to mask that out in the editing so working in a controlled environment is best – which is why this is such a great technique to try at home!
Try to avoid making blowing hair as your moving feature. Hair is so fine that masking around it will take a long time for a beginner, but as your experience and understanding grows you should be able venture in to these more complex areas.

Small and simple movements that are going to work the best so don’t make your video too dramatic until you learn the full process. If your DSLR or Mirrorless camera has a video function, then use it and don’t worry about the resolution you use (when we come to save our cinemagraph shortly, you’ll see why).
Keep your camera on a tripod whilst you film, everything needs to remain steady during filming and repeat your action a few times. Trim it down to the perfect starting point in Photoshop.
Your video clip needs to be around 15 seconds long at most, the final cinemagraph will only feature 2-3 seconds of movement, so it doesn’t need to be a Hollywood epic!
Don’t worry about audio either. Though your camera may record it, it won’t appear in the final image so feel free to talk during recording.
Remember you are making a video clip, not taking a photograph. You need to record the movement – it may sound obvious, but the natural instinct is to take photograph when using your camera, especially for beginners who’ve never used their camera’s video function before.
Once you’ve got your video clip uploaded to your computer this is where the Photoshop fun begins!

Instead of handing you a list of steps and directions to play photoshop tennis with (looking at the instructions then back to your editing numerous times) then just sit and watch our tutorial video as I explain the easy process for creating this magical effect in Photoshop.
You are going to need a version of Photoshop that allows video files to be imported, CS6 and later should support this ability.
Your final cinemagraph should be a beautiful blend of photography and magical movement, making your image look like it’s come alive. The success in making an amazing cinemagraph comes from the planning, so sit down and really think what could make an eye-catching finish.
Research online and have a look at some examples to see what others have done and see how to build on these examples.
Enjoy creating your cinematic masterpieces. Tag us in them on social media so we can share some of the best ones out. I can’t wait to see them!

Discover the BEST way on how to clean a camera sensor using swaps, rocket blowers and pencil brushes to give your shots a dust-free finish!
Capture the magic of the night with our beginner’s guide to night photography. Learn tips and techniques for stunning results.
Master the art of solar eclipse photography with expert tips on equipment, settings, and precautions for stunning celestial images.
Learn the basics of photography – fast – with our FREE 60-Second Photographer online course. Each class is short and sharp with simple, actionable steps that give you immediate results.
x 30 lessons

© iPhotography™
Become a confident and competent photographer in less than 30 minutes!
Before you leave, make sure you’ve secured your FREE online photography course (worth £29.99)
Each class is just 60-seconds or less making it the fastest and easiest way to learn photography!