 Stephen Walton
If you love a good period building or modern skyscrapers, this architectural photography tutorial is going to show you how to take the best photos of buildings no matter what era they’re from.
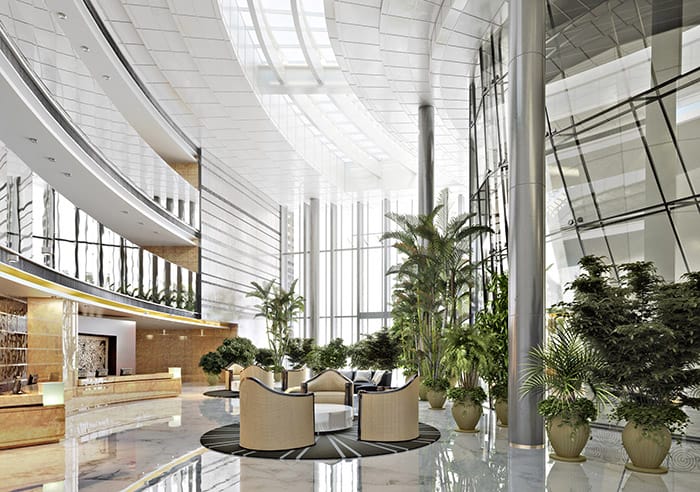
Don’t fall for the myth that being an architectural photographer means you’re only shooting buildings from the outside – you can capture some amazing interior images too. As civilisations have evolved so has the architecture in which we live and work.
This means windows have gotten large, materials used to build have become more robust and processed and designs are increasingly unique. All of which results in a larger opportunity to capture dynamic photographs.
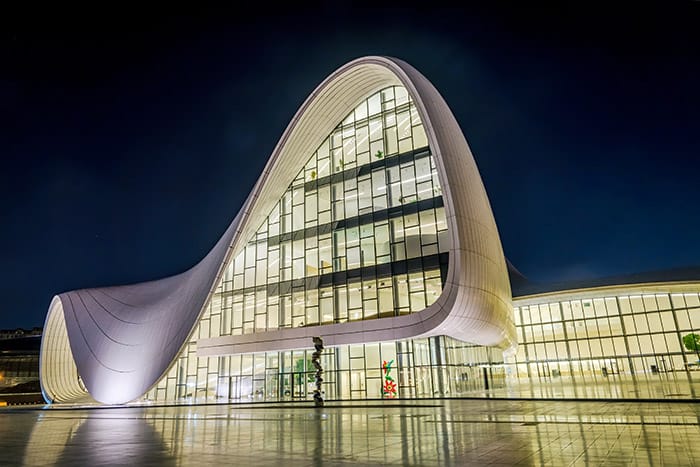
Your attention when shooting exteriors should be focused on the overall size and shape of the building as well as considering it’s position in its surroundings. It’s a slightly different approach than shooting indoors.
Interior architectural photos require a more considered eye as you’ll be dealing with light entering from different directions; mixed light colour temperatures, furniture and reflections – all of which needs a little more time to process in your composition.
To be honest, it’s not the camera body itself that really matters much with architectural photography. iPhone, DSLR, compact or mirrorless – it’s all good.
Any type of digital camera with manual settings will give you the flexibility to control the exposure to your advantage. There are 2 accessories that will make your life easier when shooting architectural photographs.
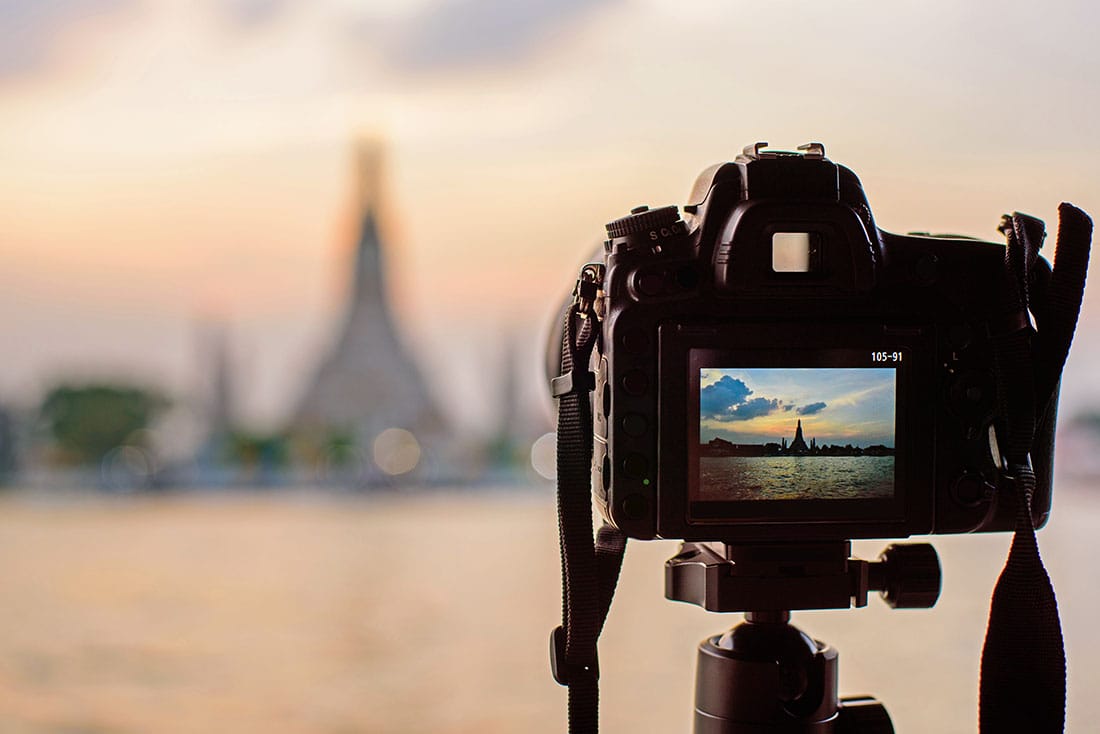
Clean, crisp and well-defined outlines are one of the key ingredients to a strong architectural photograph. Therefore a reliable tripod that gives you a wide fluid movement is ideal. A ball headed tripod gives you more control over angles and less worry about camera shake than a panhandle.
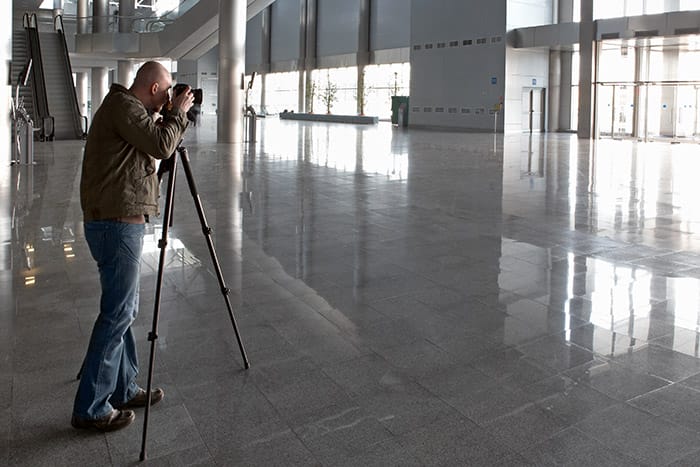
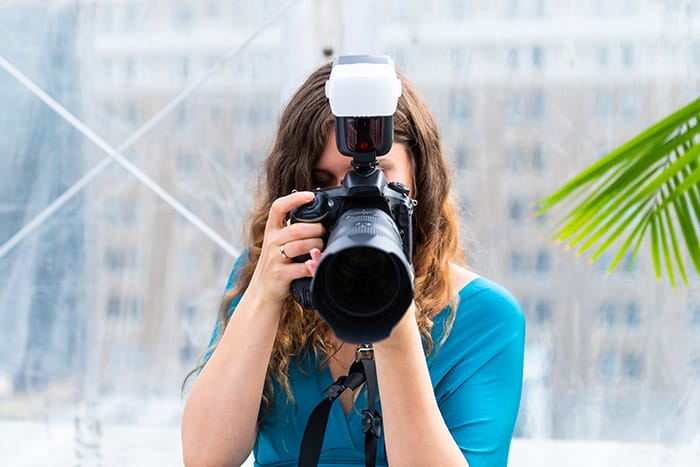
If you are shooting interior architectural photos then consider taking an off-camera flash with you. The flash can neutralise other colour temperatures indoors or complement them as well as filling in shadows where natural light isn’t reaching. If you only plan to shoot exteriors then a flash isn’t probably unnecessary.
The right lens is the most important part of your kit bag for architectural photography.
Wide-angle lenses let you emphasise the space of an interior and show off the height and breadth of an exterior. But it’s not always shooting at the widest angle that’ll get you the best shots.
16-35mm works for general architecture photos. You can’t go wrong with any kit that covers a similar range. A standard zoom or prime lens will suffice for capturing detail shots, both inside and outside.
Great architectural photos can be taken at any focal length. Although wide-angles are more popular (since they tend to work better indoors). It’s a nice idea to complement those wide-angle establishing shots with smaller detailed shots taken on a long telephoto lens. Something around 100-200mm will allow you to zoom in on other details on your building such as emblems, patterns and other decorative elements.
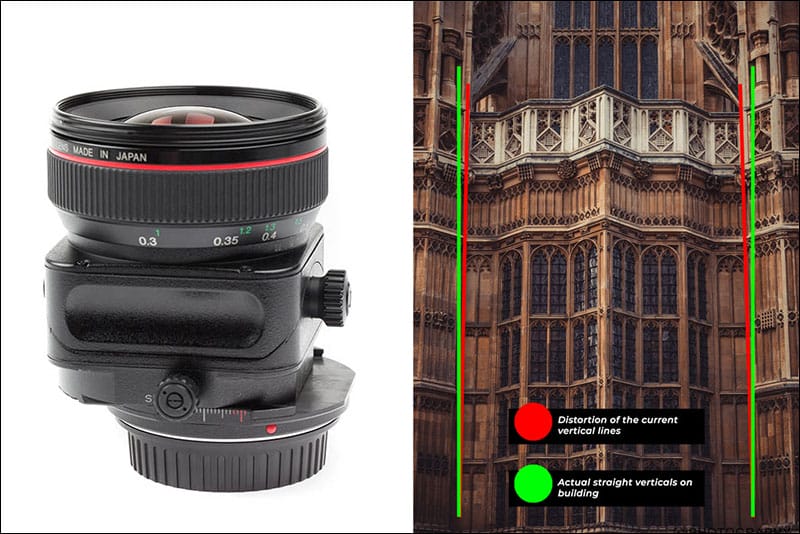
If you want to take your architectural photography seriously, you’ll need a tilt-shift lens.
Tilt-shift lenses iron out a common problem in architectural photography – perspective distortion. When you look up at a tall building through your camera it’ll appear to lean backwards. The verticals of the building will look like they converge towards the top, whereas in reality, this isn’t accurate. A tilt-shift lens re-corrects the image and focal plane to ensure the perspective looks accurate.
The biggest downside of a tilt-shift lens is, because of the uniqueness to it’s design, the expense. Depending on which brand you require, prices can start in the thousands for a brand new tilt-shift lens.
Outside of architectural photography they have little use unless you want a unique look on every image.
There is a cheaper way of solving this perspective distortion when it comes to editing which I’ll talk about later.


One of the biggest issues you can face with architectural photography is the light. If you’re shooting from outside through a window and you want details inside and outside visible, your best bet is to take multiple exposures and blend them together for wider exposure and dynamic range as one shot may not be enough.
To do this, set your camera to its lowest ISO setting. Use an aperture that gives the desired depth of field (normally for architectural photography shoot around F/8 to give you detail and depth. Then let your shutter speed fall wherever it gives you the proper exposure.
Shoot in Manual (M) mode to make changes to all these settings. Make sure you’re mounted on a tripod though in case your required shutter speed goes below 1/60th.
As you take each of your shots, keep the ISO and F/stop the same. This means the depth of field won’t change. Alter the shutter speed instead to change the brightness of each exposure.
Take 3-5 photos each at a different shutter speed. Some digital cameras have a built-in HDR/bracketing function that means you can automatically set how many shots are taken and the aperture gap in between each. 1 to ½ F/stop per shot difference is ideal – but do whatever it takes to get a shot of the exterior, window and interior well exposed.
If you’d prefer not to let the camera blend the exposures then shoot in single shot drive mode and take each image independently. Import your photos to software such as Lightroom and let the HDR merge function do its job – it’s pretty accurate to increase dynamic range in architectural photography.
The choice is yours. Not everyone lives in, or near, a big city with lots of tall buildings and skyscrapers but you can have a walk around your home town and test out your architectural photography skills on local landmarks, churches, town halls, high rise tower blocks etc.
Look out for architecture that is unique and iconic to your location to make a photo project out of.
Do a little bit of research beforehand and see how other photographers have shot the same building. Look at what angles they haven’t covered and see if you can take something more unique.
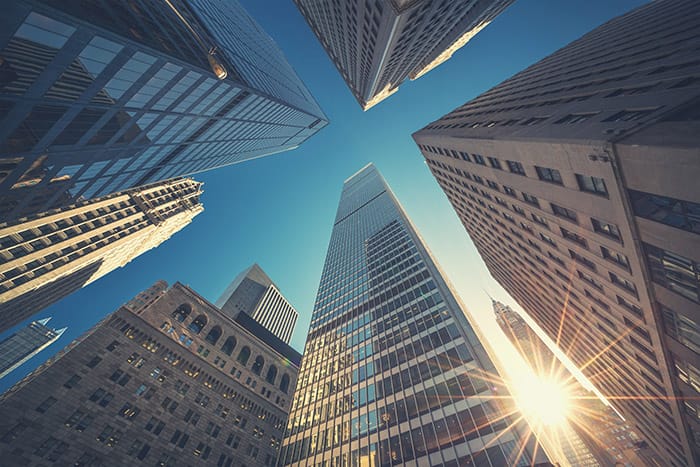
Positioning yourself directly in front of the building and tilting upwards is a simple, but effective composition. Aim to align the shot so it’s symmetrical and there is an even amount of space on either side to the edge of the shot.
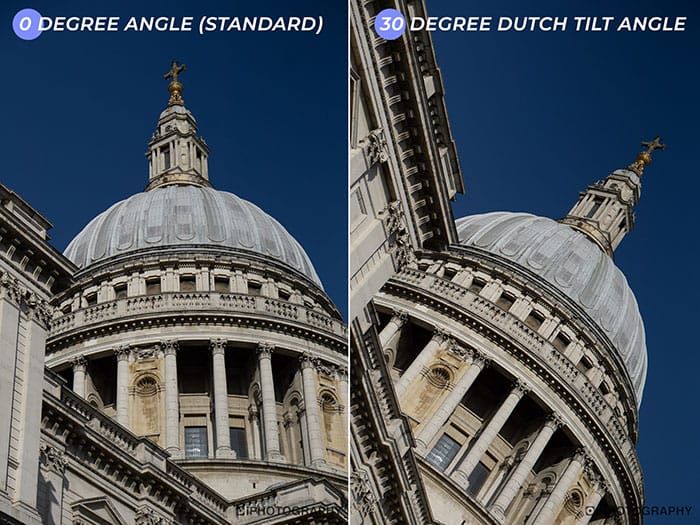
Dutch tilts can be quite dynamic in architectural photography. By moving your camera off the x-axis you can make buildings look more dramatic and stylised. It needs to be a deliberate and obvious change to the angle – between 20-30 degrees is normally enough to show it’s intended.
Low angles are a great way to make big buildings look bigger. Flipping out your LCD screen and getting the camera to the floor will give a ‘worm’s eye’ view of the scene making the audience feel smaller and the building massive.
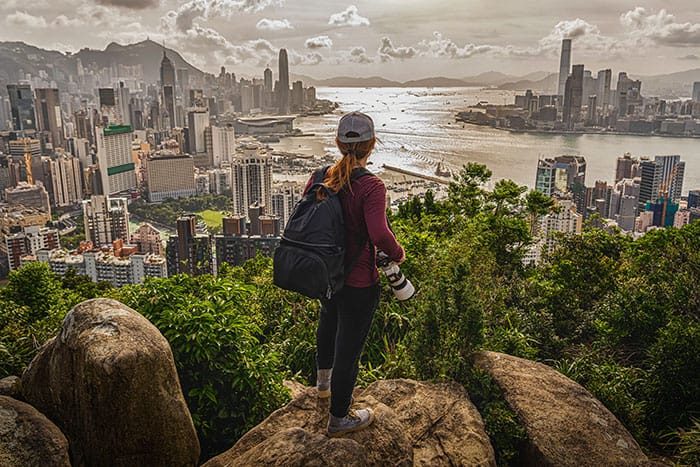
Incorporating people into architectural photography doesn’t dilute the purpose of the photo or automatically change it into a portrait. Buildings are built and designed around people and how we’ll use them, so adding in people in your architectural photos isn’t a distraction.
There is another benefit to having someone in your architectural photos – the ability to demonstrate scale. Sometimes it’s hard to know how big a building is as there is no comparison when shot on its own. But if you stood a person in front it becomes easier to relate to the size of it.
And with all that said, there will be times you may not want people in your architectural photos!
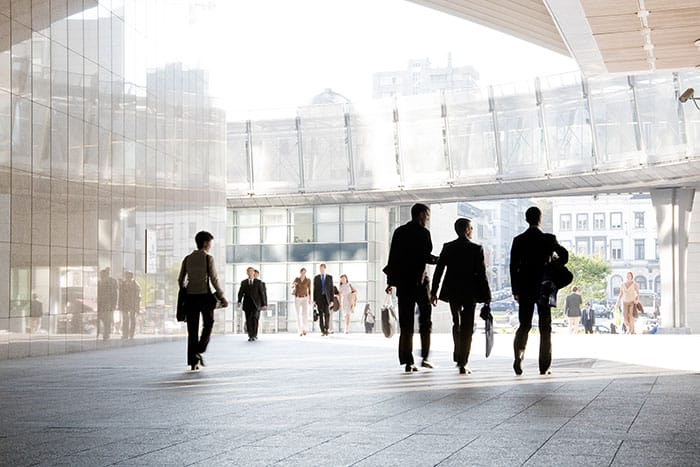
There are 3 ways that you can remove people from your photos.
1. Wait until the scene clears of people – obvious enough but this can be very time-consuming.
2. Take various static shots of your scene as people pass through. In Photoshop choose FILE>SCRIPT>STATISTICS>MEDIAN and select the images you’ve shot.
Photoshop will do its best to composite a version where the static objects remain and anything that isn’t constantly present in each image is removed. It’s not always perfect but it may get you further down the road before you move on to the next option.
3. Alternatively, crack out the cloning tool and start removing each person in the shot. It can take time depending upon how busy the scene is but is probably the most accurate approach.
Different times of the day will give you a different view, even if you’re shooting from the exact same spot. Buildings with a lot of windows may have glare at a particular time of day.
Download apps like The Photographer’s Ephemeris to help you plan where the light will be throughout the day so you know which position to take up that will capture this shift of light intensity and colour.
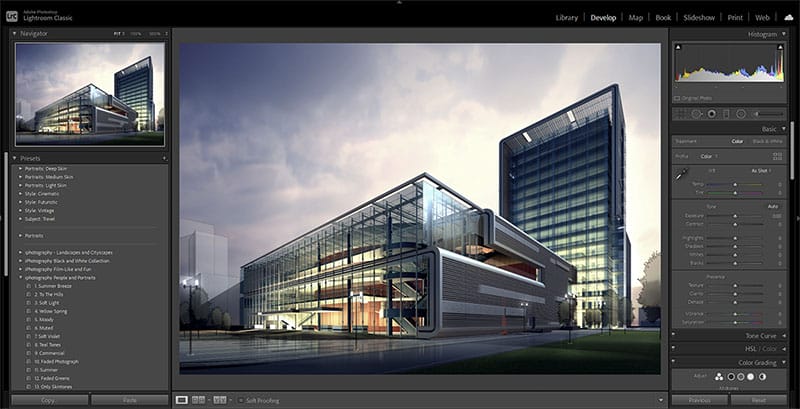
Post-processing architectural photos can be done in any piece of desktop or mobile software. But if you require tools such as perspective re-correction then you’ll need access to Lightroom Classic.
In the transform panel of Lightroom, there are multiple options to alter any distortion in the shot on a few different axises. Despite all the choices ‘auto’ tends to work best. If you’re not sure if your vertical lines are distorted, click it anyway and see if it changes the image much.
As standard, look at tweaking your contrast, shadows, clarity and texture levels on architectural photographs to make the shot pop a little more with intensity.
Remember clean lines, strong geometry and crisp textures stand out above everything else in a good architectural photo. Do whatever you can to enhance these features in your shots.
Look at what is unique and special about the building you are photographing. Take time to research it a little bit and look for ways you can tell a story. Everything has a story whether it’s living or not.
I’ve compiled 5 tips in this architectural photography tutorial that I believe will help you better understand, prepare and shoot buildings of all designs.
1. Do your research – Every architectural structure has a story. Find out the history behind it. Maybe dig into what the original architecture intended the design to be about and look for evidence of this in your photography to show off.
2. Get a first impression – When standing in front of or inside a structure, first look around and take stock of everything you see. What do you notice first? Where is your eye drawn? This will be the reaction of your audience. If you took an overall impression of your building what is the most interesting area, detail etc and work on that.
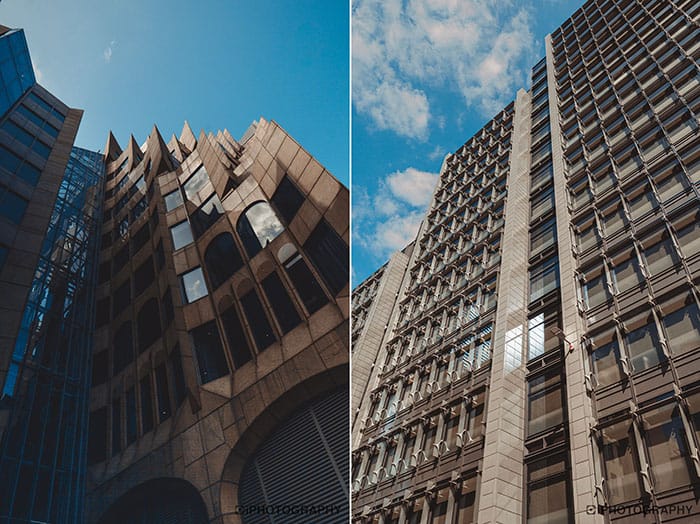
3. Zoom in on the details – Consider the shape of the roof or the materials of the ceiling or floor. Patterns are a brilliant compositional tool to use that audiences love. Look out for repeating design elements or unusual symbols. Architectural photography is as much about capturing the details as it is about documenting the whole.
4. Shoot from every angle – When you feel you’ve exhausted your architectural subject, Look for different angles, perspectives, and vantage points that may offer a fresh take. Think about those low angles, symmetrical shots and dutch tilts. What does it look like through a reflection? Look out for puddles on the street to shoot into. Or look at neighbouring buildings and any reflections that are interesting to create an abstract view.
5. Bracket your shots for an outside and inside POV – If you want to capture shots where you can see inside and outside at the same time then you bracket your photos. Take multiple shots, using the shutter speed to change the exposure, and then blend them together in editing to get an inside/outside view.

Shooting sunsets using amazing 5-in-1 magnetic lens filters from Kentfaith, the 1st choice for photo & video products.

Popular memory cards for photography – what’s the best SD card for your digital camera? Choose the right capacity and class speed in our guide

Discover the BEST way on how to clean a camera sensor using swaps, rocket blowers and pencil brushes to give your shots a dust-free finish!
Learn the basics of photography – fast – with our FREE 60-Second Photographer online course. Each class is short and sharp with simple, actionable steps that give you immediate results.
x 30 lessons

© iPhotography™
Become a confident and competent photographer in less than 30 minutes!
Before you leave, make sure you’ve secured your FREE online photography course (worth £29.99)
Each class is just 60-seconds or less making it the fastest and easiest way to learn photography!