 Stephen Walton
Author James Dempsey
Do you want to capture amazing macro photos, but you just don’t know where to start? You’re not alone. Capturing stunning macro photos can be a struggle. But here’s the thing:
It doesn’t have to be. Because there are a few basic steps you can use–which will practically guarantee you a stunning macro shot.
And in this article, I’ll share those steps with you. You’ll come away with the ability to capture amazing macro photos consistently. Let’s dive right in.
People often say that you need lots of equipment to capture gorgeous macro photos. A tripod, a flash, maybe a strobe light, maybe a focusing rail, fortunately, this is completely false.
You only need two things to do macro photography: a camera and a lens. The camera that you use is basically irrelevant. The lens is a more important.
Now, professional macro photographers generally use a dedicated macro lens. These allow you to focus extremely close to your subject–sometimes millimeters away. But while a dedicated macro lens is helpful, it’s definitely not a requirement. Instead, simply find the lens of yours that allows you to focus up close. If you’re not sure which of your lenses focuses closest, test out each one.
Once you’ve selected a lens, then switch it to manual focus. This will allow you to capture the best photo while in the field–because you’ll be able to absolutely nail focus.
Macro photography is all about the light. Good light will make your macro photos incredible. Bad light will absolutely ruin them. But what counts as good light? Well…there are two amazing lighting scenarios for the macro photographer.
First, the golden hour offers some stunning light. The golden hour is the hour after sunrise, and the hour before sunset.
During the golden hours, the light is unbelievably warm and wonderful. Especially if you wait until the moments before the sun sets.
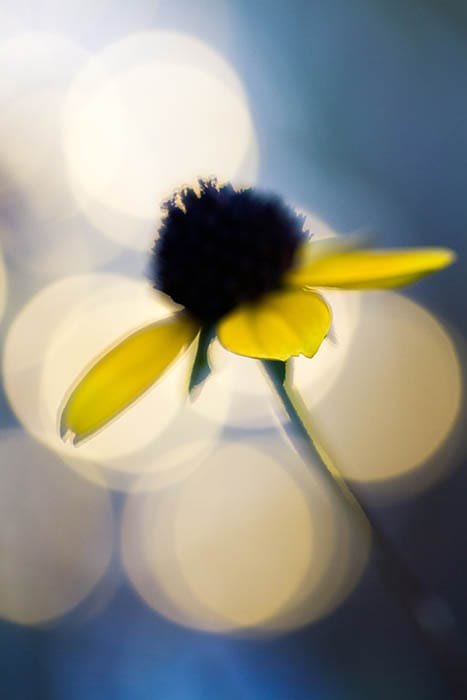
It’s tough to go wrong with the golden hours. And the sun allows you to capture some creative macro effects like this:
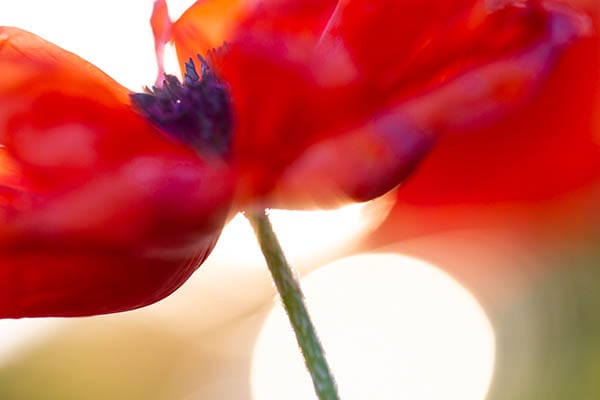
You can also capture some gorgeous [black and white macro photography using golden light. The other great lighting scenario is cloudy light.
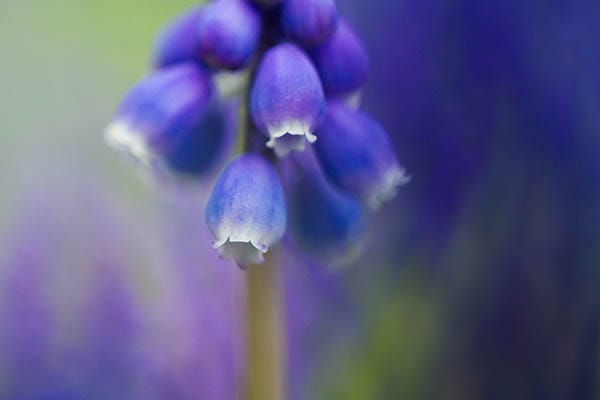
It’s not quite as dramatic as golden hour light. But cloudy light has a magic of its own. The clouds diffuse the sunlight, which helps to make colors appear deeper and more saturated.
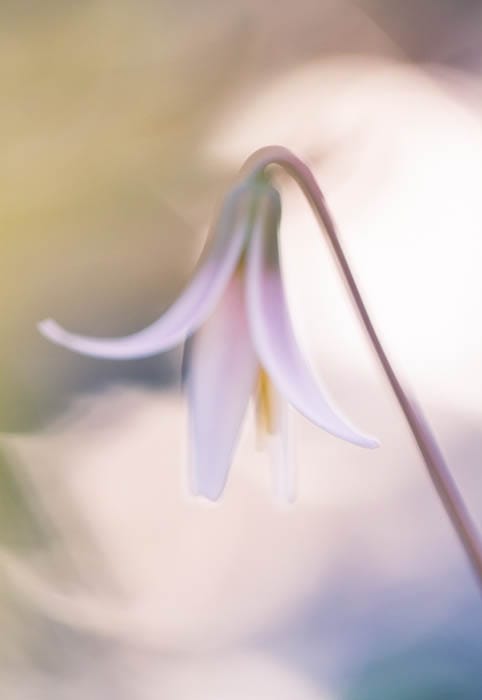
That’s why cloudy light is especially great for macro flower photography. The soft light enhances the colors of the flowers, resulting in photos like this:
Bottom line? You should shoot either during the golden hours or on a cloudy day. This will guarantee some wonderful colors.
Once you’ve gone out to shoot, you have to decide on a subject. Now, the subject should be the center of attention. The focal point of your photo.
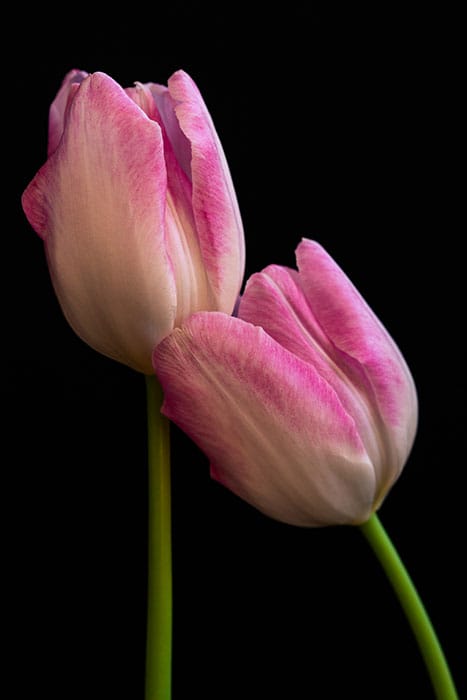
Which means you have to choose carefully. I recommend you choose a simple subject and one that stands out. For instance, flowers are an excellent macro photography subject. The bright colors ensure that they’re a great focal point.
I also recommend you choose a subject that’s in good shape: clean, undamaged, and all-around stunning. Forgetting about this is a common macro mistake a dirty or damaged subject can easily ruin a great photo.
And once you’ve chosen a subject, you should carefully choose a background. You see, backgrounds are one of the most underappreciated aspects of good macro photography. The best backgrounds enhance the subject so that the subject stands out.


The ones that take away from the subject. They distract the viewer.
That’s why I suggest you find a background that is very smooth. The more uniform, the better.
If you have good subject-background separation (that is, the background is far from your subject), then you can use a wide aperture (in the F/2.8 to F/4 range) to blur the background. Do this whenever possible.
If you can keep the number of colors in the background to a minimum, do it. Simple is best.
Once you’ve chosen a beautiful subject and the perfect background, you’re almost there. But there’s still a couple more things to take care of.
First, you need to carefully focus on your subject. Remember how I said to switch your lens to manual focus? Now’s the time to put it to use.
Manual focus allows you to turn the focus ring on your lens. Do this and spin the focus ring so that your lens focuses as close as possible. Get close to your subject. Move until the subject is in perfect focus.
Then pay attention to your composition. Compose the position of your main subject in the frame. It’s generally not a good idea to put your subject straight down the middle of the photo. Instead, try to put it off to the side. The goal is to move the viewer’s eye through the frame. One of my favorite compositions uses the diagonal line, like this:
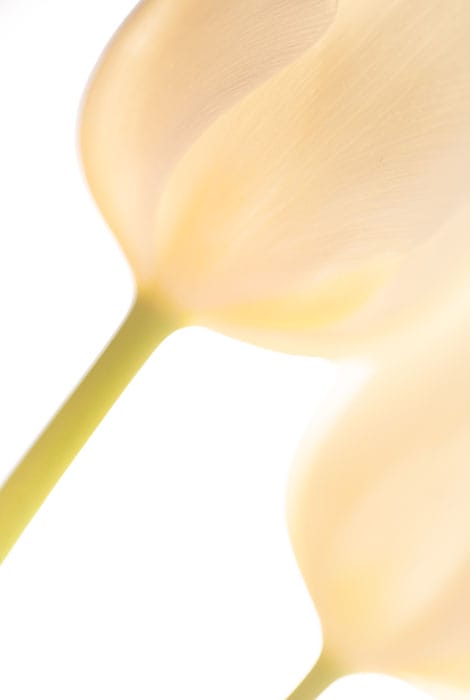
You just place the most prominent line so that it moves diagonally across the frame. I like to add some negative space (that is, empty space) around my subject, to help it breathe.
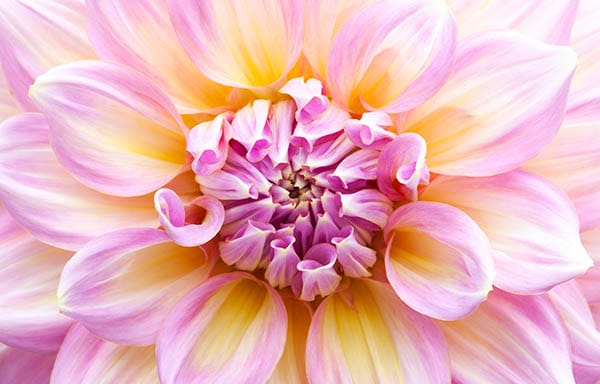
Regardless, make sure you choose your composition deliberately. Don’t just settle for a snapshot. Instead, take a deep breath, and place your subject within the frame. The closer you get, the better; high magnifications can make for some beautiful abstract macro photos.
Now, you can get great shots using a number of different camera settings. But here’s what I like to do:
First, I choose a low ISO, usually either 200 or 250. This minimizes the amount of noise (AKA grain) in the photo.
Second, I choose a wide aperture. Generally, either F/2.8 or F/3.2. This lets lots of light into the camera, giving me a brighter exposure. Plus, it creates an artistic, shallow depth of field effect.
Third, I choose the fastest I can afford. At macro magnifications, it’s easy to ruin pictures with camera shake–unless you take careful steps to keep your images sharp. And using a fast shutter speed is one of those steps!
And then, once you’ve dialed in your settings, take your shot! If you’ve followed all these steps, it’ll look amazing!
Hopefully, doing stunning macro photography seems a lot less difficult–and a lot more achievable. Just follow the steps that I’ve outlined above, and you’ll do just fine. If you want to read more about taking amazing macro photography click here for a full-length tutorial for beginners.
The only thing left to do? Get out and shoot!

Popular memory cards for photography – what’s the best SD card for your digital camera? Choose the right capacity and class speed in our guide

Discover the BEST way on how to clean a camera sensor using swaps, rocket blowers and pencil brushes to give your shots a dust-free finish!

Capture the magic of the night with our beginner’s guide to night photography. Learn tips and techniques for stunning results.
Learn the basics of photography – fast – with our FREE 60-Second Photographer online course. Each class is short and sharp with simple, actionable steps that give you immediate results.
x 30 lessons

© iPhotography™
Become a confident and competent photographer in less than 30 minutes!
Before you leave, make sure you’ve secured your FREE online photography course (worth £29.99)
Each class is just 60-seconds or less making it the fastest and easiest way to learn photography!