 Stephen Walton
Lightroom is a library of important editing functions for photographers. Some of which you’ll never use others you’ll abide by.
But I believe there are 10 essential Lightroom tools that every photographer should get to know to improve their photography instantly.
These tools are ones you’ll use on a regular basis if you’re taking lots of photos so it’s good to get familiar with them. These tools can all be currently found on Lightroom CC.
The clarity tool in Lightroom is a great adjustment to use on landscapes and fine art photographs. Unless an adjustment brush is applied first, then using clarity will affect the image globally so be careful what you want to enrich and not.
It will darken the black areas creating a perceived contrast making your picture look sharper.


The texture tool is a fairly new option added in recent updates. It works slightly similar to the clarity tool but is more refined and reserved for working on textures.
Therefore, don’t try to apply this to skin tones, leave it for woven fabrics and natural foliage to really make your photos pop.


The great saviour of blurry photographs is the sharpness slider – but it shouldn’t be!
If your photograph is out of focus, accidentally, bin it. Seriously. Using the sharpness tool in Lightroom is not going to make it perfect. You’ll never learn from this mistake if you pretend it never happened.
The sharpness tool is great for enhancing subjects in a scene. If you’re uploading pictures to Instagram or Facebook, it’s best to increase your sharpness slider by +20 to compensate for the compression in their algorithms.
One of my favourite essential tools in Lightroom is to add a graduated filter to bright skies. Getting an even exposure from foreground to background in landscapes can be tricky, maybe you get the scenery spot on, but your sky is a little overexposed – graduated filter to the rescue!
Us the filter by dragging out a gradient over the sky and adjust the exposure to bring back more details lost in the original photograph.


I know that vignettes are not suitable for all forms of photography. You may not even know that you can add a vignette in Lightroom, but I think it can be an essential tool to create a stronger feeling to a photo.
Vignettes can be effective when used in the right way. Vignettes enhance atmosphere to a story; they shouldn’t work any other way. They can work very well on portraits in low key lighting and woodland photography. Whenever you want to push the viewers eye to the centre of the image faster use a vignette.
In Lightroom, pushing the slider to the left creates a white vignette (very rare) and oppositely going to the right makes a black vignette (more popular).


You’ll find the tints slide in Lightroom just under the colour temperature slider and it’s there as a secondary adjustment to your white balance.
Tints in Lightroom help adjust colours that the white balance wouldn’t normally change. You’ll be able to add more magenta or green depending on your shot.
Greens are good for landscapes and magentas are great for skin tone so give them a little nudge in the right direction to stop your shot looking flat.


Hue, Saturation and Luminance before you ask.
The HSL slider in Lightroom is an essential tool that you should get to know. It can help you change colours of objects and features without using the adjustment brushes, but they aren’t as specific.
If you are a photographer with a flair for style, then go crazy. Play around with those sliders to make colourful and bold statements with your work.
Just remember…


The lens profile correction tool in Lightroom is essential if you shoot with a wide-angle lens.
If you shoot with a focal length under 20mm you should be using this Lightroom tool every time. Short focal lengths can create barrel distortion meaning the edges of the image curve due to the light conforming shape of the lens.
Profile corrections will either automatically detect from the metadata what lens you shot on and correct the distortion. You can select the closest option for your camera and lens. It will straighten up your landscapes and make subjects appear less convex in appearance.


Colour presets in Lightroom are time saving hacks for busy photographers with lots of editing to do. You can make your own or download them.
Colour presets in Lightroom will help you batch edit images, so they all have the same exposure, contrast and colour effect adjustment.
If you’ve developed your own style, then consider saving all those settings in to a preset next time you’re editing.
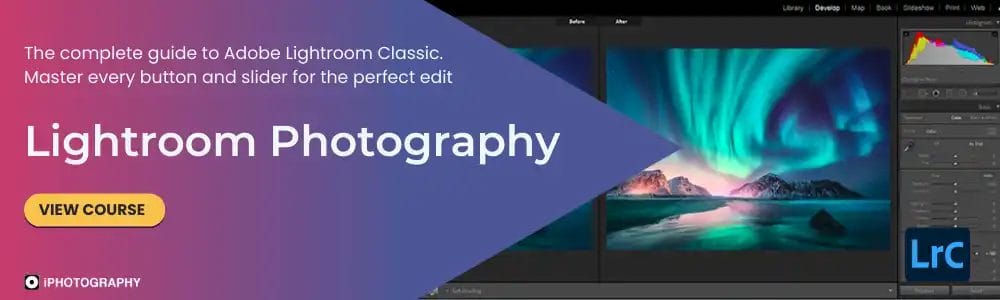
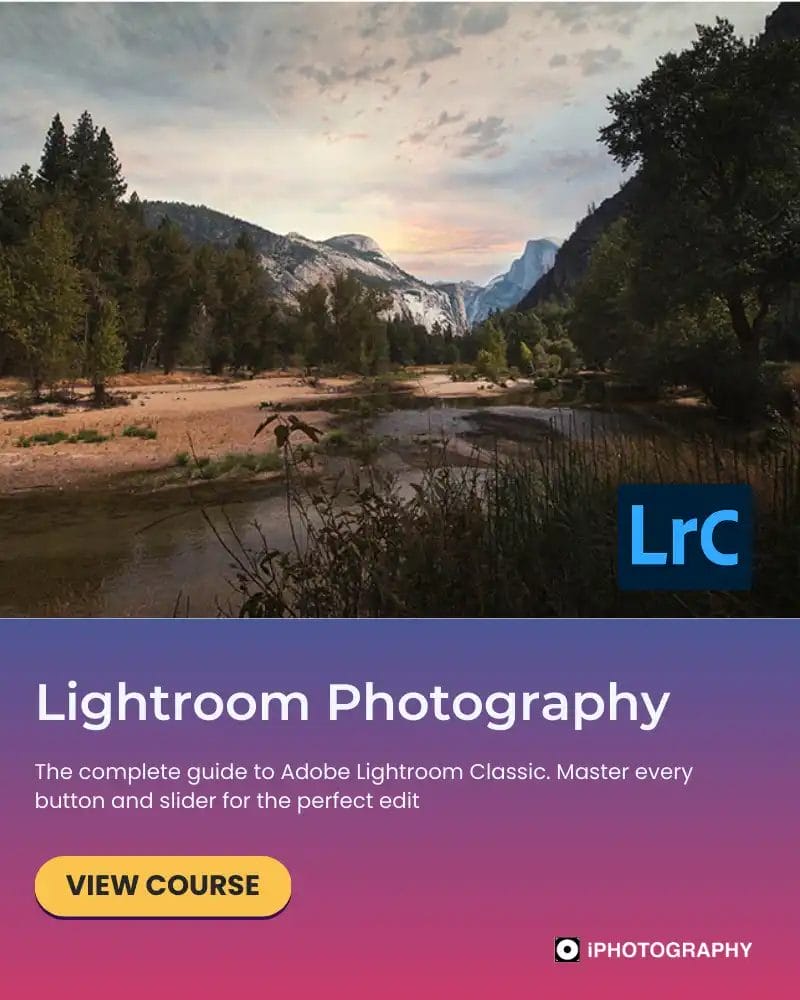
On top of the previous 9 essential Lightroom tools this one, we think (obviously) is the most important. Learning about Lightroom’s essential tools is really handy but knowing the full software inside out is even better. That’s why iPhotography has a perfect companion to your Lightroom adventures. Discover our incredible online Lightroom training course where we cover how to;
• Set up libraries, catalogues, metatags etc
• Import images
• Make basic adjustments
• Use masking tools
• Advanced adjustments
• Export your images for a print and social media
By joining this online Lightroom photography course you’ll unlock all the other benefits of being an iPhotography member. Other bonuses for joining include…
• Instant access to the feedback photography gallery
• Take part in the weekly photography competitions
• Unlock a video library with 150+ photography tutorials, webinars and more
• Talk to your course Tutors and get photography advice
• Network with other creative course members and aspiring photographers
Tap into the full power and other essential tools of Lightroom CC. Transform your photographs in the pictures you really want to see.

Shooting sunsets using amazing 5-in-1 magnetic lens filters from Kentfaith, the 1st choice for photo & video products.

Popular memory cards for photography – what’s the best SD card for your digital camera? Choose the right capacity and class speed in our guide

Discover the BEST way on how to clean a camera sensor using swaps, rocket blowers and pencil brushes to give your shots a dust-free finish!
Learn the basics of photography – fast – with our FREE 60-Second Photographer online course. Each class is short and sharp with simple, actionable steps that give you immediate results.
x 30 lessons

© iPhotography™
Become a confident and competent photographer in less than 30 minutes!
Before you leave, make sure you’ve secured your FREE online photography course (worth £29.99)
Each class is just 60-seconds or less making it the fastest and easiest way to learn photography!